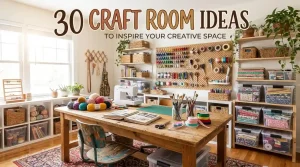
A craft room should feel like an invitation, not a chore list.
The best ones have a clear table, a soft chair, and a window that fills the room with light. You walk in and your hands want to start something.
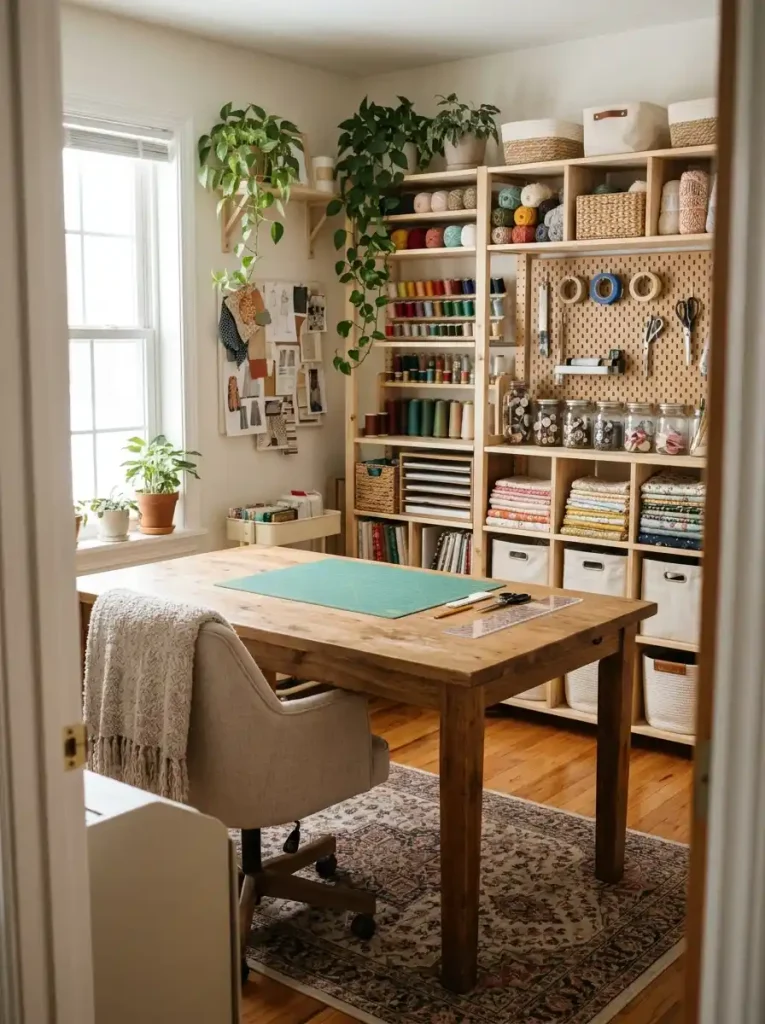
The worst ones look like a supply store exploded behind a locked door. Everything is there. Nothing is reachable.
Here are 30 craft room ideas that balance function with a room you actually want to spend time in.
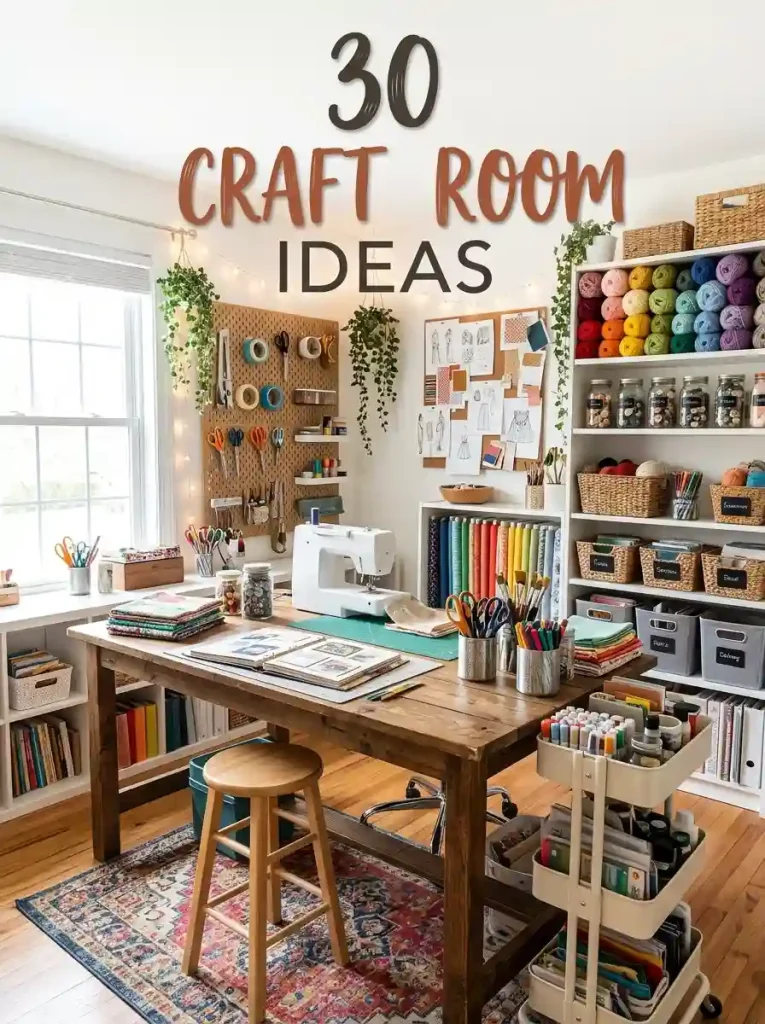
1. The Work Zone: A clear, sturdy surface with good light.
2. The Storage Zone: Visible tools, hidden clutter.
3. The Inspiration Zone: A wall for ideas and a chair for thinking.
1. Start With a Worktable That Does Not Wobble
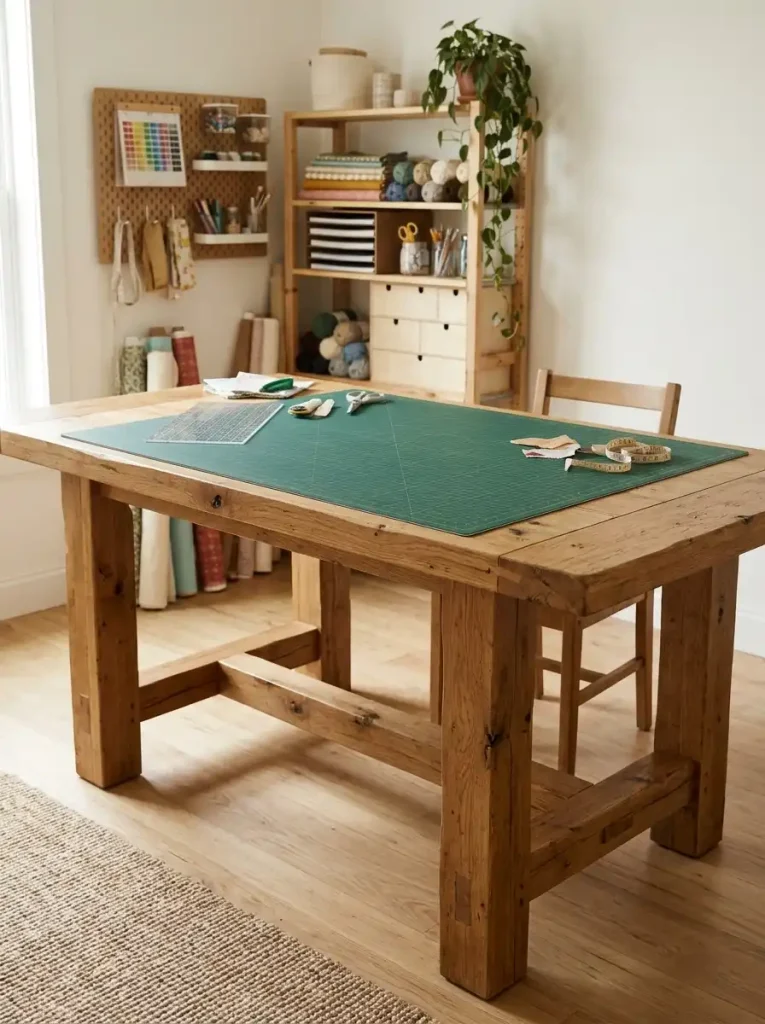
The single most important piece of furniture in a craft room is the table. If it wobbles, you will avoid using it. If it is too small, you will work on the floor.
What to check before you buy:
- Width: At least 48 inches to hold a cutting mat and a machine.
- Height: Standard desk height, around 30 inches.
- Support: No visible wobble when you press down.
2. The Fandom Gallery Wall and Rolling Storage Cart
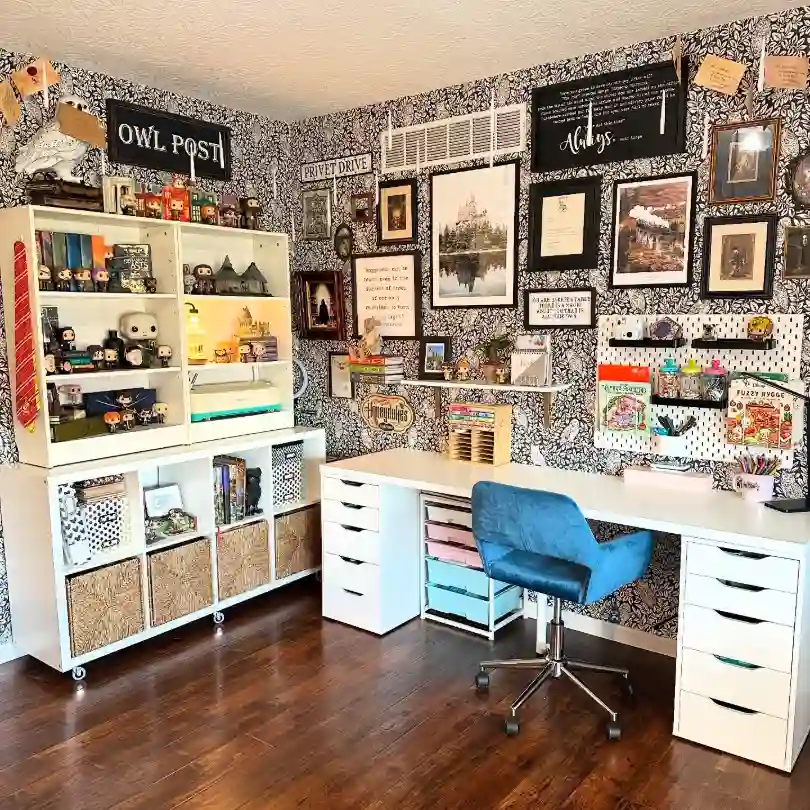
A craft room does not have to look like a generic studio. This room leans fully into a personal collection, using a patterned wallpaper to set a bold backdrop for framed art, maps, and collectibles.
The white shelving unit with rolling wire baskets holds supplies and books, but the real charm is the mix of curated toys, glowing lamps, and a large pinboard-style area that doubles as an inspiration wall.
The blue velvet chair and the patterned wallpaper give the room personality without feeling chaotic.
3. Add a Wall of Pegboard
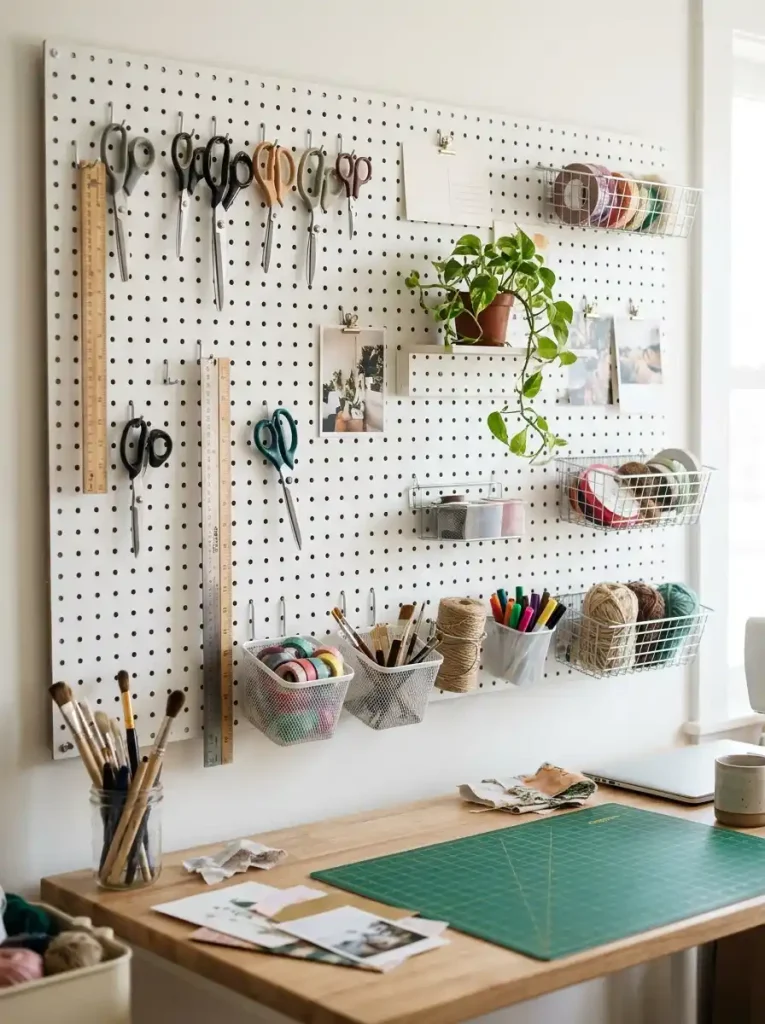
Pegboard is the most flexible storage in any craft room. It holds scissors, rulers, small tools, and ribbon, and it keeps everything visible.
Paint the pegboard the same color as the wall so it fades into the background. Use hooks and small bins to customize it for the tools you reach for most.
4. Use Open Shelves for Supplies You Want to See
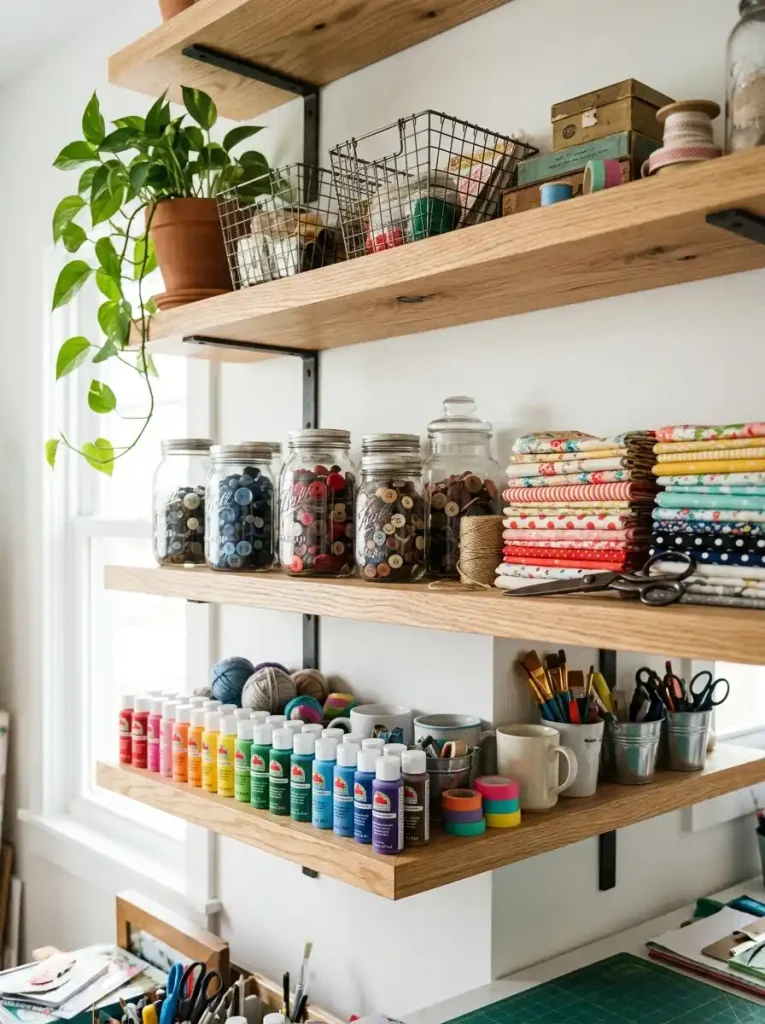
Open shelving works in a craft room when the items on it are pretty and useful.
Glass jars of buttons, stacked fabric, and rows of paint bottles all look good on an open shelf.
The trick is to edit. If the shelf starts to hold boxes, receipts, or half finished projects, it stops being a display and becomes clutter.
5. Install a Rail System for Hanging Tools
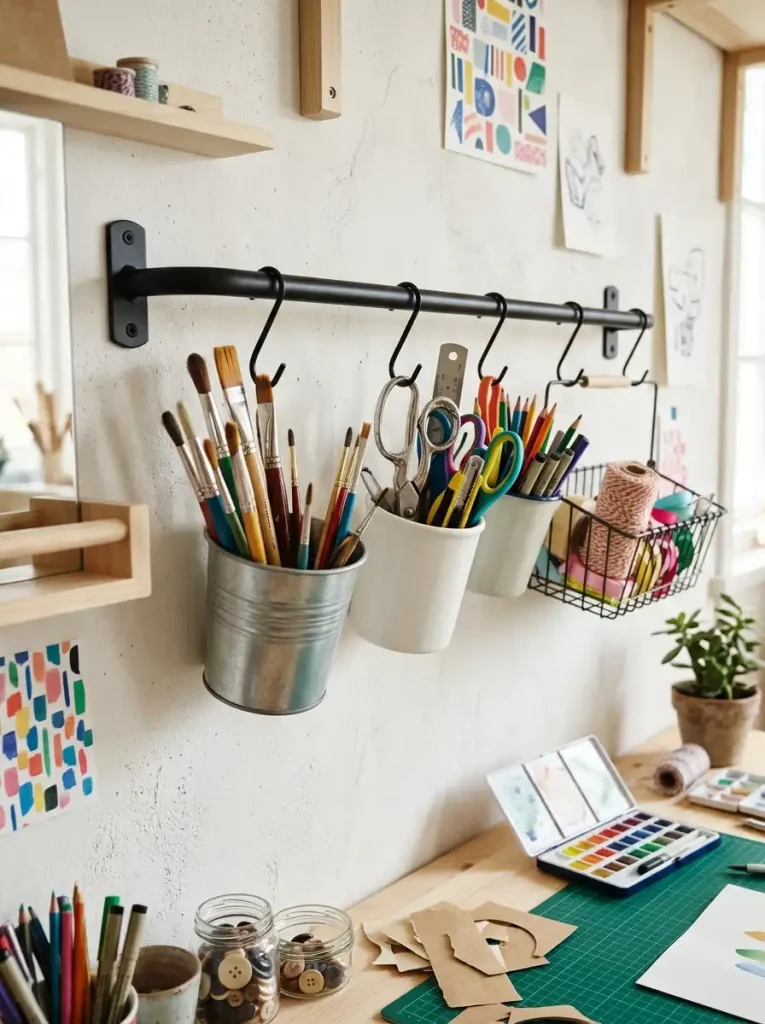
A wall rail with hanging cups and hooks keeps small tools off the table. It is especially useful for paintbrushes, scissors, and rulers.
Mount the rail at eye level above the worktable so you can reach the tools without standing up.
Scissors, brushes, and small hand tools.
Do not overload it. A sagging rail looks worse than no rail.
6. Choose a Chair You Can Sit In for Hours
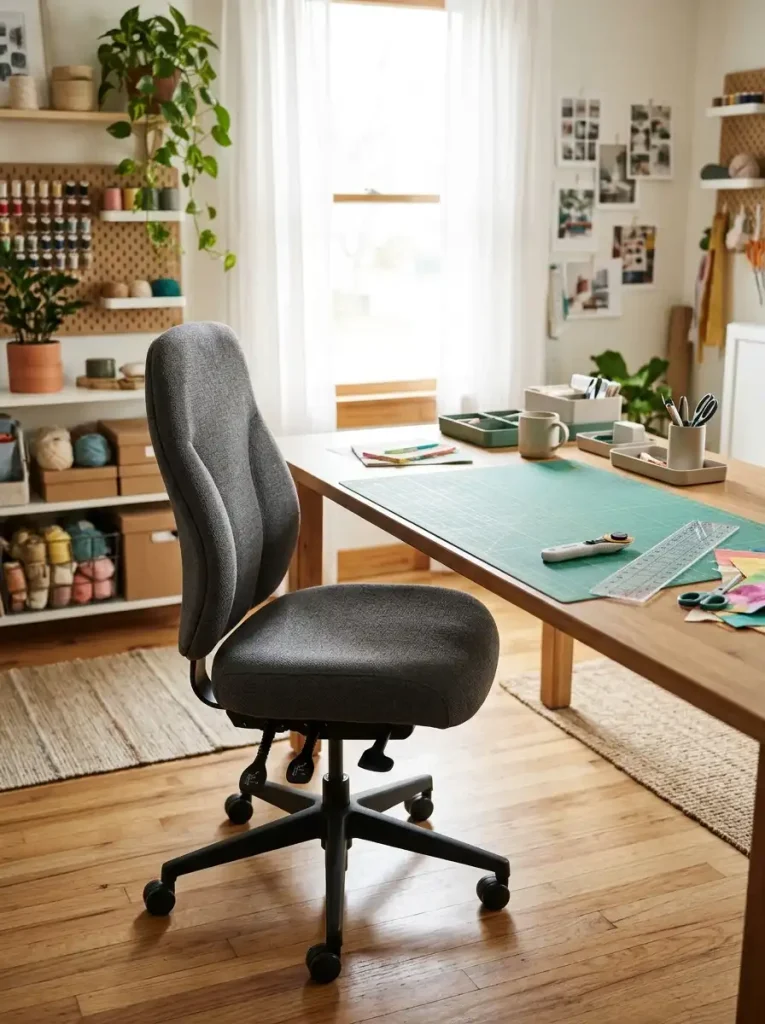
A dining chair is not a craft chair. It does not support your back, and it gets uncomfortable after an hour.
Look for an adjustable stool or an office chair with a firm seat. If you stand while you work, add an anti-fatigue mat under the table.
See vintage craft room ideas for a different look of the room.
7. Build a Rolling Cart for Current Projects
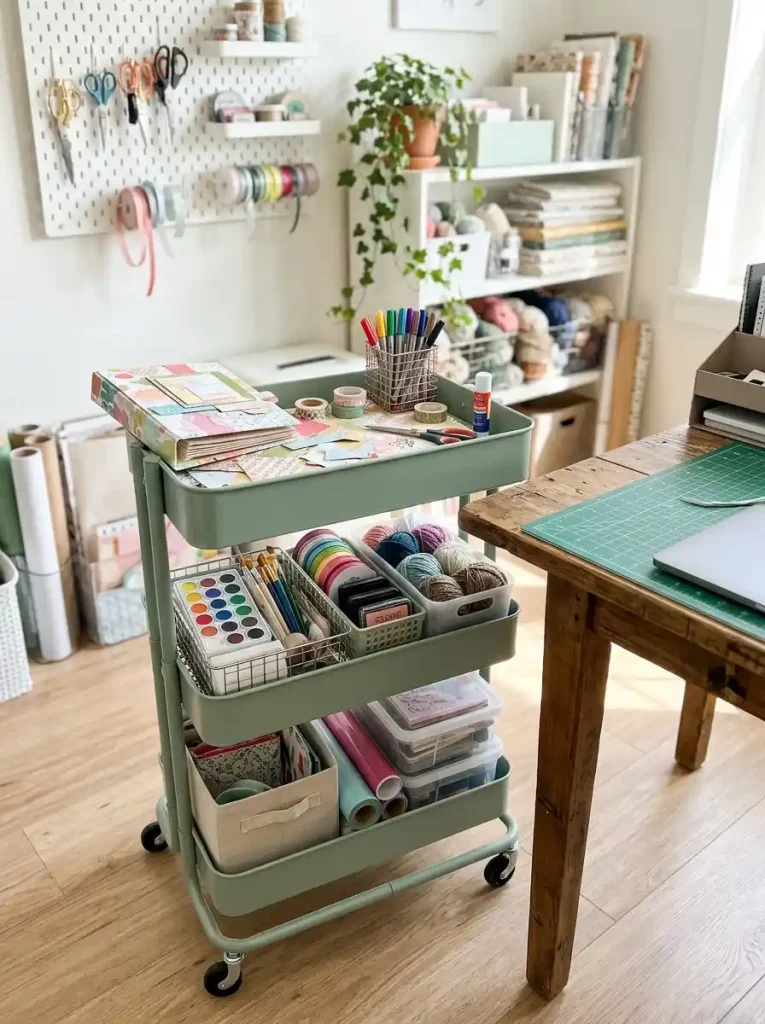
A rolling cart keeps the project you are working on in one place.
You can move it next to the table, the cutting mat, or the sewing machine, depending on what you are doing.
Look for a cart with three tiers. Use the top for tools, the middle for materials, and the bottom for the project itself.
8. Use Clear Bins for Fabric and Yarn
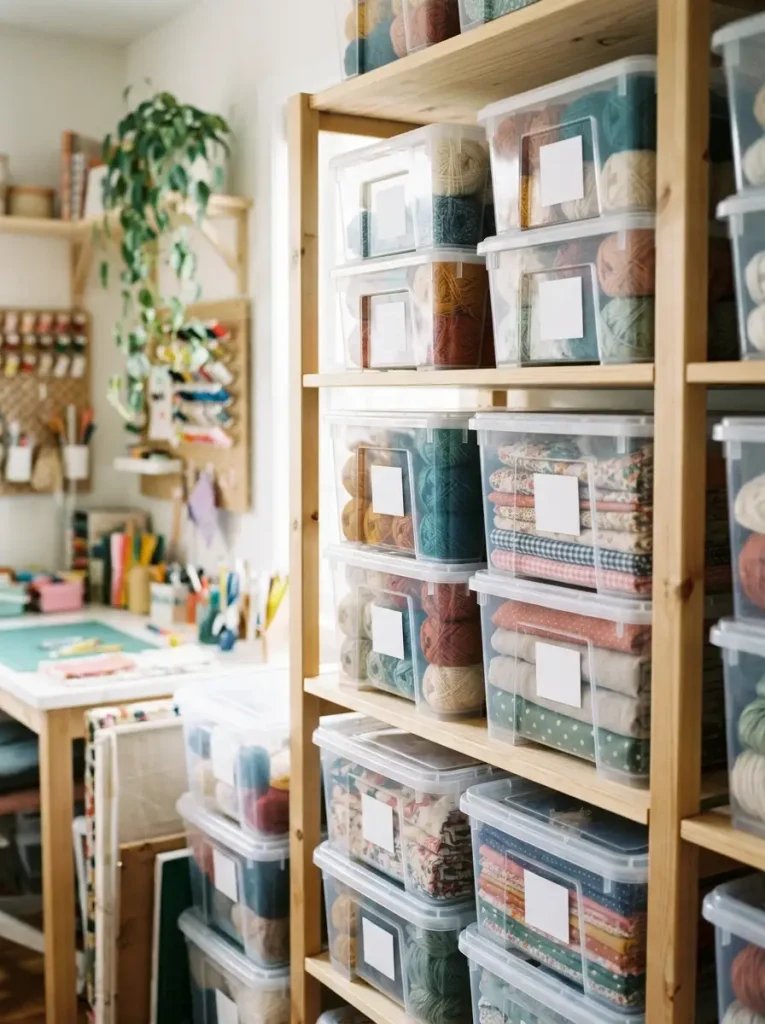
Clear bins let you see what you have without opening them.
This matters most in a craft room, where you often need to match a color or find a specific material.
Stack the bins by category and label the front with a simple marker. Do not label the lid. You will never see it.
9. Add a Dedicated Ironing Station
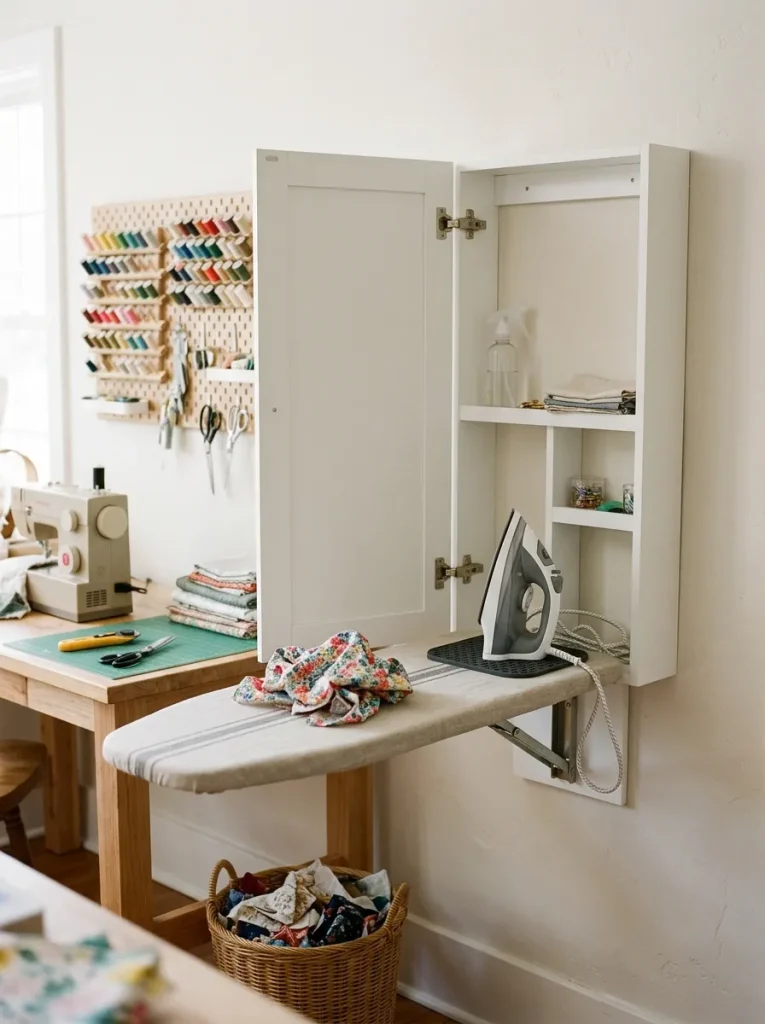
If you sew or quilt, an ironing station is worth the space.
A small ironing board that folds out from the wall gives you a place to press seams without using the kitchen.
Mount it at counter height and keep the iron nearby with a heat resistant pad underneath.
10. Create a Thread or Ribbon Wall
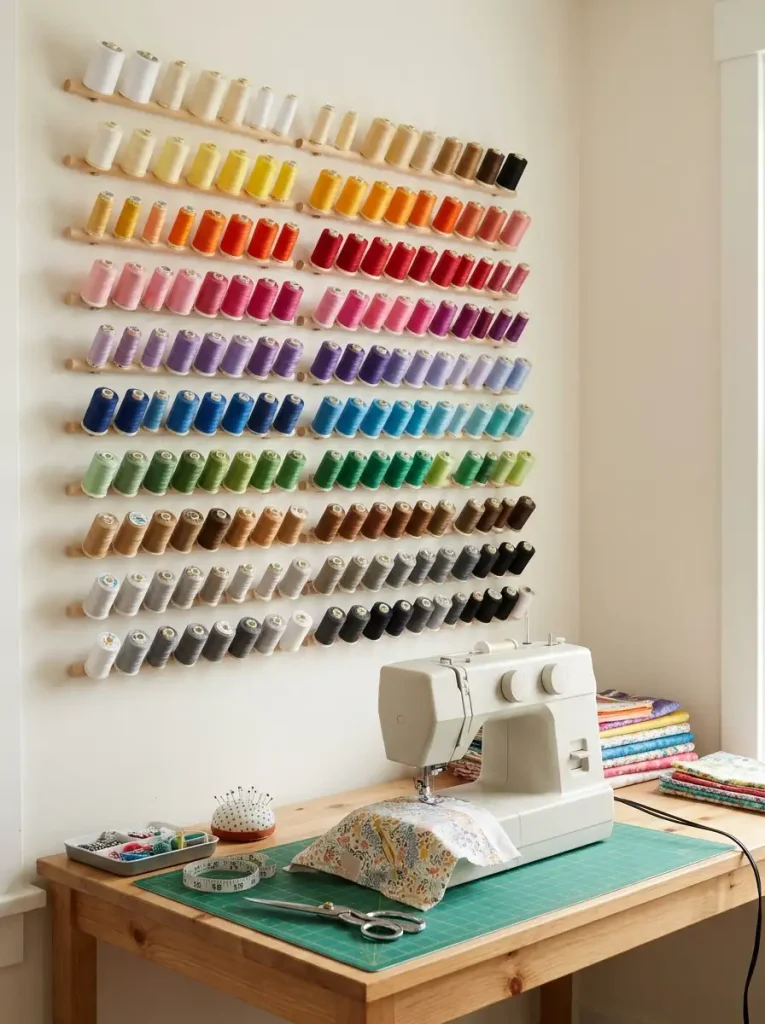
A wall of thread or ribbon spools is both practical and beautiful.
Small dowels or slim shelves hold the spools, and the colors become part of the room’s design.
Sort by color so you can find the shade you need without digging.
This is one of the few storage setups that actually looks better when it is full.
11. Add a Magnetic Knife Strip for Small Metal Tools
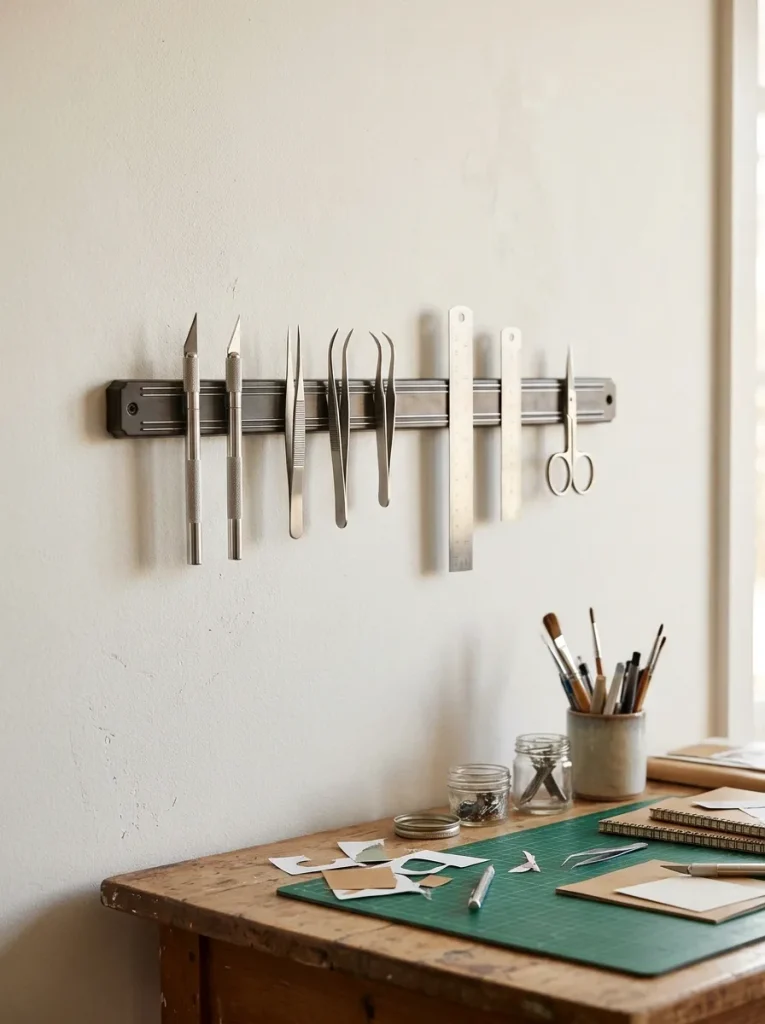
A magnetic strip mounted on the wall holds small metal tools like tweezers, craft knives, and metal rulers. It keeps them off the table and within reach.
It is an inexpensive upgrade that makes a big difference, especially in a small room where table space is limited.
12. Use the Back of the Door
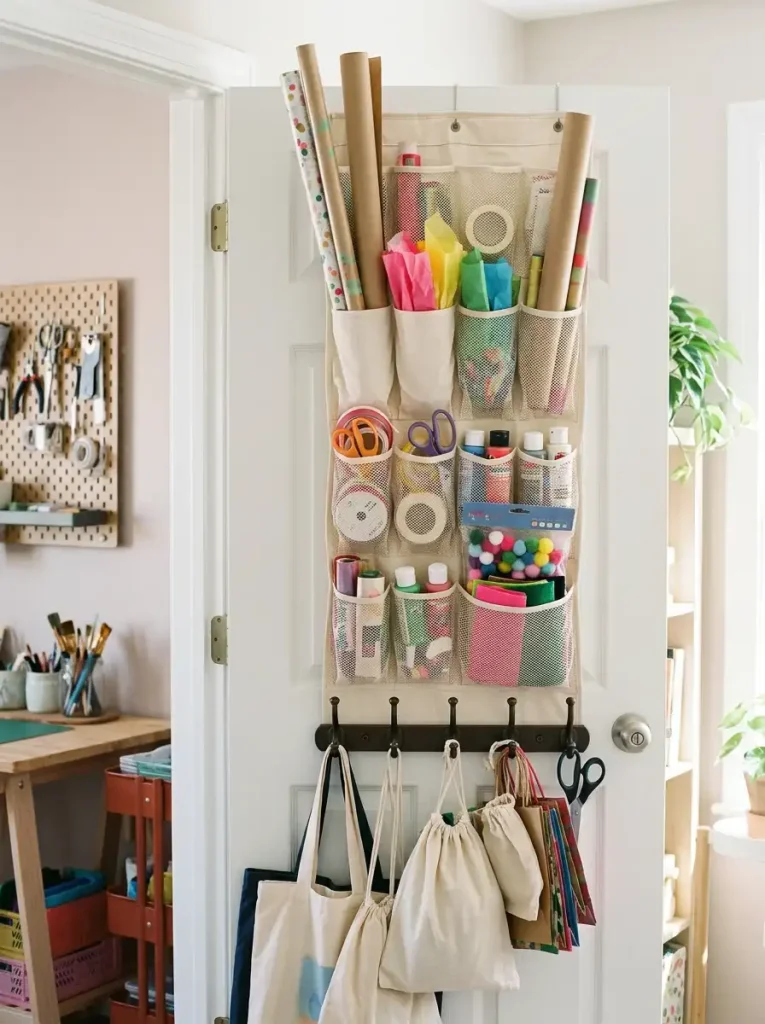
The back of the craft room door is often empty.
A hanging shoe organizer or a row of hooks there can hold wrapping paper rolls, fabric scraps, or bags of supplies.
This works especially well in a small room where every inch of storage matters.
13. Choose a Floor That Can Take a Spill
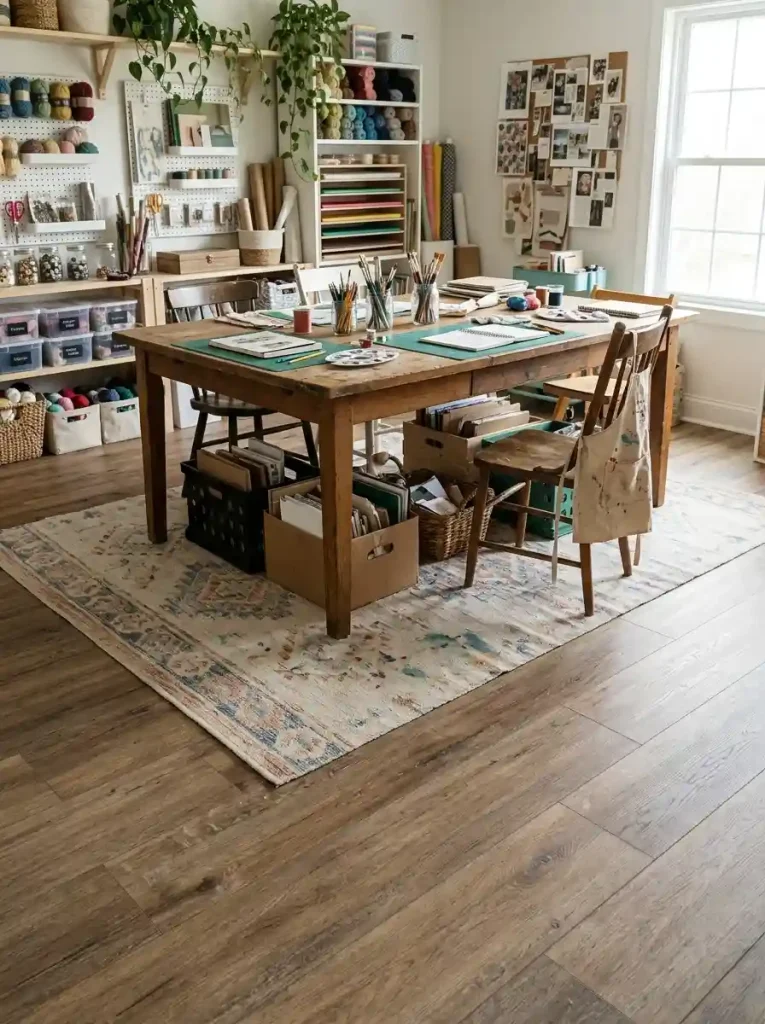
Craft rooms get messy. Paint spills, glue drips, and fabric dust are part of the process. Choose a floor that can handle it.
Vinyl plank, tile, or a sealed concrete floor all work.
If you have carpet, add a large washable rug under the table so you can pull it out and clean it.
14. Paint the Room a Calm Neutral
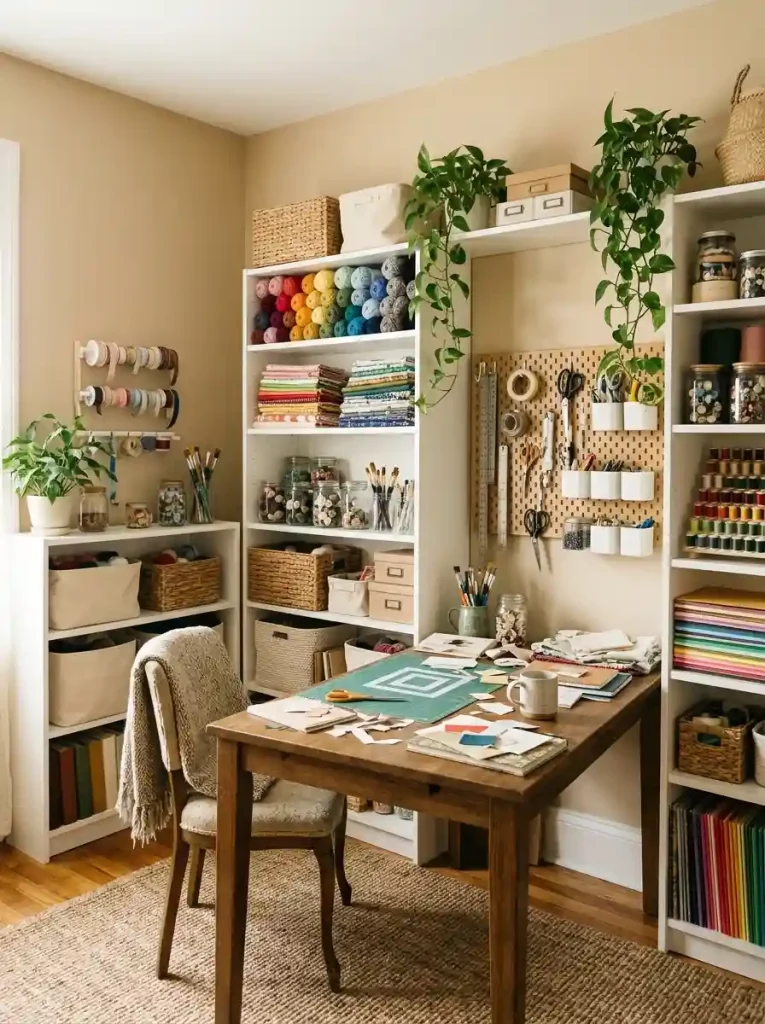
A bright white room can make colors look true, but it can also feel clinical.
A soft warm neutral, like oatmeal or pale greige, keeps the room calm and makes the supplies stand out.
Save the bold colors for the supplies and the storage. The walls should be a backdrop, not a competitor.
15. Add a Task Lamp That Clips to the Table
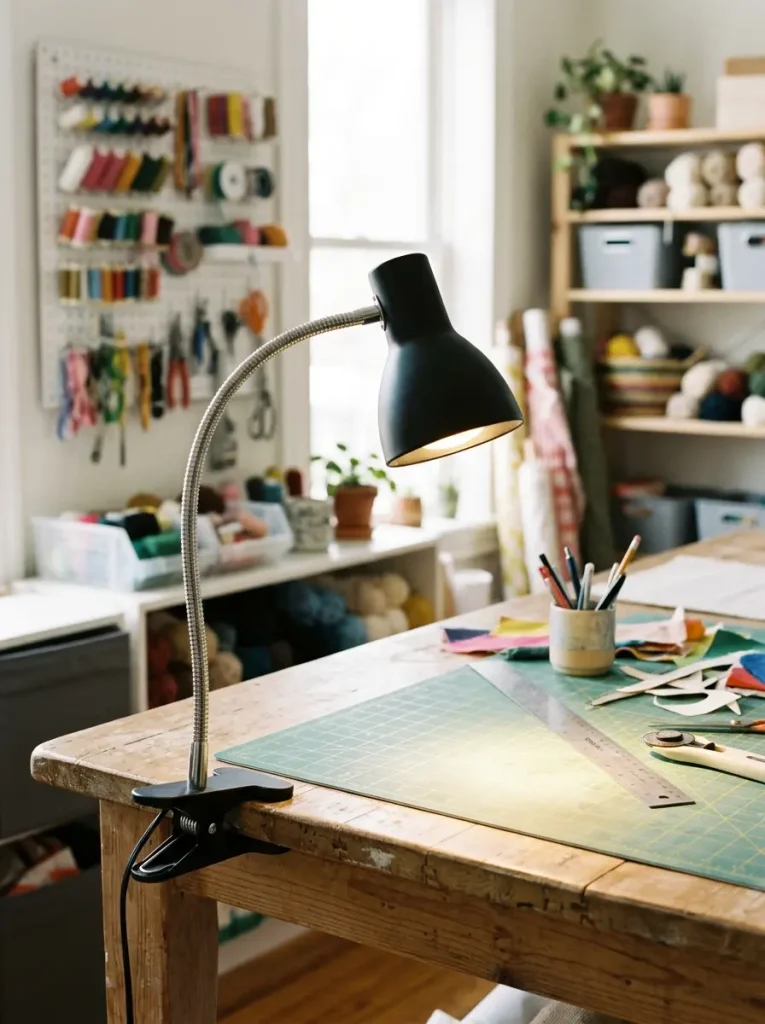
Overhead lighting is not enough for detailed work.
A clip on task lamp with a flexible arm lets you aim light exactly where you are working.
Look for one with a warm bulb and a wide shade. Aim it at the cutting mat, not at your face.
📌
Color accuracy matters for fabric and paint. Look for a lamp with a high CRI rating (90 or above) so the colors you see are the colors you actually have.
16. Build a Paper Storage Tower
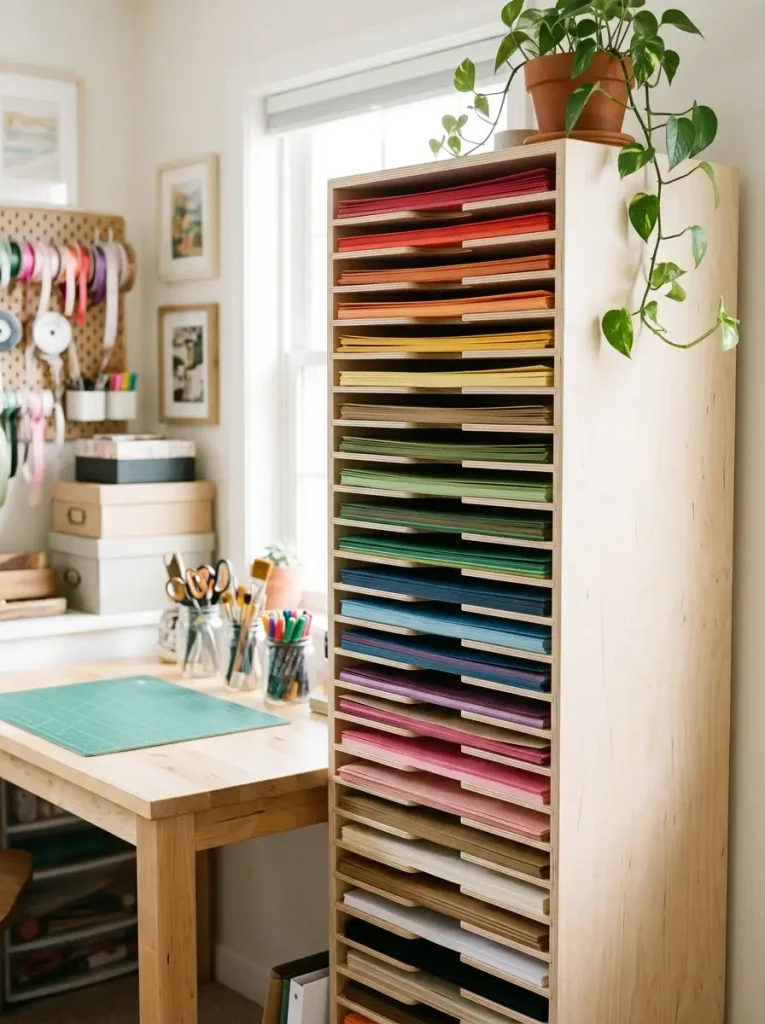
Paper is one of the hardest supplies to store. Large sheets wrinkle, rolls fall over, and scraps multiply.
A vertical paper tower, made from a slim frame with horizontal slots, keeps sheets flat and accessible. Rolled paper goes in a tall bin or a wall mounted rack.
17. Use a Drawer Divider System
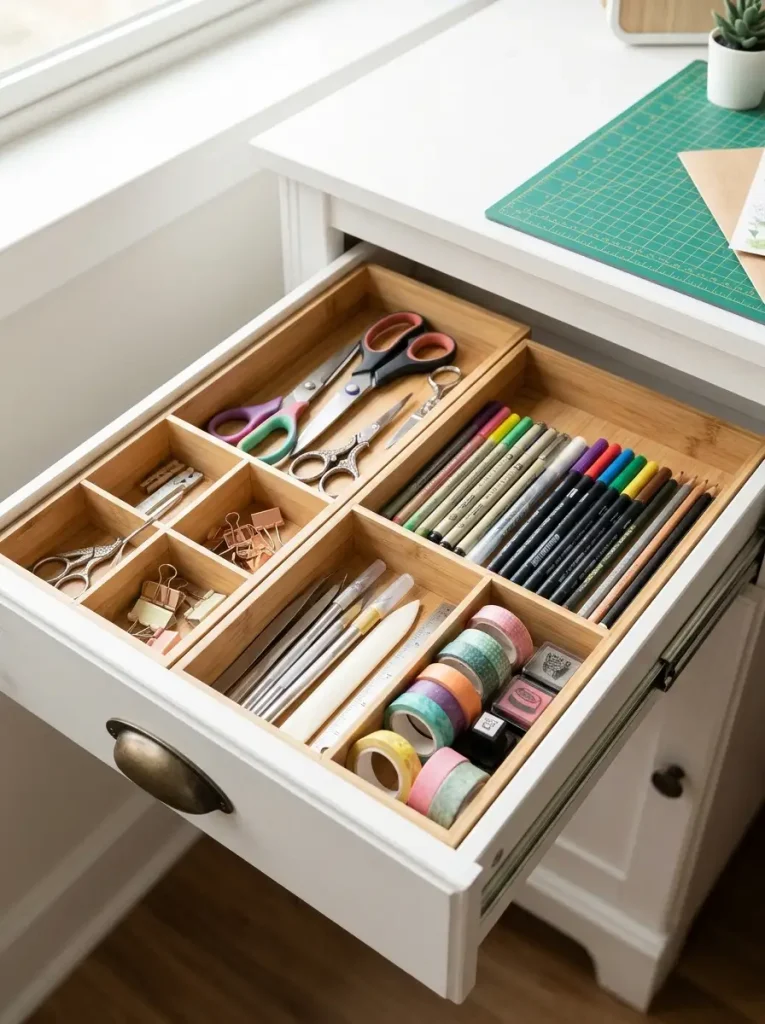
A drawer without dividers becomes a junk drawer within a week.
A simple divider system, made from small boxes or a purpose built insert, keeps scissors, pens, and small tools in their place.
Measure the drawer first, then buy or build dividers that fit tightly. Loose dividers slide around and defeat the purpose.
18. Create a Small Sewing Corner
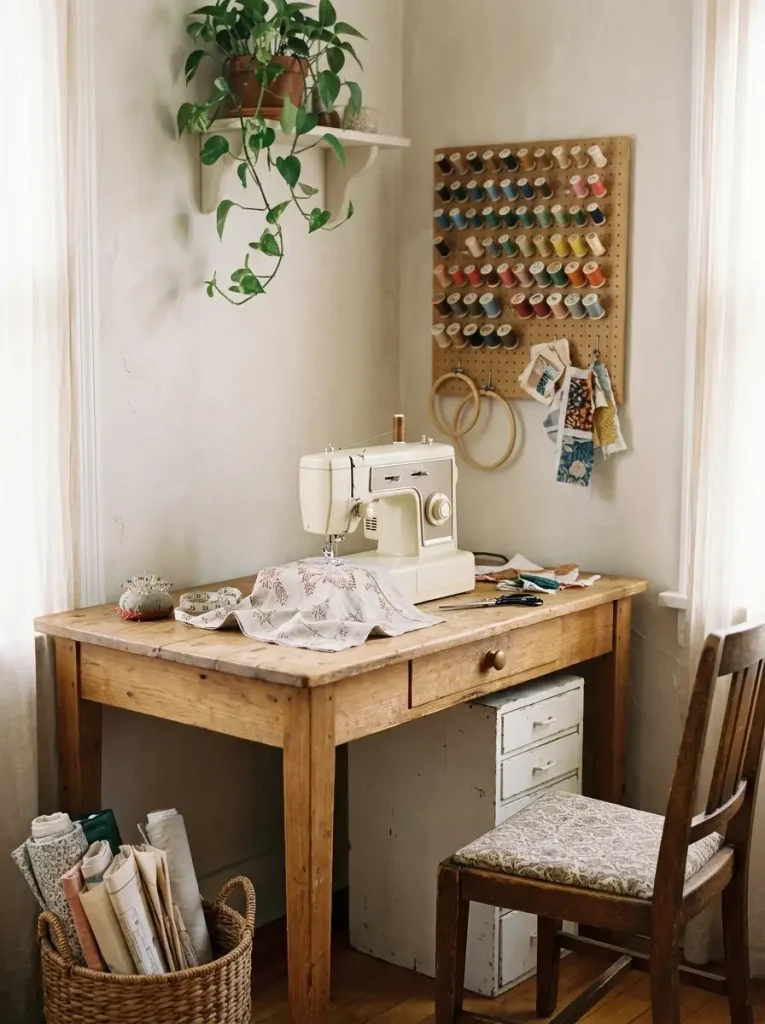
If you sew, give the machine its own zone.
A dedicated table with the machine set up and the pedal in reach saves time and prevents the machine from being packed away between projects.
Keep the thread, bobbins, and scissors within arm’s reach. A small drawer under the table holds the extras.
19. Add a Bulletin Board for Inspiration
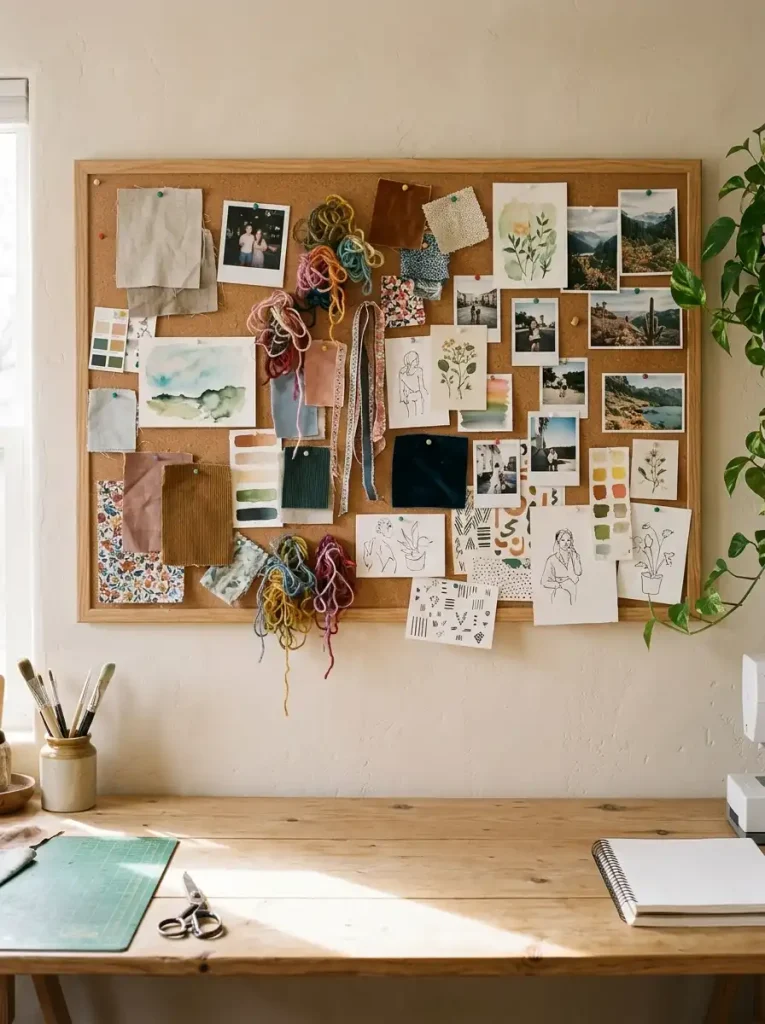
A large cork board or linen board above the worktable gives you a place to pin ideas, fabric swatches, and photos. It keeps the inspiration visible and the table clear.
Change it with the seasons or the project.
A bulletin board that stays the same for years stops being inspiration and becomes wallpaper.
20. Use a Spice Rack for Small Bottles
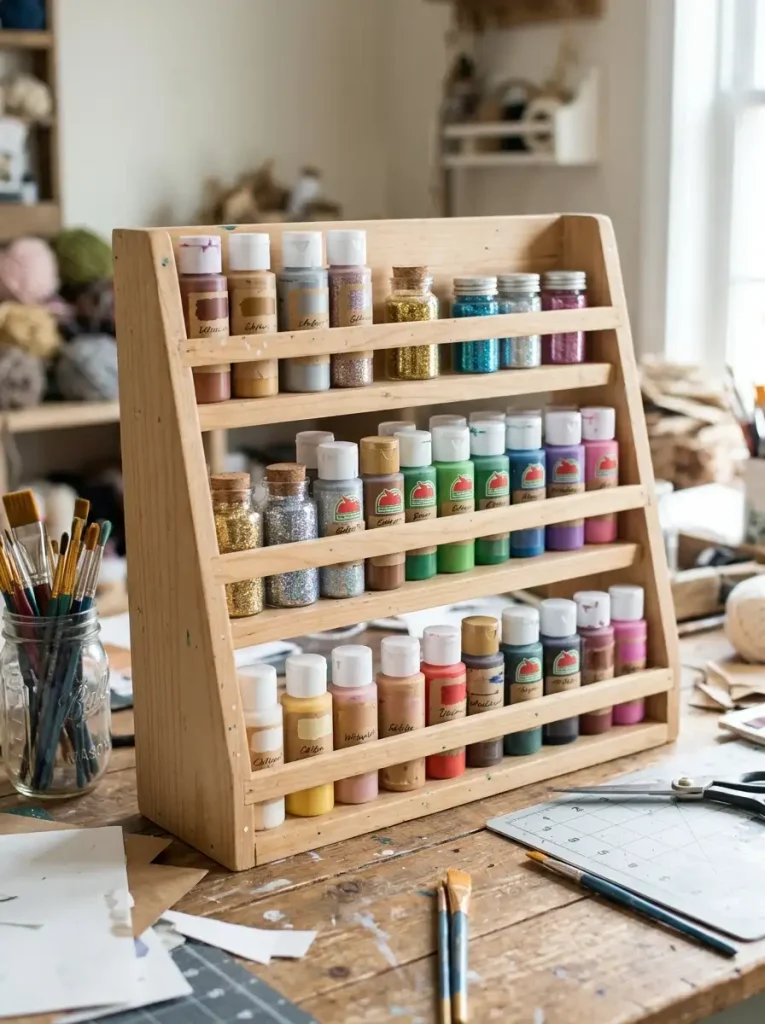
A tiered spice rack is a perfect holder for small paint bottles, glue, and glitter. It keeps them visible and takes up less space than a shelf.
Look for a rack with a lip on each tier so the bottles do not slide off when you reach for one.
21. Choose a Rolling Stool for Flexibility
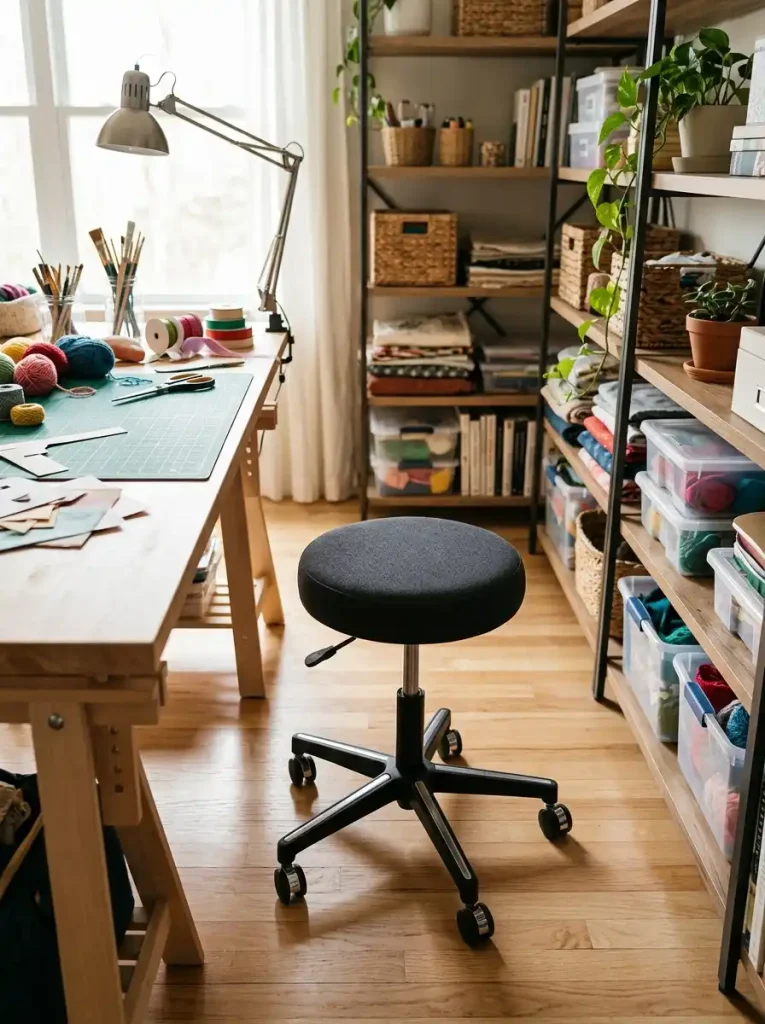
A rolling stool lets you move between the table, the shelves, and the cutting mat without standing up.
It is especially useful in a small room where you work in several different spots.
Look for one with a firm seat and lockable wheels.
22. Add a Small Sink or Water Source
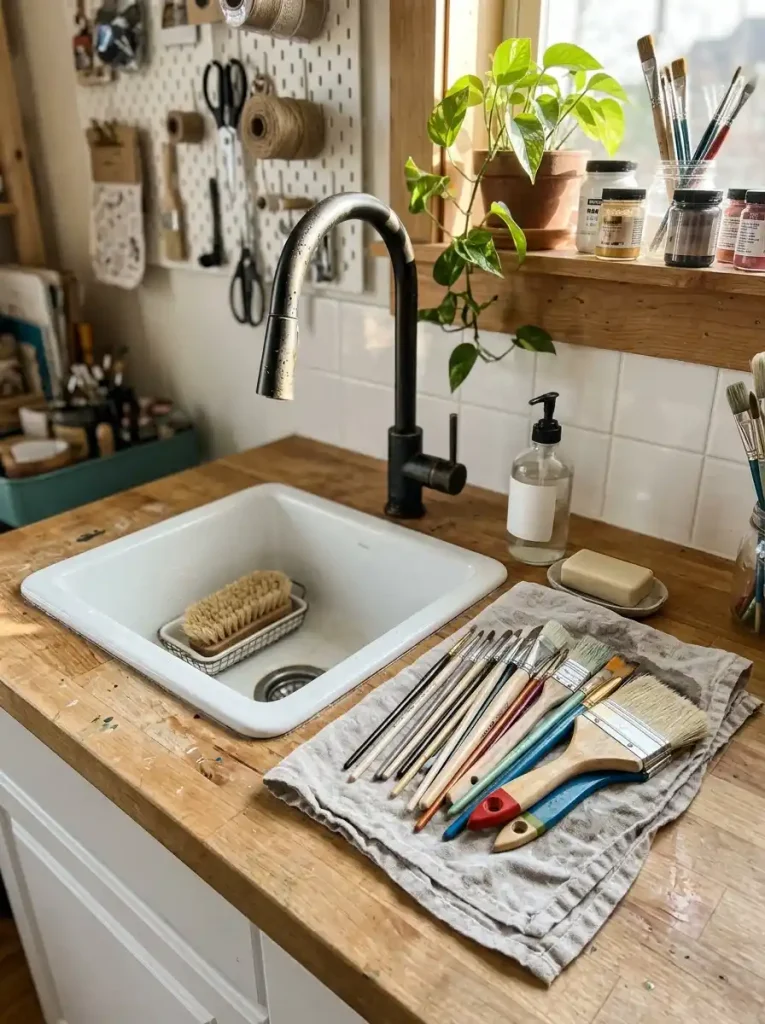
A small sink, even a basic utility basin, is useful in a craft room. It gives you a place to clean brushes, rinse fabric, and wash your hands without leaving the room.
If a sink is not possible, keep a large jug of water and a bucket nearby for cleaning up.
23. Store Fabric in Open Baskets
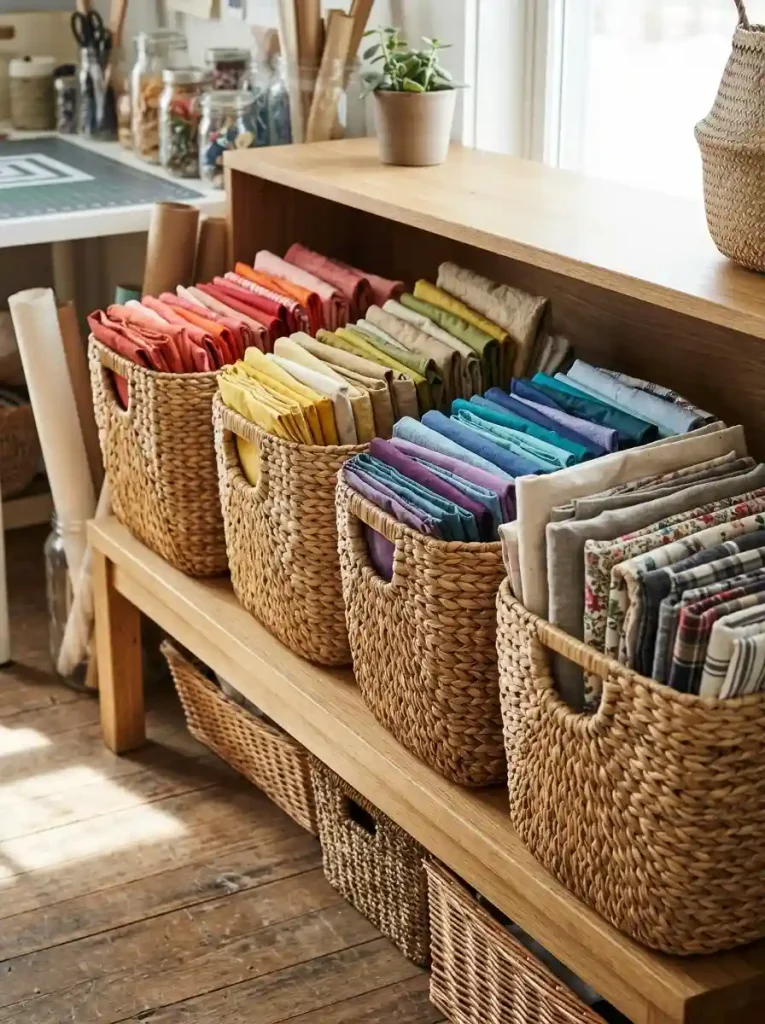
Fabric stored in closed bins gets forgotten. Fabric stored in open baskets stays visible, which makes it easier to use what you already have.
Sort the baskets by color or material. Keep the larger pieces on the bottom and the scraps on top.
24. Add a Waste Bin Under the Table
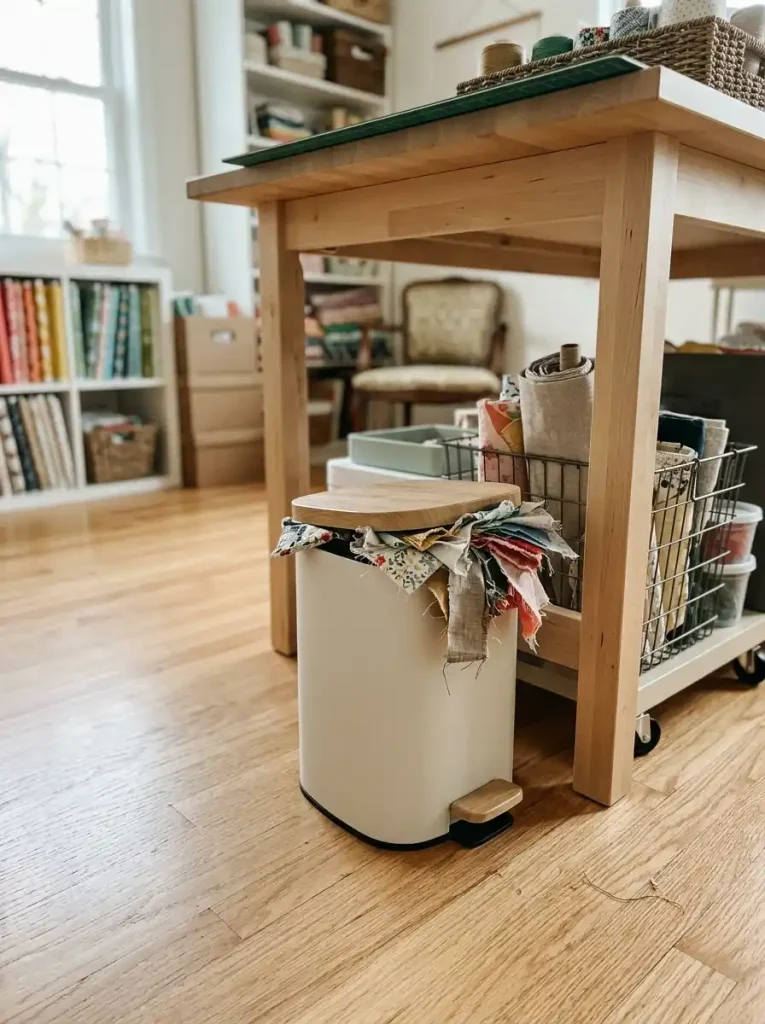
A small waste bin under the table catches fabric scraps, paper trimmings, and packaging. It keeps the floor clean and saves you from walking to the kitchen bin every five minutes.
Choose one with a lid if you are worried about pets or small children.
25. Use a Fold Down Table for Overlooked Corners
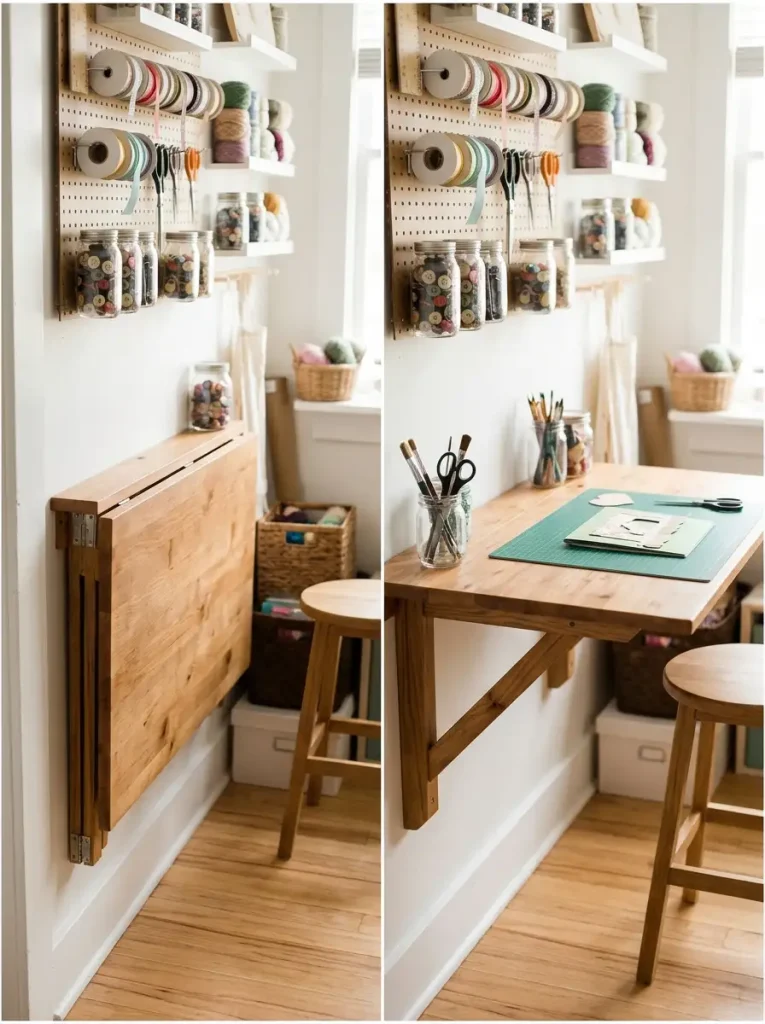
A fold down table mounted on the wall gives you extra work surface when you need it and disappears when you do not.
This is the best solution for a craft room that doubles as a guest room or a home office. When the table is folded down, the room reads as a normal room.
26. Keep a Small Toolbox for Repairs
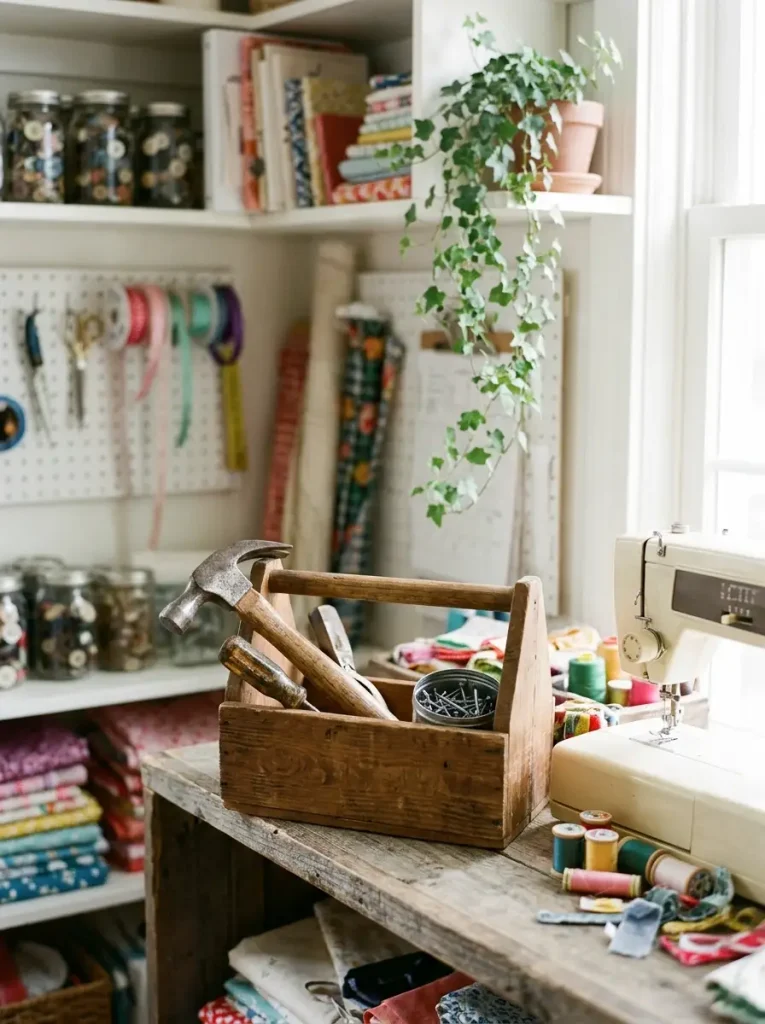
A small toolbox with a screwdriver, a hammer, and a few nails saves you from leaving the room every time the sewing machine jams or a shelf needs tightening.
Keep it on a shelf within reach, not buried in a drawer.
27. Add a Clock and a Timer
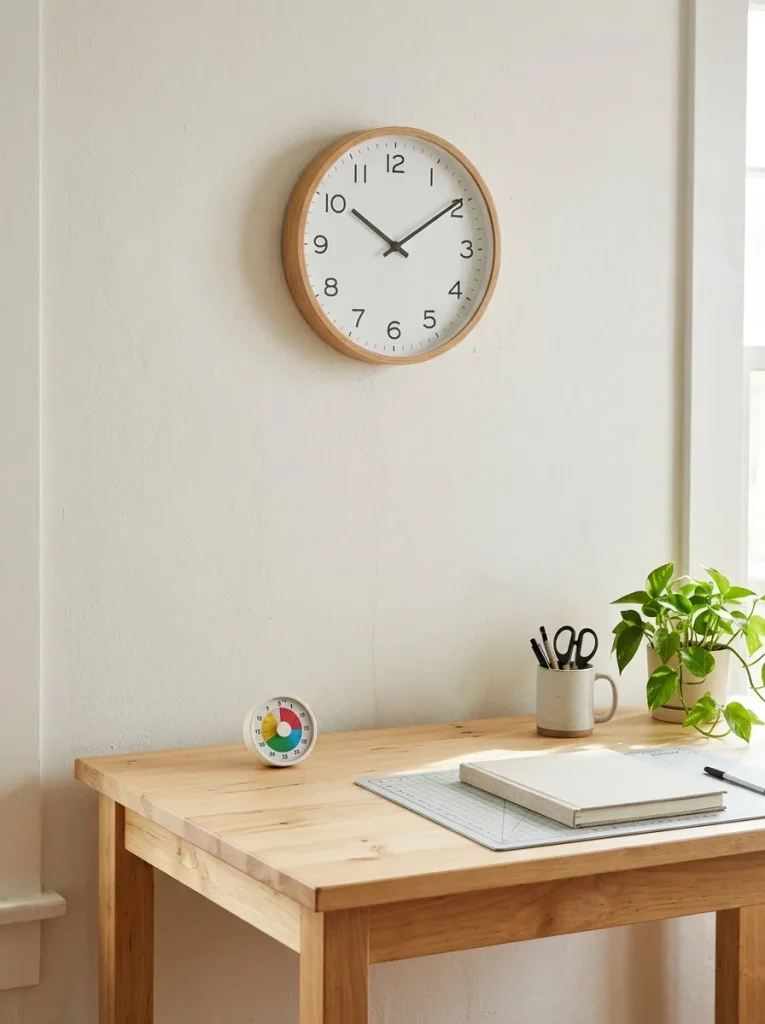
It sounds simple, but a clock on the wall and a small timer on the table help you track time when you are in a flow state. They make it easier to stop when you need to.
This is especially useful if the craft room is also a home office.
28. Leave One Wall Completely Empty
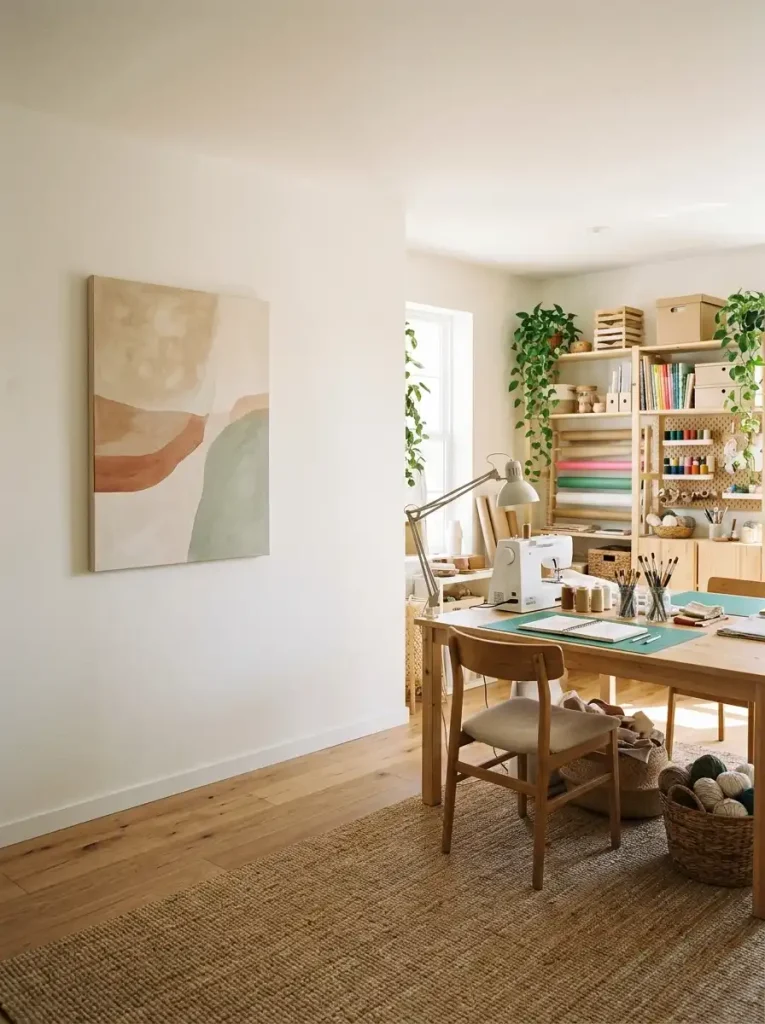
Not every wall needs storage. One empty wall gives the room a sense of space and keeps it from feeling crowded. It also gives you room to grow.
Use the empty wall for a large piece of art, a mirror, or nothing at all. The room will feel calmer for it.
“A craft room is not a storage room. It is a room where making things happens.”
29. Use a Cutting Mat as the Base Layer
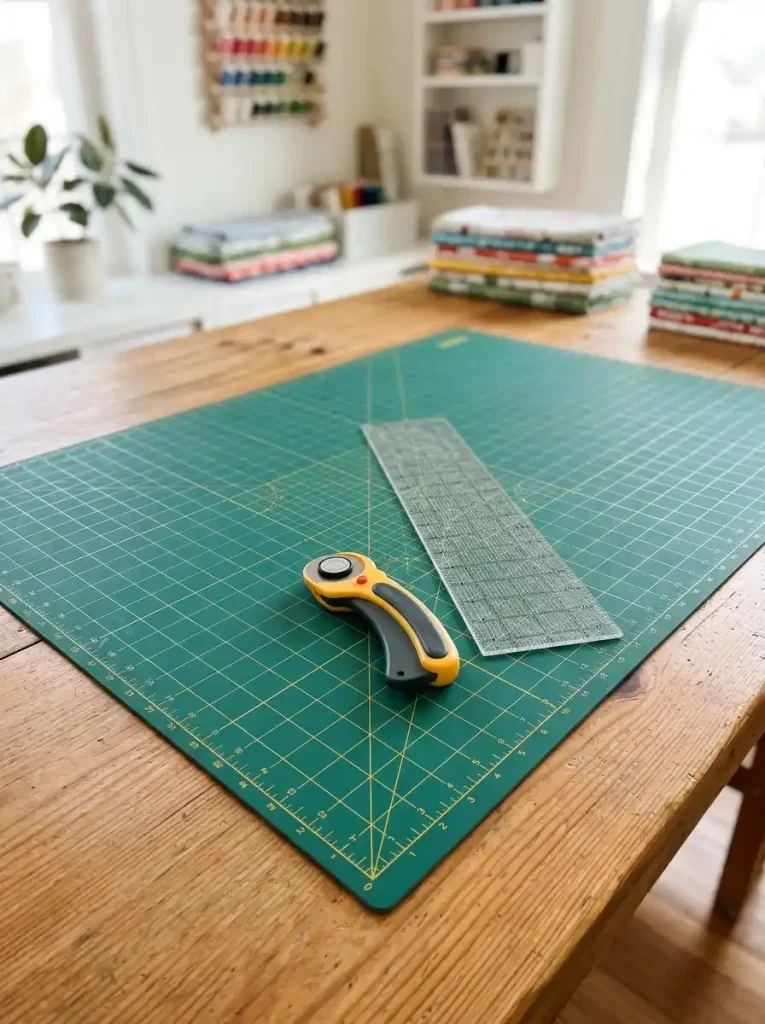
A large self-healing cutting mat does more than protect the table. It defines the work zone and gives you a measuring grid built into the surface.
Choose the largest mat that fits your table. A 24 by 36 inch mat covers most projects and still leaves room for tools.💡
Leave the cutting mat out on the table at all times. If you have to pull it out of a closet every time you craft, you will craft less.
30. The Dedicated Paper and Tool Station With Arm Lamps
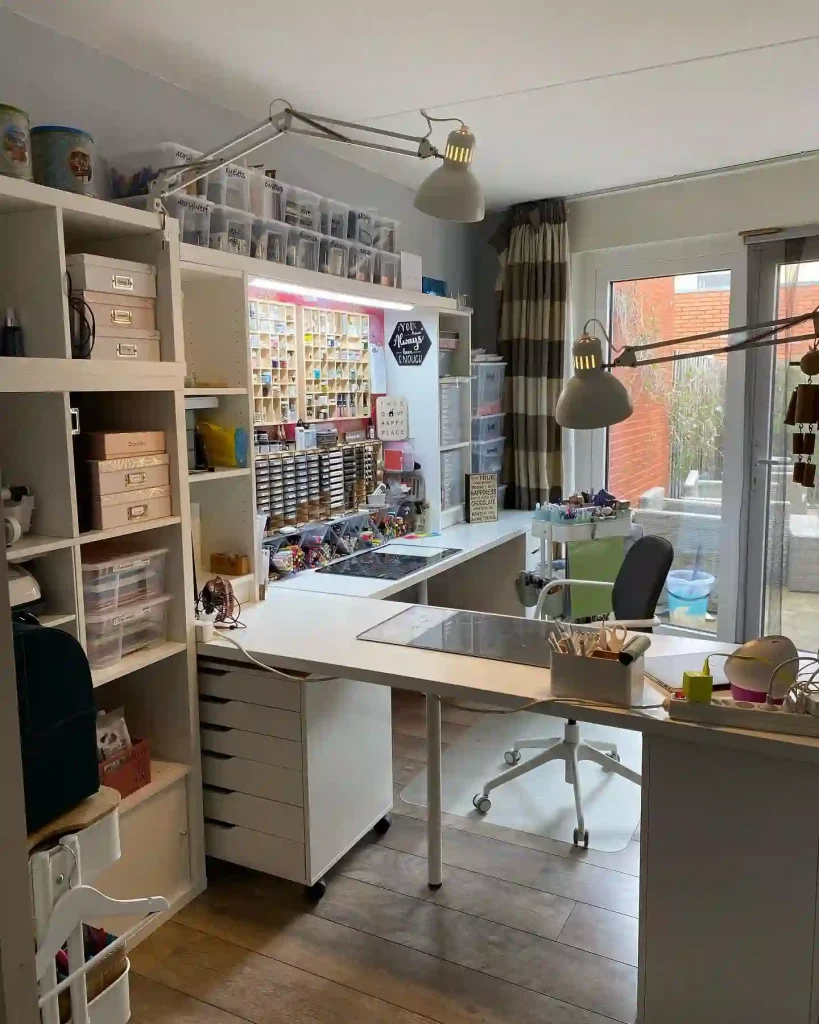
When your craft involves small, specific supplies, the storage needs to be highly organized. This room uses a large, well-lit desk with a tiered shelving unit above it, filled with clear bins and a wall of small drawers for tiny items.
The star of the setup is the pair of long, articulated arm lamps. They reach over the work surface and can be aimed exactly where they are needed, which is essential for detail work.
The rolling drawer unit underneath and the clear bins above keep everything within reach while the table stays clear.
Matching Your Storage to Your Craft
Different crafts need different storage. Use this table to find what fits.
Frequently Asked Questions
What is the most important thing in a craft room?
A sturdy table that does not wobble and a chair you can sit in for hours. Everything else can be added later. If the work surface is not comfortable, the room will not get used.
How do I organize a small craft room?
Use the walls. Pegboard, rails, and fold down tables give you storage and work space without taking up floor area. Keep the floor clear and the table as open as possible.
How do I keep a craft room from becoming a storage room?
Give every item a home and leave one wall empty. If a supply does not have a designated spot, it will end up on the table. The empty wall reminds you that the room is for making, not for storing.
Final Thoughts
A craft room works when it is built around the person using it, not around the supplies. Start with a solid table and a good chair. Add storage that keeps the tools visible and the clutter out of the way.
Leave a little space. An empty wall, a clear shelf, or a corner with nothing in it gives the room room to breathe. That is what makes a craft room feel like a place you want to be.