Are you dreaming of beautiful wood plank ceilings but assume they’re financially out of reach? Do you love the warmth and character that wood brings overhead but worry about installation costs and material expenses?
Wood ceilings represent one of the most dramatic home improvements, transforming ordinary rooms into architectural showpieces, but traditional solid wood installations often cost $8-$25 per square foot installed, putting them beyond many homeowners’ budgets.
The good news is that creative alternatives and strategic planning make wood ceiling aesthetics accessible at fractions of premium costs. From affordable pine planks and peel-and-stick options to reclaimed materials and DIY installation, numerous pathways exist for achieving wood ceiling beauty without financial stress.
Whether you’re working with $500 budgets or can stretch to $2,000-$3,000, understanding material options, installation methods, and cost-saving strategies helps you create stunning wood ceilings that deliver maximum visual impact for your specific budget limitations.
Understanding Wood Ceiling Costs
Traditional Solid Wood Pricing
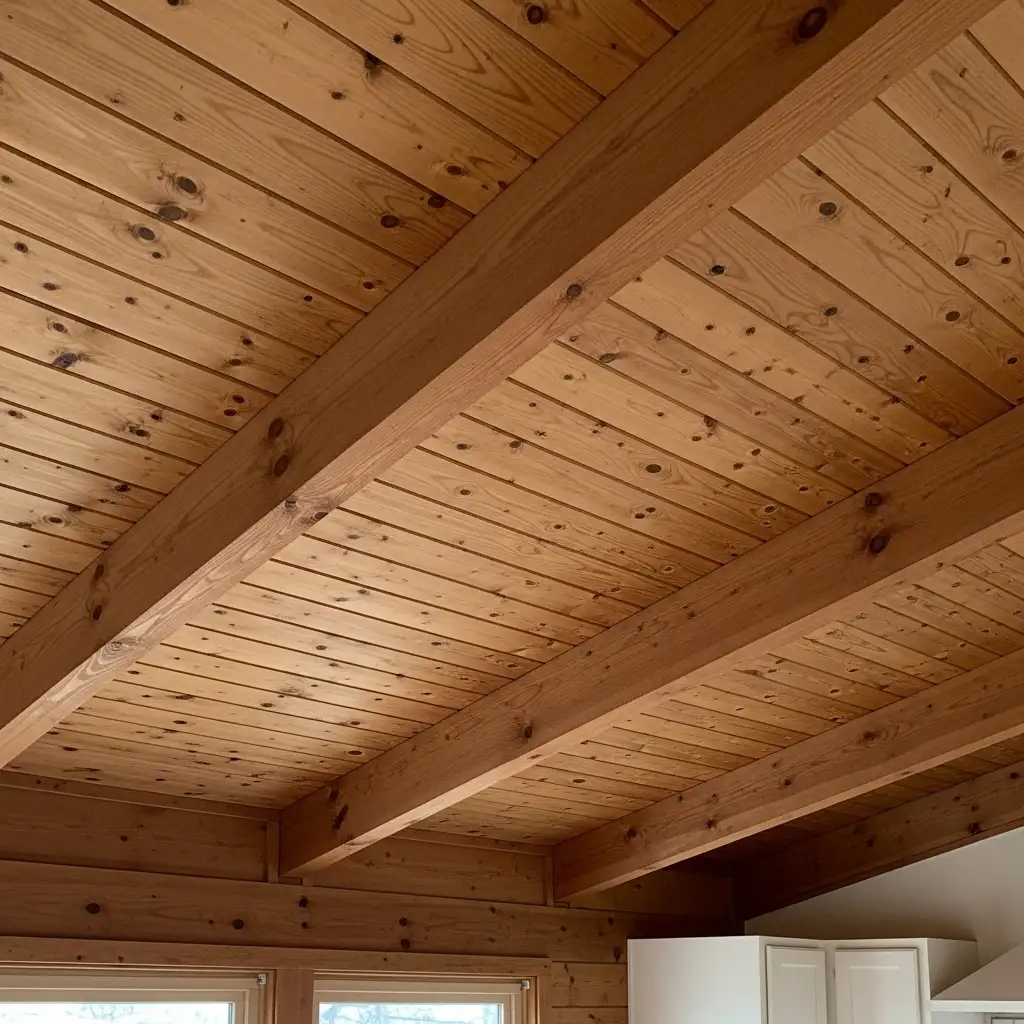
Standard solid wood ceiling installations using quality materials like pine, cedar, or oak typically cost $8-$15 per square foot for materials plus $5-$12 per square foot for professional installation. A standard 200 square foot bedroom ceiling would run $2,600-$5,400 total, while a 400 square foot great room could reach $5,200-$10,800. Premium woods like walnut, reclaimed barn wood, or specialty finishes can push costs to $15-$25 per square foot or higher, making full rooms prohibitively expensive for average budgets. Check out ideas on basement ceiling.
Budget-Friendly Alternatives Comparison
Fortunately, numerous alternatives deliver similar aesthetics at substantially reduced costs. Basic pine tongue and groove runs $1.50-$3.50 per square foot, plywood planks cost $1-$2 per square foot, peel-and-stick wood-look panels run $2-$5 per square foot, and faux wood beams cost $25-$80 per linear foot versus $100-$300 for solid timber. These affordable options make wood ceiling dreams achievable even on tight budgets when combined with DIY installation eliminating expensive labor costs that often exceed material expenses. Read this guide on star ceiling.
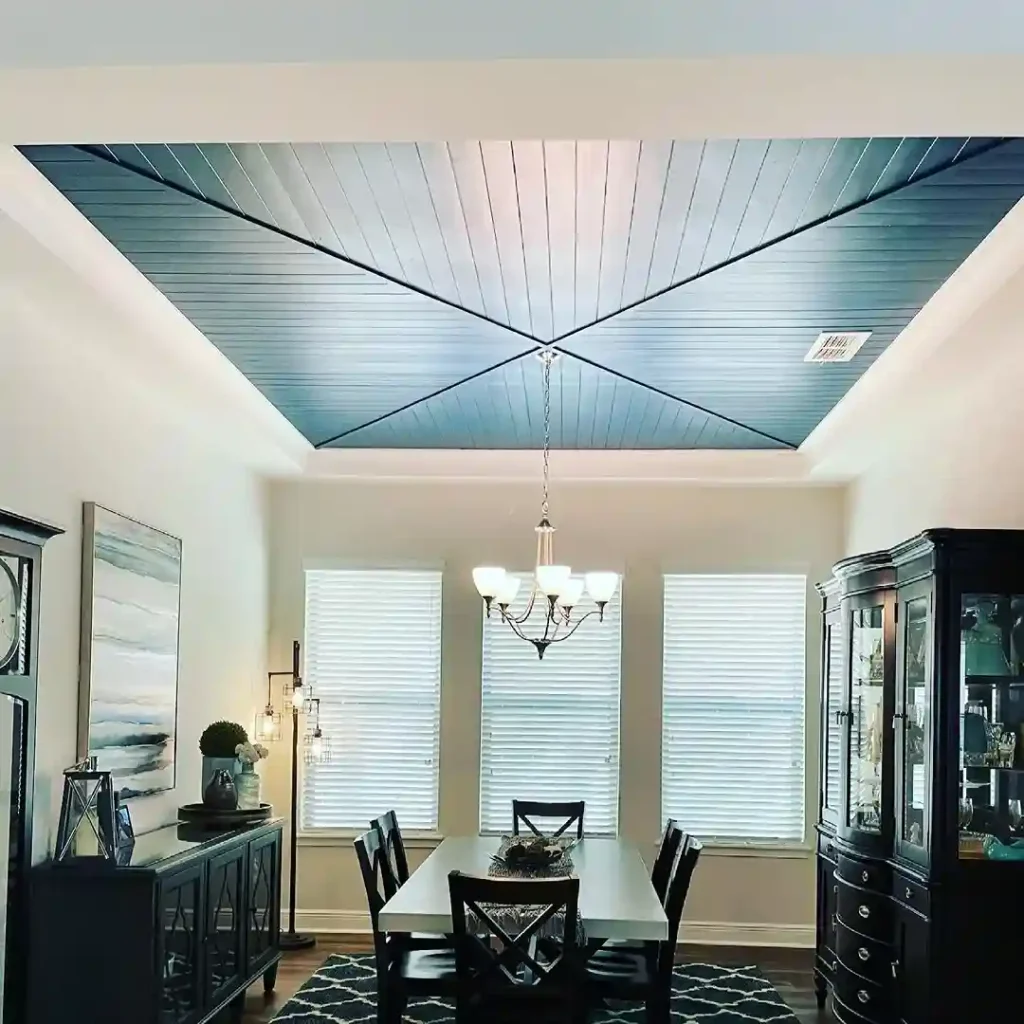
Source: @constructabilityhomes
Most Affordable Wood Ceiling Materials
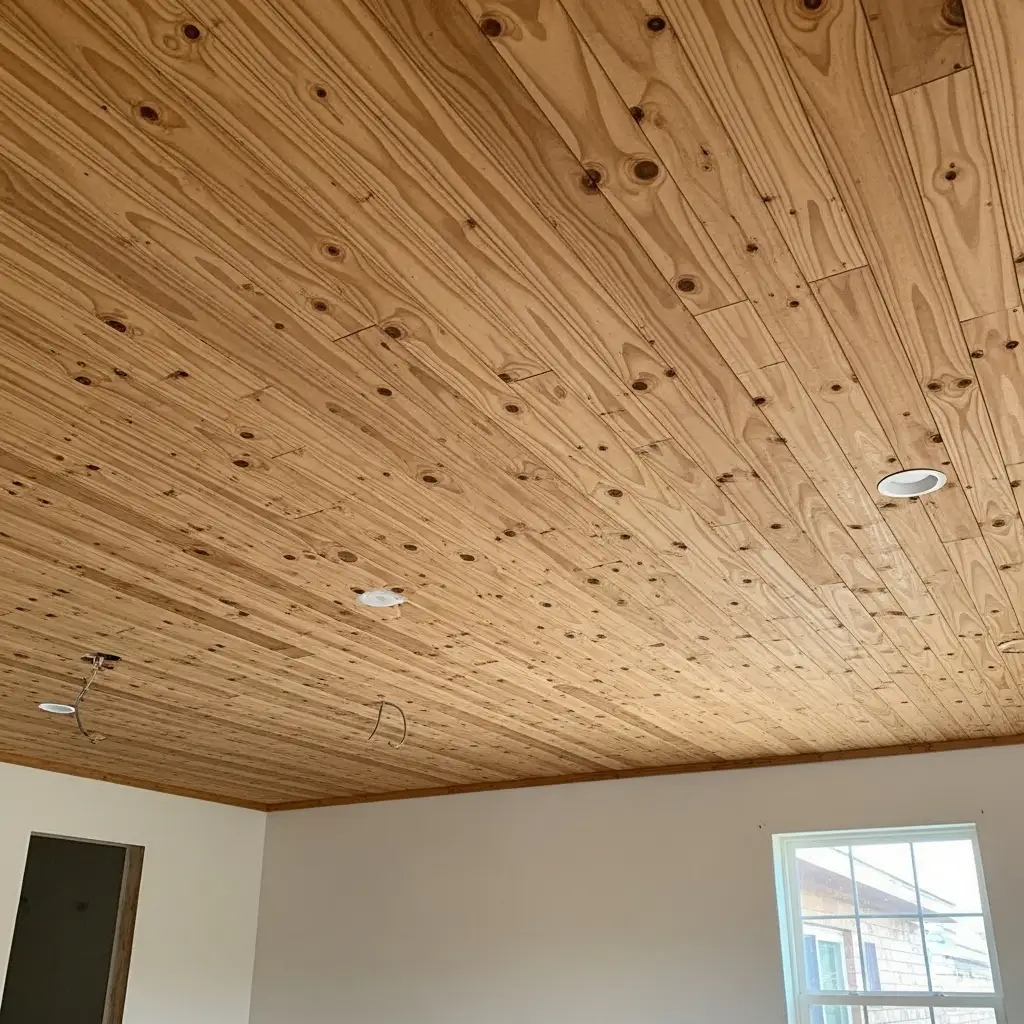
Basic Pine Tongue and Groove ($1.50-$3.50/sq ft)
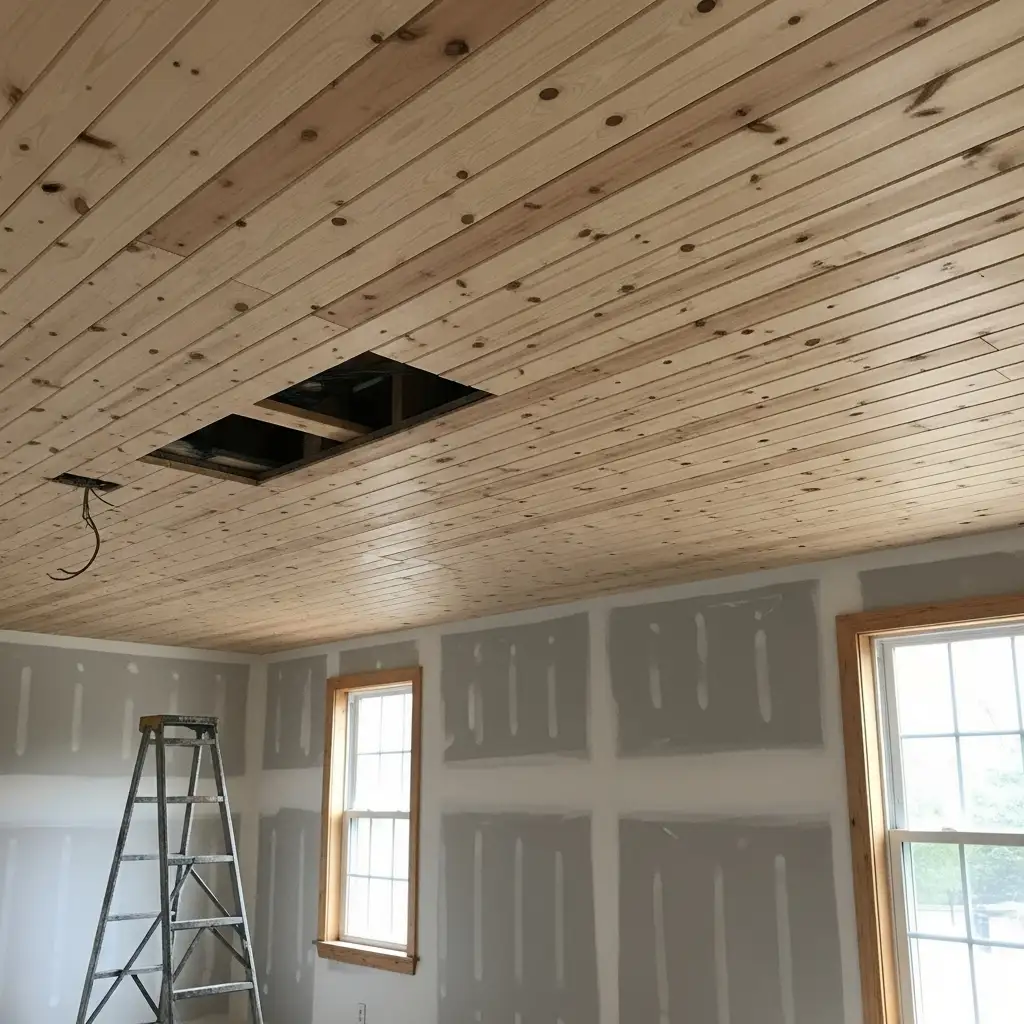
Pine represents the most budget-friendly solid wood option, offering genuine wood beauty at prices significantly below premium species. Standard 1×6 inch pine tongue and groove planks provide authentic wood grain, accept stains beautifully, and install relatively easily for DIY-capable homeowners. While pine dents more easily than harder woods, ceiling placement protects it from most impacts making softness less concerning than in flooring applications where durability matters more critically. You can also try affordable wallpaper ceiling in your rooms.
Budget Example: A 200 sq ft ceiling costs $300-$700 in materials, plus approximately $200-$400 in supplies (nails, stain, polyurethane), totaling $500-$1,100 for DIY installation versus $2,600-$5,400 professionally installed.
Plywood Plank Ceilings ($1-$2/sq ft)
Plywood cut into planks creates remarkably convincing wood ceilings at rock-bottom prices. Purchase 4×8 sheets of quality cabinet-grade plywood ($40-$60 per sheet) and rip into 6-8 inch planks using table saws. The smooth plywood accepts stains uniformly, and when properly finished, casual observers cannot distinguish from solid wood from ground level. This ultra-budget approach works beautifully for larger spaces where even inexpensive pine becomes cost-prohibitive. For plywood ceiling inspiration, see our why plywood walls are the ultimate design flex guide.
Budget Example: A 200 sq ft ceiling requires approximately 6-7 sheets of plywood ($240-$420), plus stain and finish ($100-$150), totaling $340-$570 for complete DIY project.
Peel-and-Stick Wood Panels ($2-$5/sq ft)
Modern peel-and-stick wood-look panels offer incredible convenience for non-DIYers uncomfortable with saws and nail guns. These lightweight panels feature adhesive backing that sticks directly to existing drywall ceilings, requiring only utility knives for cutting and basic measuring skills. While not genuine wood, quality options convincingly replicate wood grain and texture, particularly when viewed from floor level where small details disappear in distance and shadows.
Budget Example: A 200 sq ft ceiling costs $400-$1,000 in materials, typically installable in single weekends without special tools, eliminating labor costs entirely while providing instant gratification.
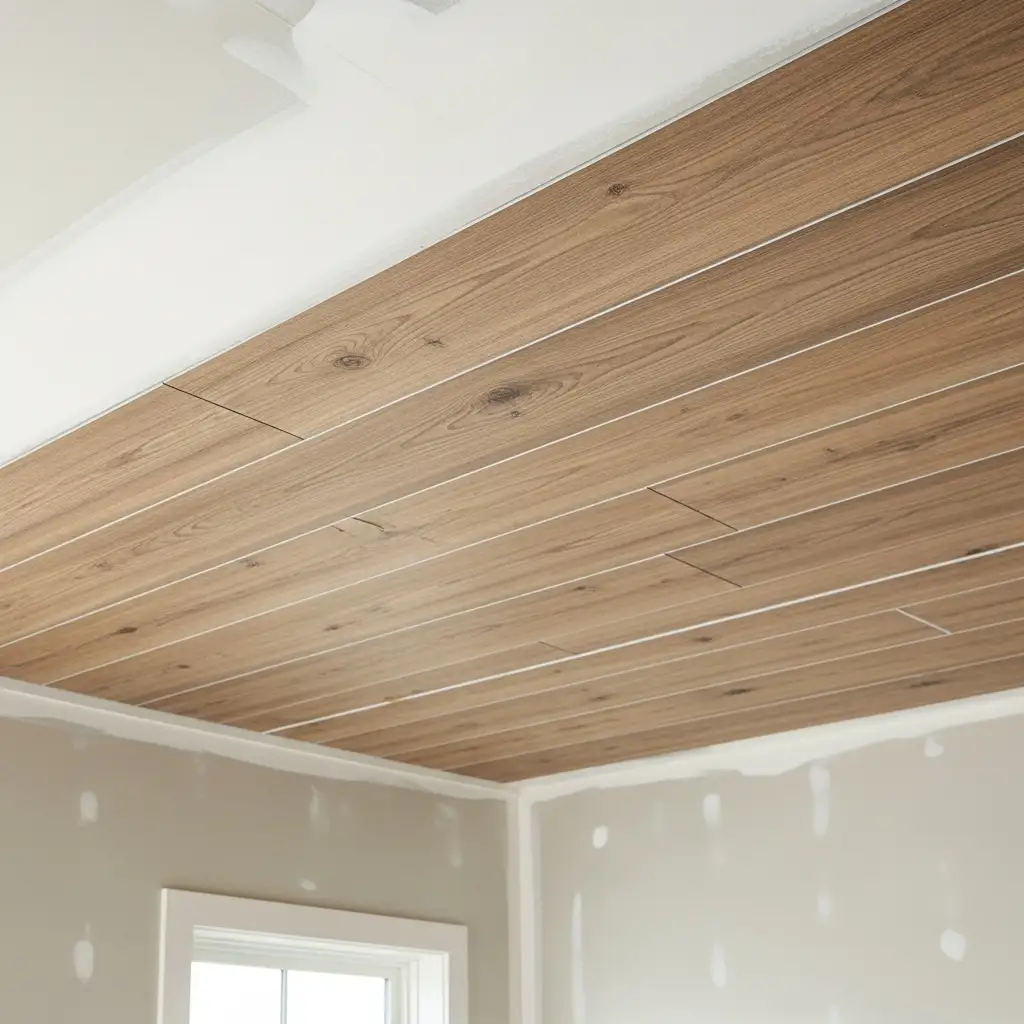
Shiplap and Decorative Molding ($1-$4/sq ft)
Primed pine shiplap boards offer affordable alternatives to tongue and groove, creating horizontal plank patterns with characteristic shadow lines between boards. The overlap installation proves slightly easier than tongue and groove for beginners, and primed boards accept paint without additional preparation. Combined with strategic decorative molding creating grid patterns or coffered effects, basic materials create sophisticated ceiling treatments. See our shiplap ceiling ultimate guide for complete shiplap information.
Source: @braemynhomes
Budget Example: A 200 sq ft ceiling costs $200-$800 in materials depending on board quality and width, plus paint and supplies ($100-$200), totaling $300-$1,000 DIY.
Creative Budget-Saving Strategies
Accent Ceilings Instead of Whole Rooms
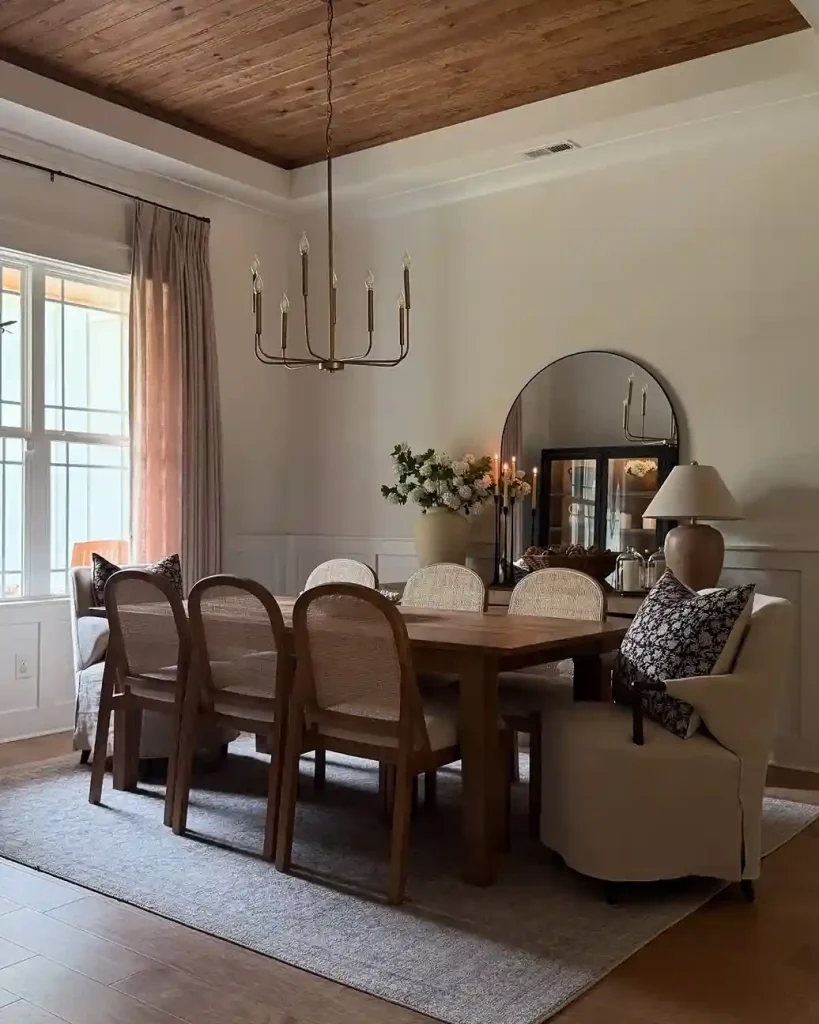
Maximize impact while minimizing costs by installing wood ceilings in strategic areas rather than entire homes. A single accent ceiling in master bedrooms, dining rooms, or entryways creates dramatic focal points at fractions of whole-house costs. This targeted approach allows using higher-quality materials or professional installation in limited areas while keeping overall project budgets manageable and reasonable.
Source: @handymartin_llc
Budget Example: A 100 sq ft dining room wood ceiling costs $500-$1,500 DIY versus $2,000-$5,000 for 400 sq ft great room, delivering equal wow factor for less investment.
Reclaimed and Salvaged Materials
Source free or cheap wood from demolished buildings, old fencing, shipping pallets, or barn structures creating unique ceilings with authentic character at minimal costs. Reclaimed materials require cleaning, possibly denailing, and preparation time, but the labor investment yields one-of-a-kind results impossible to purchase. Check architectural salvage yards, Craigslist, or Facebook Marketplace for deals on quality reclaimed lumber that would cost substantially more new.
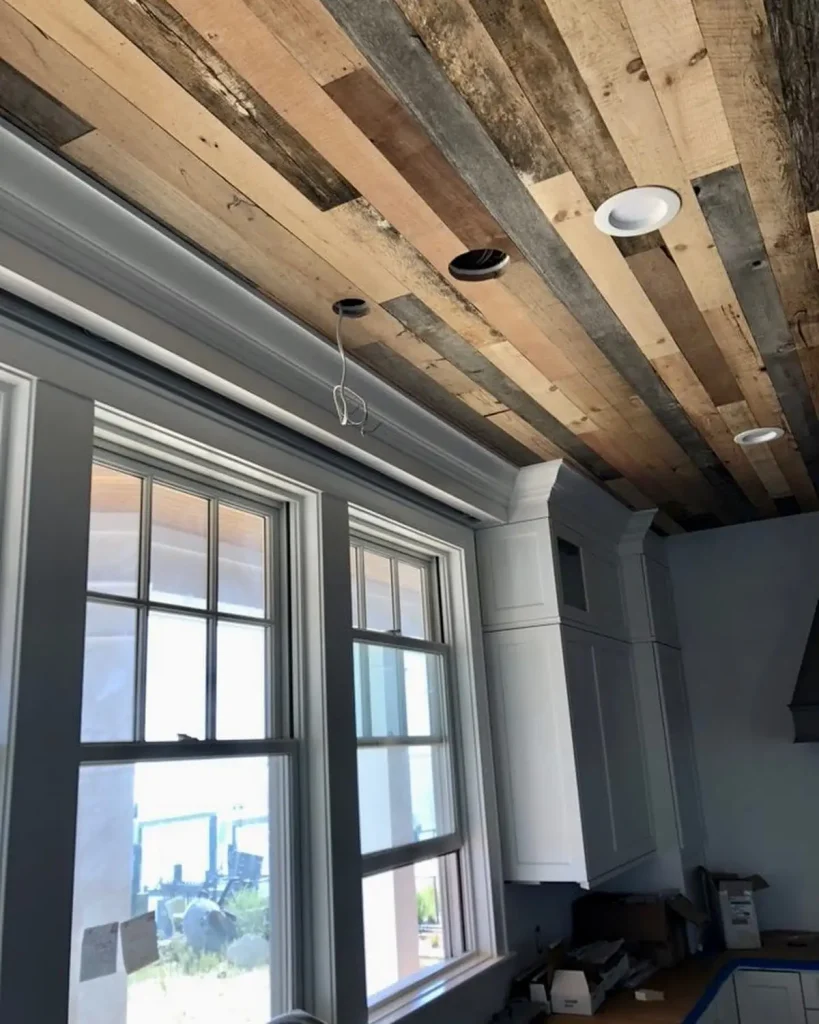
Budget Example: Free pallet wood requires only cleaning and finishing supplies ($100-$200 for 200 sq ft), delivering authentic rustic character for virtually nothing beyond sweat equity and time.
Paint Instead of Stain
Save significantly by painting wood ceilings rather than staining and sealing. Quality exterior house paint costs $30-$50 per gallon covering approximately 350-400 square feet, while stain plus polyurethane sealer runs $40-$80 per gallon with lower coverage rates. Painted wood hides imperfections better than stains, allowing use of lower-grade materials with knots and blemishes that disappear under opaque paint creating uniform appearances.
Source: @coryell.home
Budget Example: Painting 200 sq ft ceiling costs approximately $50-$75 in paint versus $100-$150 for stain and polyurethane, saving $50-$75 while still achieving wood texture without natural grain coloration.
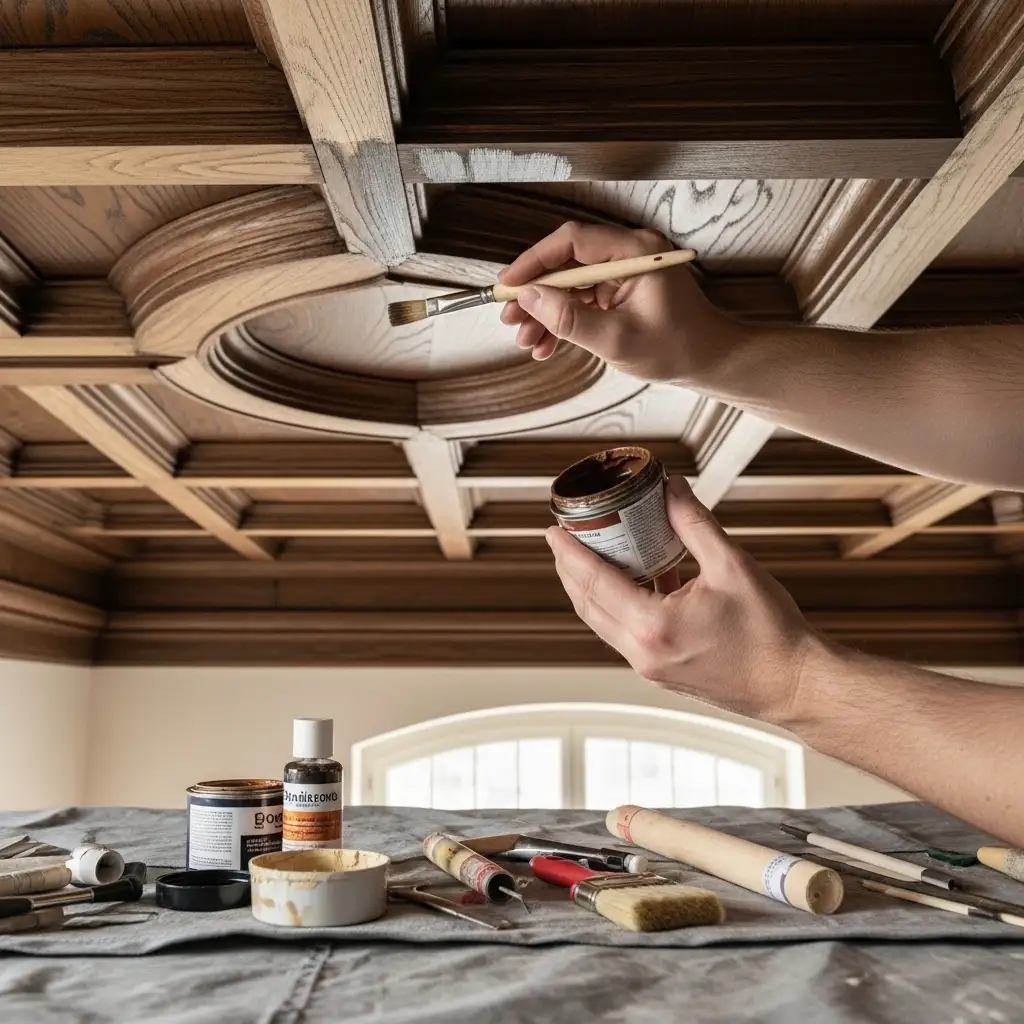
DIY Installation
Eliminate expensive labor by installing ceilings yourself, potentially saving $5-$12 per square foot in professional installation fees. While ceiling work proves physically demanding and requires patience, basic carpentry skills and rental tools make most wood ceiling installations accessible for determined DIYers. Work with partners managing materials while you install, and take time ensuring straight, level installations rather than rushing through projects creating amateur-looking results.
Budget Example: DIY saves $1,000-$2,400 on 200 sq ft ceiling installation, allowing material budget increases or keeping thousands in pocket for other home improvements or savings.
Room-by-Room Budget Breakdown
Small Bedroom Wood Ceiling ($400-$1,200)
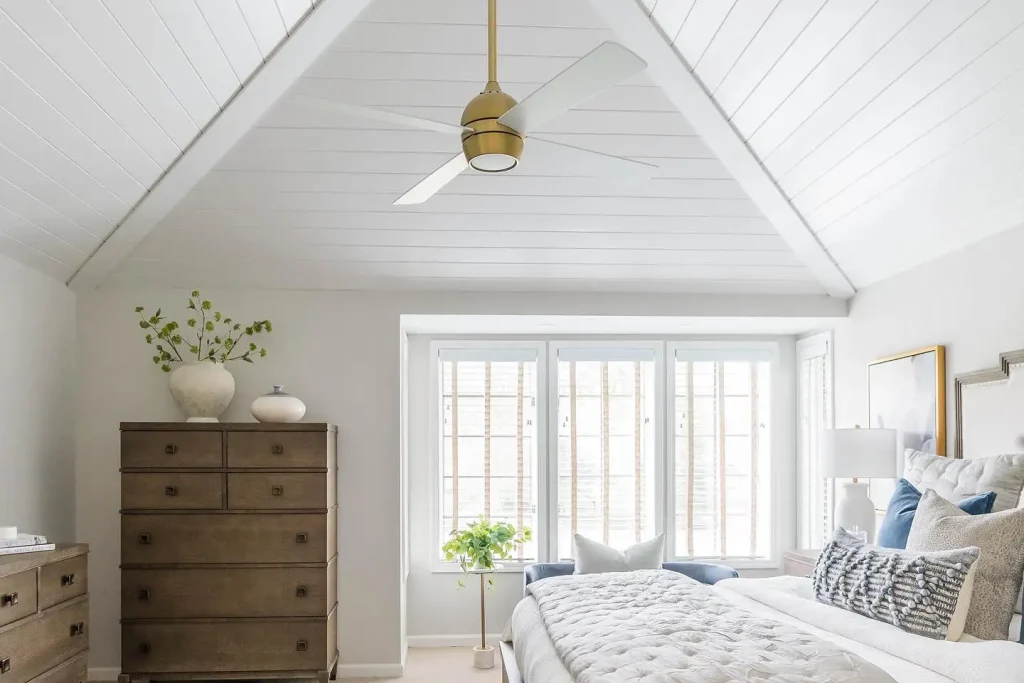
A typical 10×12 bedroom (120 sq ft ceiling) represents an ideal starter project for wood ceiling beginners. Using budget pine tongue and groove ($2/sq ft = $240) plus stain and polyurethane ($100), nails and supplies ($50), and basic tool rentals if needed ($50), the total DIY cost runs approximately $440-$500. Allow 2-3 weekends for completion working part-time, making it manageable for working homeowners. This achievable project builds confidence while creating beautiful results in intimate spaces. For bedroom design inspiration, see our master bedroom ideas guide. Or you can also choose various ideas of sloped ceiling for the small space bedrooms.
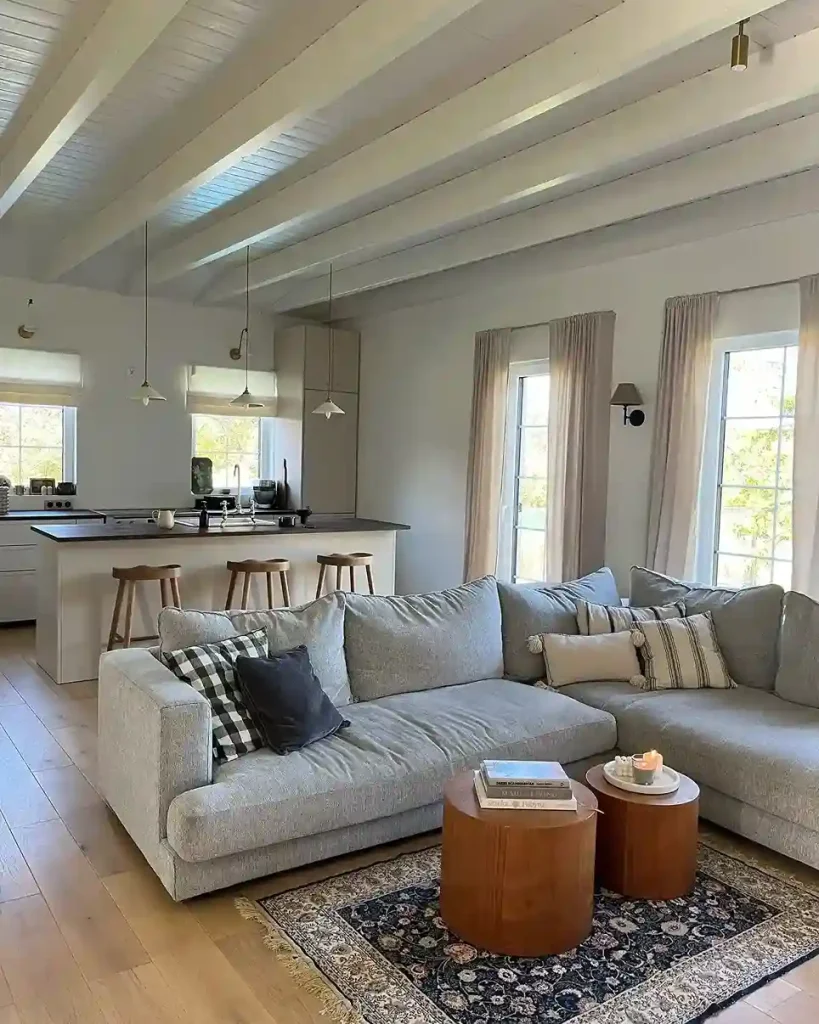
Medium Living Room ($800-$2,500)
A 15×18 living room (270 sq ft ceiling) requires more materials and time but remains budget-achievable through strategic choices. Basic pine ($2.50/sq ft = $675), finishing supplies ($150), and miscellaneous needs ($100) total approximately $925 for DIY installation. Alternatively, painted plywood planks ($1.50/sq ft = $405) plus paint ($75) and supplies ($75) drop costs to $555, demonstrating how material selection dramatically impacts final budgets. Visit our living room wall decor for living room design.
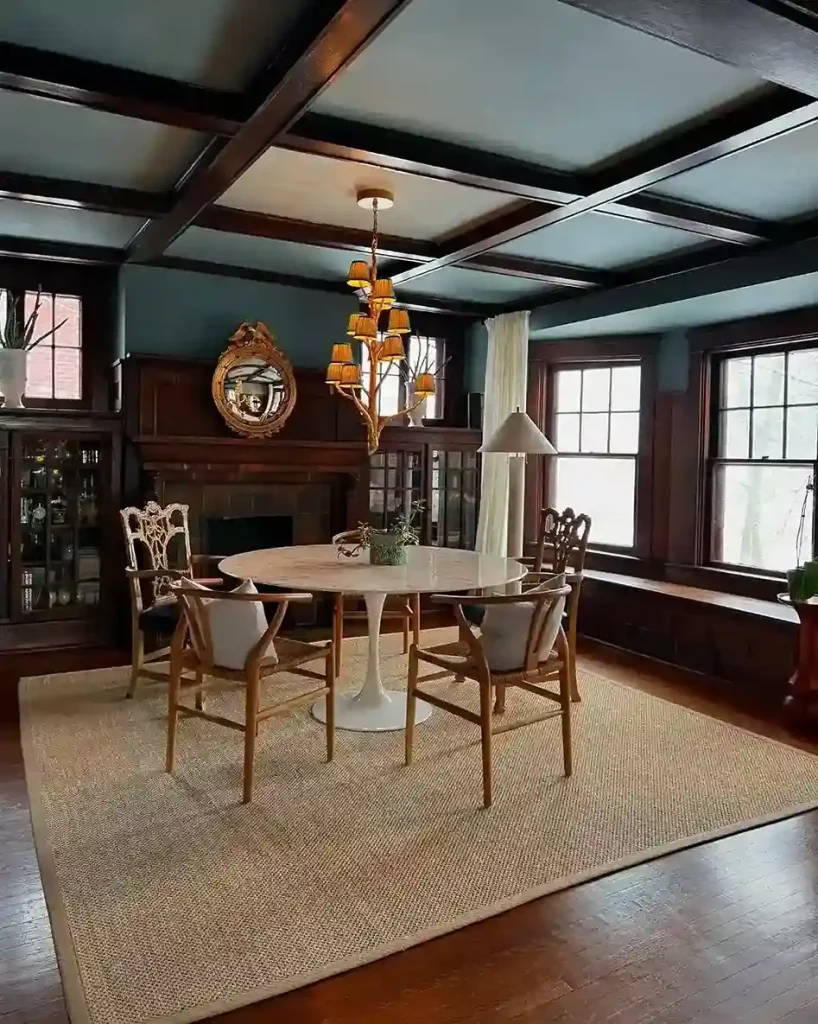
Dining Room Accent Ceiling ($300-$900)
An 11×11 dining room (121 sq ft) provides perfect proportions for dramatic wood ceiling accents at minimal costs. This modest square footage allows splurging on slightly nicer materials or detailed finishing while maintaining overall budget-friendliness. Use the savings to add faux beams ($200-$400 for 4 beams) creating coffered effects that elevate basic plank ceilings into custom-looking installations. See our dining room ideas for dining design.
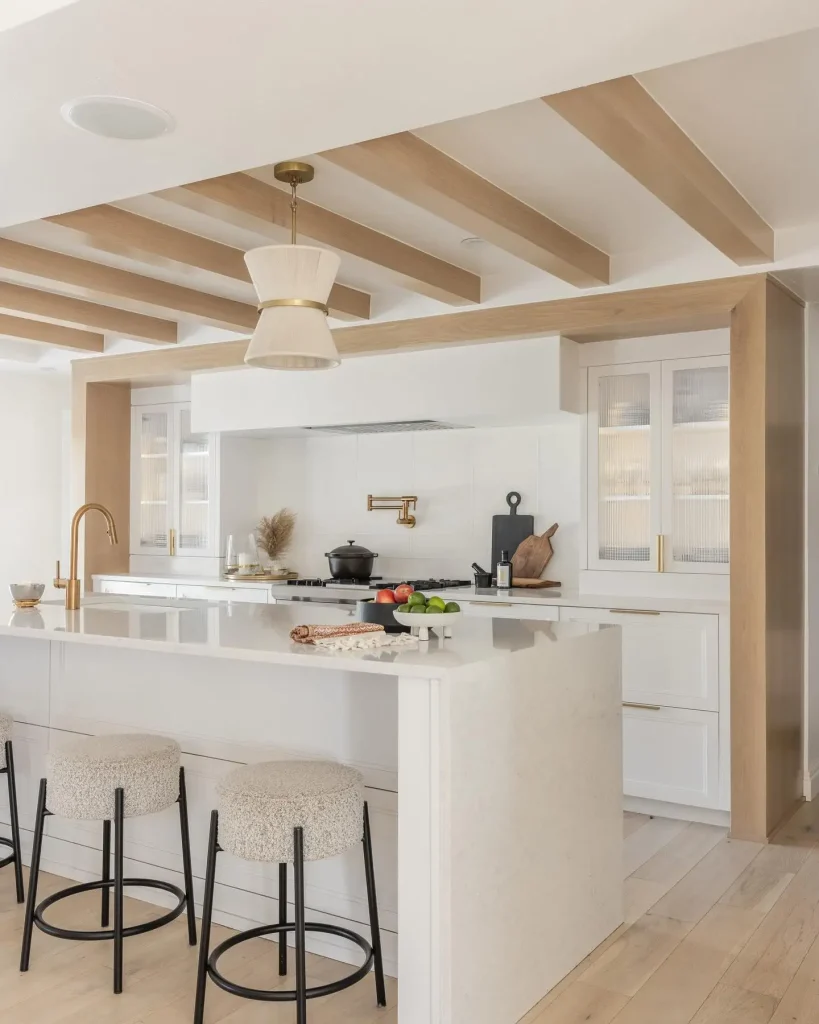
Kitchen Wood Ceiling ($600-$1,800)
Kitchen ceilings benefit tremendously from wood’s warmth softening hard surfaces from cabinets, countertops, and appliances. A 12×14 kitchen (168 sq ft) using budget materials ($300-$500) plus moisture-resistant sealers appropriate for cooking environments ($150-$200) creates achievable projects. Consider peel-and-stick options ($3/sq ft = $504) for rental kitchens or situations where permanent installations seem impractical or undesirable. For kitchen inspiration, visit our kitchen remodel ideas guide.
Installation Cost-Saving Tips
Rent Professional Tools
Rather than purchasing expensive tools used once, rent nail guns, compressors, and specialty equipment from home improvement stores for $30-$100 daily. This approach provides professional-quality tools ensuring better results while avoiding hundreds in equipment purchases cluttering garages afterward. Reserve tools for long weekends maximizing rental value while minimizing costs through concentrated work sessions.

Work with Existing Ceilings
Install wood planks directly over existing drywall ceilings rather than removing and disposing of old materials. This approach saves demolition time, disposal fees ($200-$400 for typical rooms), and potential asbestos or lead paint complications in older homes. Furring strips provide attachment points if installing perpendicular to ceiling joists, adding minimal cost ($50-$100) while simplifying installation dramatically.
Buy Materials Strategically
Purchase materials during off-season sales (late fall/winter) when lumber demand drops and retailers discount inventory. Big box stores regularly offer 10-20% discounts during slow periods, potentially saving hundreds on larger projects. Buy slightly more than calculated needs accounting for mistakes and waste, but avoid extreme overbuying tying up money in unused materials sitting in garages indefinitely.

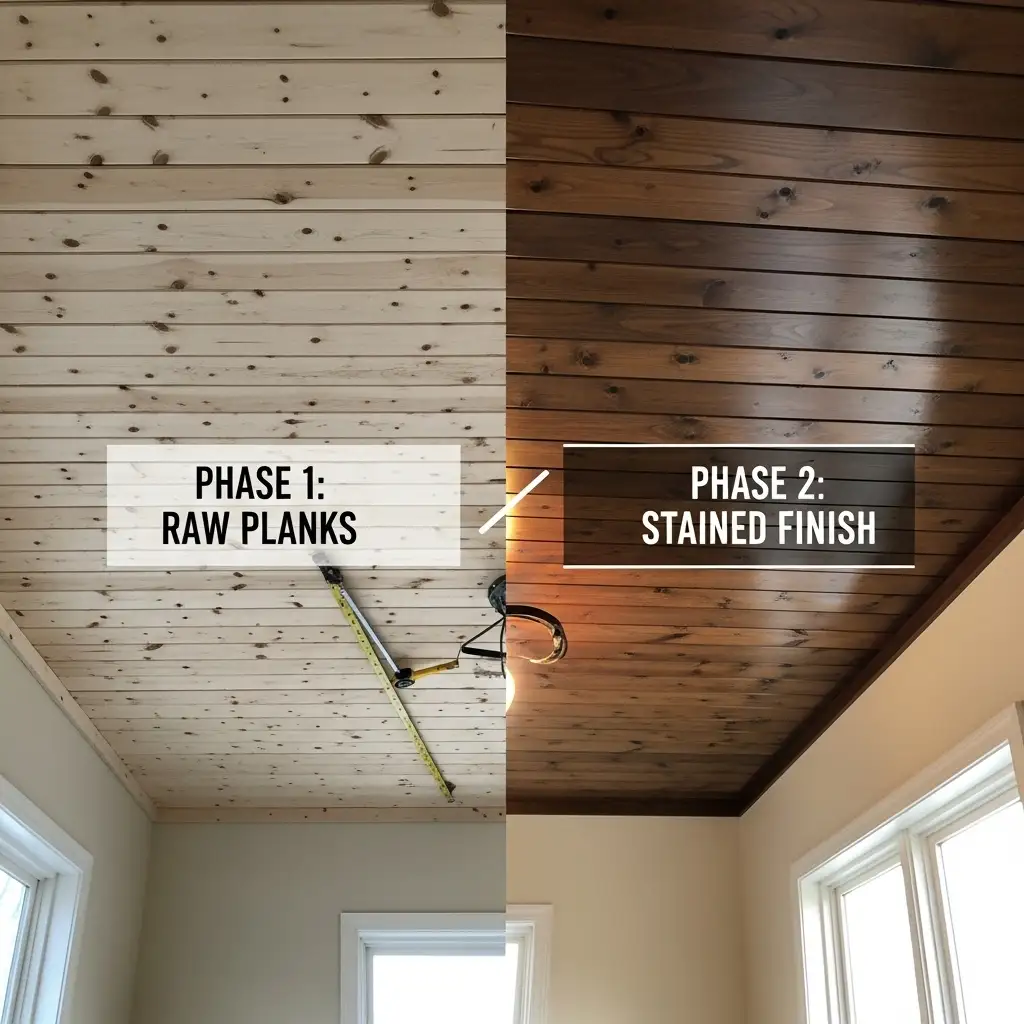
Finish in Phases
Complete wood ceiling projects in phases if budgets require spreading costs across months or seasons. Install raw planks initially, then stain/paint as budgets allow, or complete individual rooms sequentially rather than simultaneously. This measured approach prevents debt while steadily improving homes without financial stress or rushing quality for timeline convenience.
Maintaining Budget Wood Ceilings
Proper Finishing Prevents Issues
Invest adequately in quality stains, paints, and sealers protecting budget wood from moisture, fading, and deterioration. Cheap finishing products fail quickly, requiring premature refinishing that negates initial material savings. Proper sealing especially matters in kitchens and bathrooms where moisture exposure threatens unsealed wood, potentially causing warping, mold, or rot requiring expensive repairs or replacement.
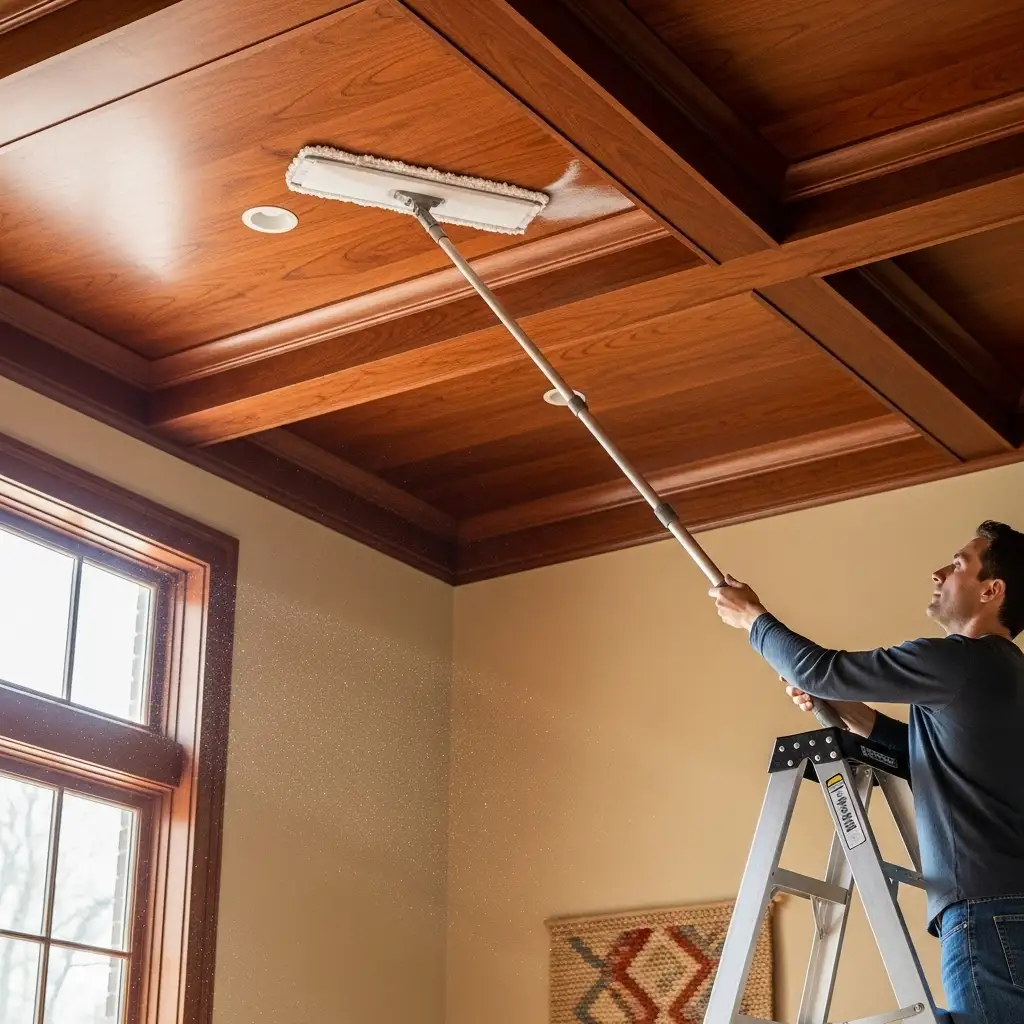
Regular Dusting and Cleaning
Maintain wood ceilings through occasional dusting with microfiber mops or vacuum extension wands preventing dust accumulation dulling appearances. Budget materials deserve same care as premium options, ensuring longevity justifying installations. Annual or biannual cleanings preserve beauty while identifying any developing issues before they become expensive problems requiring professional intervention.
Touch-Up When Needed
Address minor damage immediately through touch-up stain, paint, or wood filler preventing small issues from spreading. Budget materials may show wear faster than premium alternatives, making proactive maintenance crucial for maximizing lifespan. Keep remaining finish products for future touch-ups, ensuring color matching when addressing inevitable minor damages over years of ceiling service.
When to Splurge vs. Save
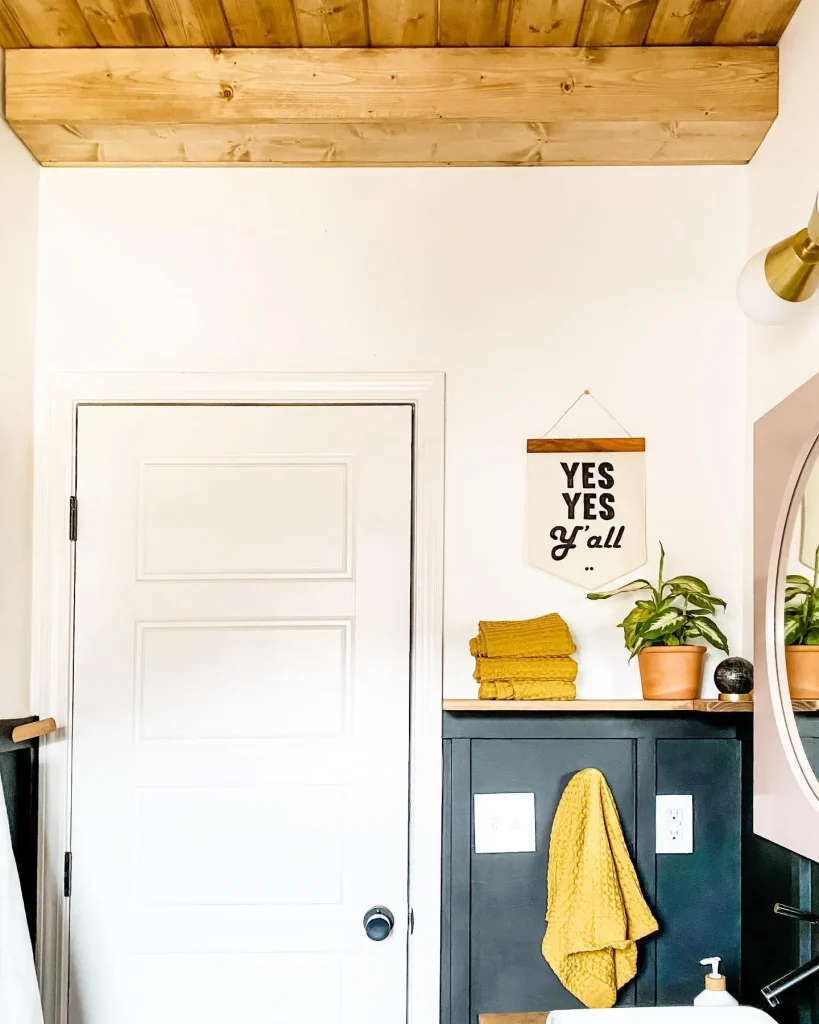
Save on Hidden Areas
Use cheapest materials in closets, laundry rooms, or other low-visibility spaces where dramatic wood grain appreciation matters less than basic wood texture and warmth. These areas benefit from wood’s insulating and acoustic properties without requiring showcase-quality appearance justifying premium material investments.
Source: @shannonmurrayinteriors
Splurge on Focal Points
Invest in higher-quality materials or professional finishing for highly visible areas including dining rooms, entryways, or master bedrooms where guests and homeowners spend significant time appreciating details. These showcase spaces justify stretching budgets slightly for materials that truly shine under scrutiny, creating impressive results worth extra investment.
Balance Quality and Quantity
Sometimes better results come from quality materials in limited areas rather than cheap materials everywhere. A stunning wood ceiling in one perfect room often delivers more satisfaction and home value than mediocre wood throughout multiple rooms. Consider this trade-off when planning, potentially scaling back square footage to afford better materials creating truly memorable spaces.
Frequently Asked Questions
What is the cheapest way to add wood to a ceiling?
The absolute cheapest approach uses plywood ripped into planks ($1-$2/sq ft) and painted rather than stained, potentially completing 200 sq ft for $300-$500 DIY. Pallet wood provides even cheaper options if you’re willing to source, clean, and prepare free materials, though time investment replaces monetary costs. Peel-and-stick panels offer cheapest convenience for those avoiding carpentry entirely.
Can I install wood ceiling myself?
Yes, most homeowners with basic DIY skills can successfully install wood ceilings using rental tools and careful planning. The overhead work proves physically demanding, requiring helpers managing materials, but techniques are straightforward following online tutorials. Start with small rooms building confidence before tackling large spaces, and don’t rush—patient, methodical work ensures professional-looking results despite amateur installation.
How much does it cost to wood plank a ceiling?
DIY wood ceiling costs average $2-$8 per square foot depending on material choices, or $400-$1,600 for typical 200 sq ft bedrooms. Professional installation adds $5-$12 per square foot, raising total costs to $1,400-$4,000. Budget pine DIY installations run cheapest ($2-$4/sq ft total) while premium woods professionally installed reach $15-$25/sq ft or higher for luxury results.
Are wood ceilings worth the cost?
Wood ceilings provide substantial visual impact, increased home value, improved acoustics, and personal satisfaction that many homeowners find worth investment. Budget installations delivering dramatic results at $500-$1,500 per room offer excellent value compared to other home improvements requiring similar investments. The permanent nature means enjoying results daily for decades, amortizing costs across years of use and appreciation.
Conclusion: Achieving Wood Ceiling Dreams on Any Budget
Budget-friendly wood ceilings prove that financial limitations need not prevent achieving beautiful, character-rich overhead spaces that transform ordinary rooms into architectural showpieces. Through strategic material selection, DIY installation, and creative approaches including accent ceilings, reclaimed materials, and painted finishes, homeowners working with budgets from $300-$3,000 can create stunning wood ceiling installations that deliver maximum visual impact for available funds.
The key lies in prioritizing what matters most—whether authentic wood grain justifying premium materials, or simply wood texture and warmth achievable through budget alternatives. By understanding costs, exploring options, and committing to careful planning and execution, you can create wood ceiling beauty that enhances your home dramatically while respecting your financial reality and limitations.
Ready to explore more ceiling possibilities? Check our guides including wood plank ceiling ideas, tongue and groove ceiling, cheap wood ceiling ideas, ceiling design ideas, and home interior design ideas for complete inspiration. Your budget-friendly wood ceiling awaits—start planning today and transform your space with affordable materials, creative solutions, and the satisfaction of achieving designer looks without designer prices.