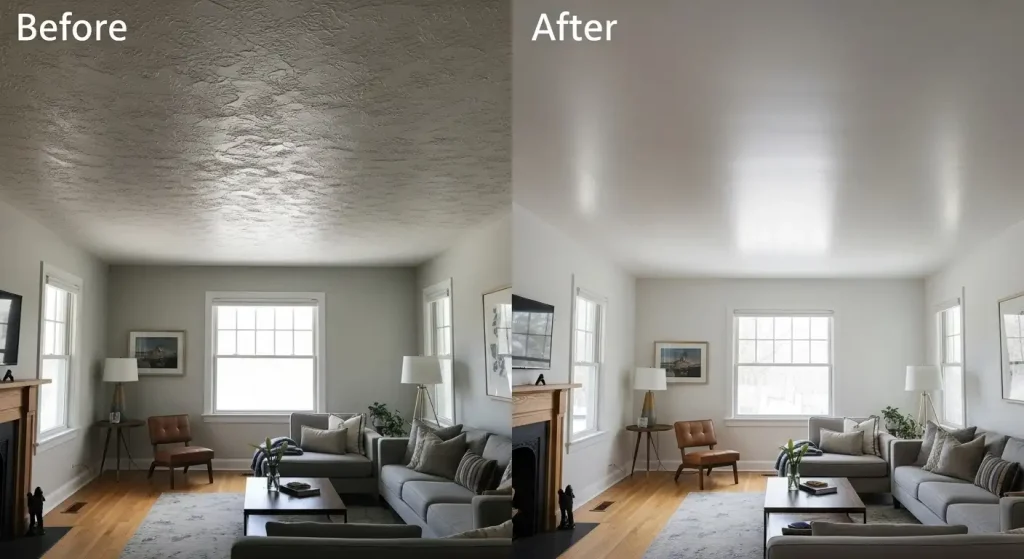
Popcorn ceilings—those textured, bumpy surfaces that were wildly popular from the 1950s through the 1980s—are one of the most divisive features in older homes. Also known as acoustic ceilings, cottage cheese ceilings, or stipple ceilings, this textured finish was once considered modern and practical. Today, most homeowners see popcorn ceilings as outdated eyesores that make rooms feel smaller and darker.
If you’re dealing with popcorn ceilings in your home, you have options. Whether you want to remove them completely, cover them with a smooth finish, or simply paint over them, this comprehensive guide will walk you through everything you need to know about transforming those dated textured ceilings into modern, beautiful surfaces.
What Is Popcorn Ceiling and Why Was It Popular?
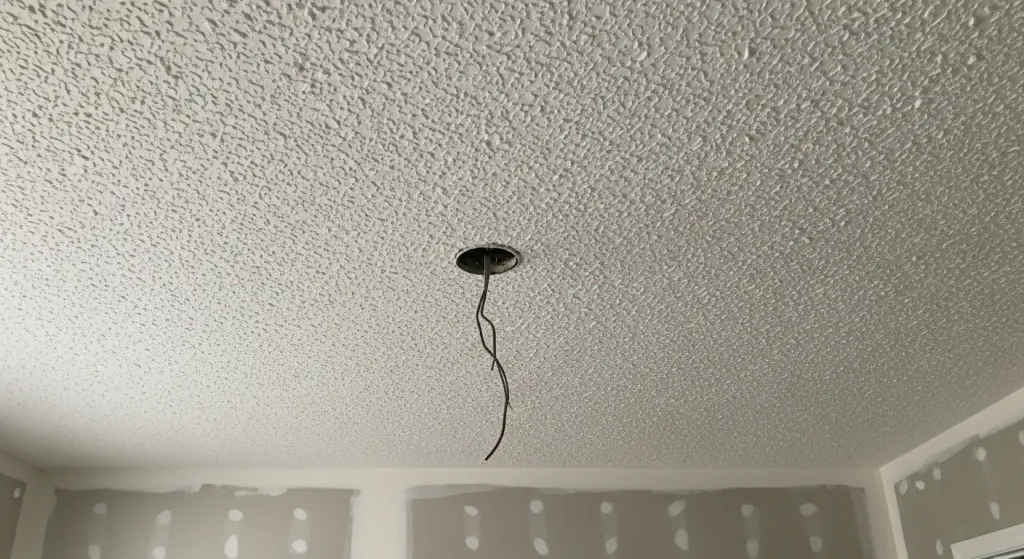
Popcorn ceiling texture is a spray-on or paint-on treatment that creates a bumpy, three-dimensional surface. The texture was created using materials like vermiculite, polystyrene, or Styrofoam particles mixed into paint or joint compound.
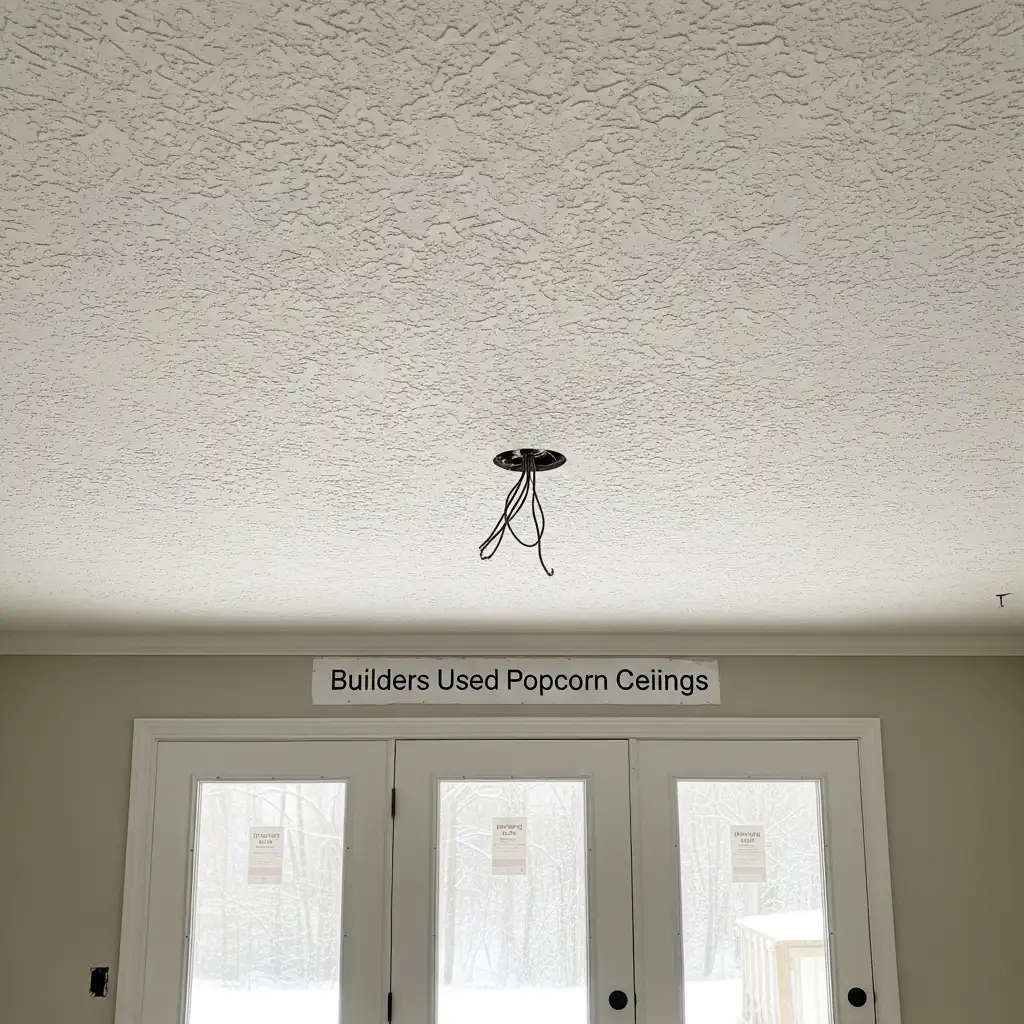
Why Builders Used Popcorn Ceilings
Sound Dampening: The primary selling point was acoustic properties. The textured surface helped absorb sound and reduce echo, making it popular in apartments, condos, and homes with open floor plans.
Hide Imperfections: Popcorn texture effectively concealed drywall imperfections, tape lines, and uneven surfaces. Builders could finish ceilings faster and cheaper without perfectly smooth taping and mudding.
Cost-Effective: Applying texture was faster and required less skill than creating perfectly smooth ceilings, reducing labor costs significantly.
Trendy Aesthetic: During its heyday, the textured look was considered modern and sophisticated. It was a deliberate design choice, not just practical.
Why Popcorn Ceilings Fell Out of Favor
Dated Appearance: By the 1990s, smooth ceilings became the preferred aesthetic. Popcorn texture began looking cheap and outdated.
Difficult to Clean: The bumpy surface traps dust, cobwebs, and debris that’s nearly impossible to clean without damaging the texture.
Hard to Repair: Any ceiling repairs require matching the texture perfectly, which is difficult and often unsuccessful.
Lowers Home Value: Many homebuyers specifically seek homes without popcorn ceilings or factor removal costs into their offers.
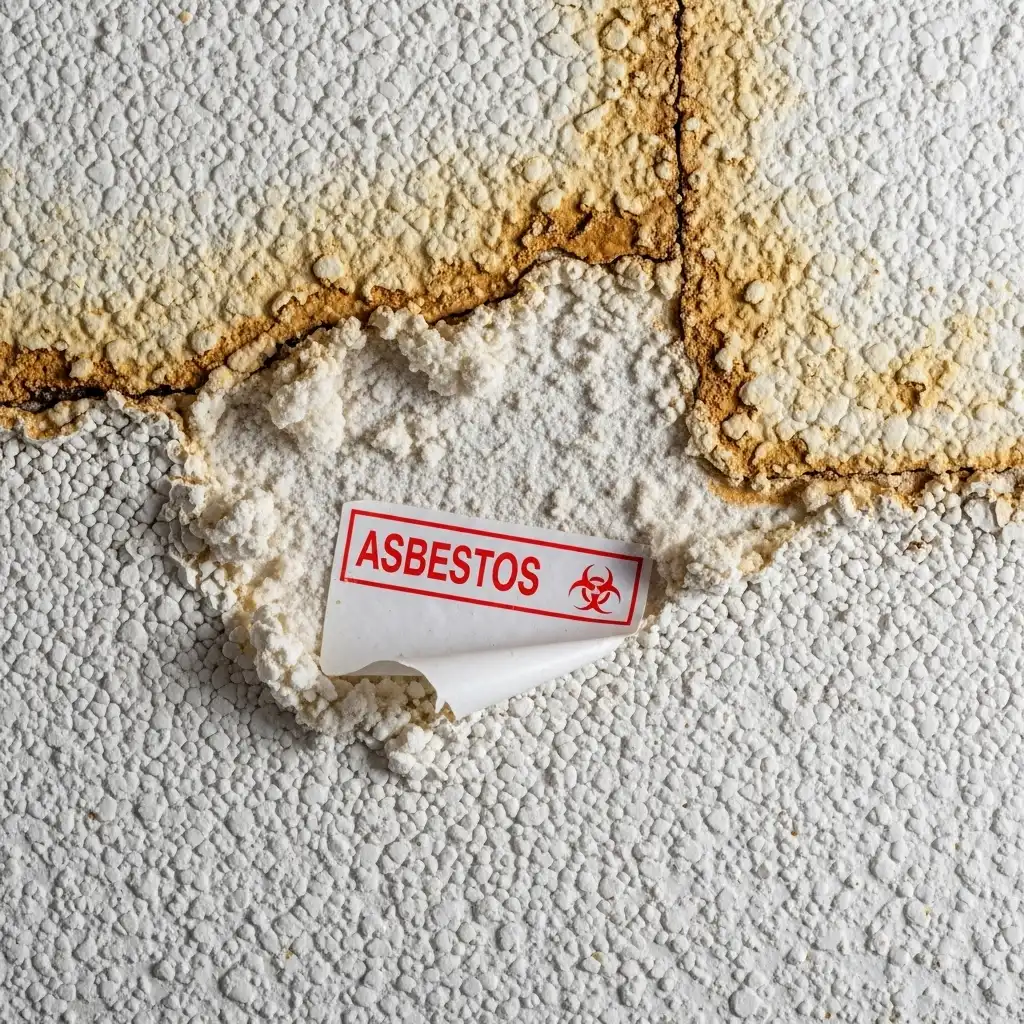
Asbestos Concerns: Popcorn texture applied before the mid-1980s may contain asbestos, raising serious health concerns.
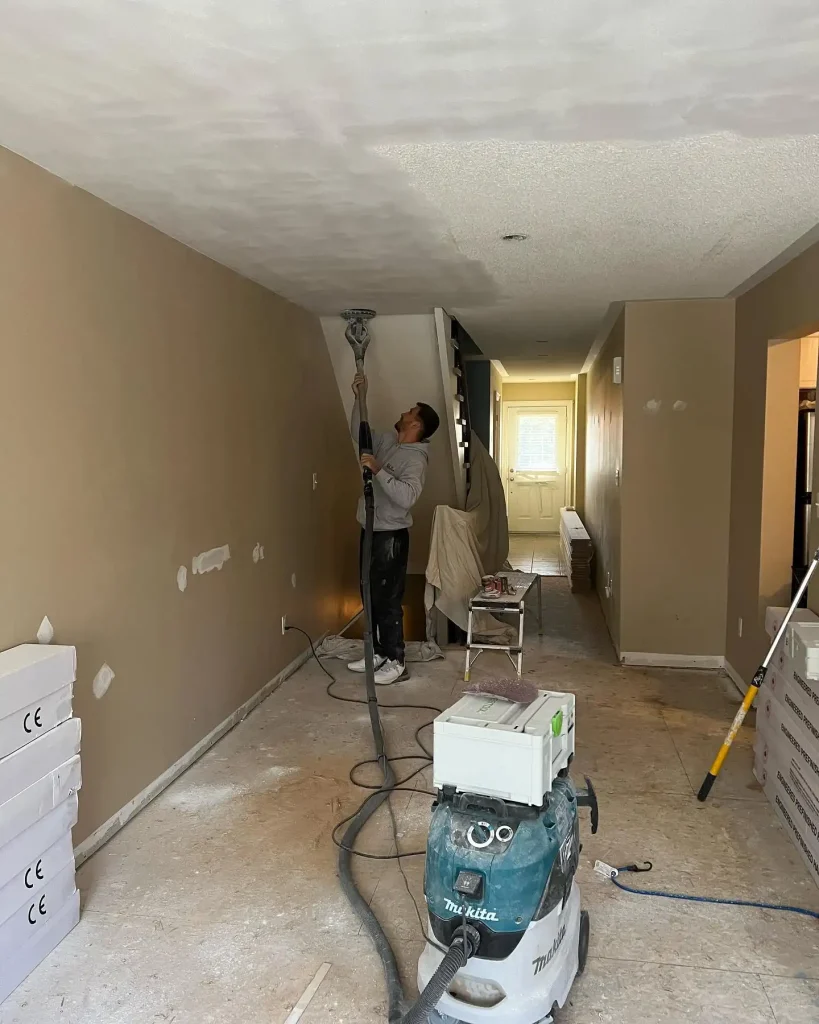
Credits: @lombardorenovations
The Asbestos Issue: What You Need to Know
Before attempting any popcorn ceiling removal or modification, you must address potential asbestos content.
When Popcorn Ceilings Contain Asbestos
Asbestos was commonly used in popcorn ceiling texture until it was banned for this purpose in 1977. However, manufacturers were allowed to use existing stock, so some popcorn ceilings installed through the mid-1980s may still contain asbestos.
If your home was built before 1990, assume your popcorn ceiling may contain asbestos until proven otherwise.
Testing for Asbestos
Professional Testing: Hire a certified asbestos inspector to take samples and have them analyzed in a lab. This typically costs between one hundred and three hundred dollars and provides definitive results.
DIY Test Kits: Home test kits are available for around forty dollars. You collect samples following instructions and mail them to a lab for analysis. Results take one to two weeks.
Never disturb popcorn ceiling texture without testing if your home was built before 1990. Asbestos fibers become dangerous when airborne, which happens when you scrape, sand, or damage the ceiling.
If Your Ceiling Contains Asbestos
You have three safe options:
Leave It Alone: If the ceiling is in good condition and not damaged, the safest option is often to leave it undisturbed. Asbestos is only dangerous when fibers become airborne.
Encapsulation: Cover the ceiling without disturbing it using new drywall, panels, or other covering methods discussed below.
Professional Removal: Hire certified asbestos abatement professionals. This is expensive—typically costing three to eight dollars per square foot—but ensures safe removal following EPA regulations.
Never attempt DIY removal of asbestos-containing popcorn ceilings. The health risks are severe and long-lasting.
Covering Popcorn Ceiling Without Removal
If you want smooth ceilings without the mess of removal, covering the existing popcorn ceiling is an excellent alternative.
Installing New Drywall Over Popcorn Ceiling
This method creates a completely new, smooth ceiling surface without disturbing the old texture.
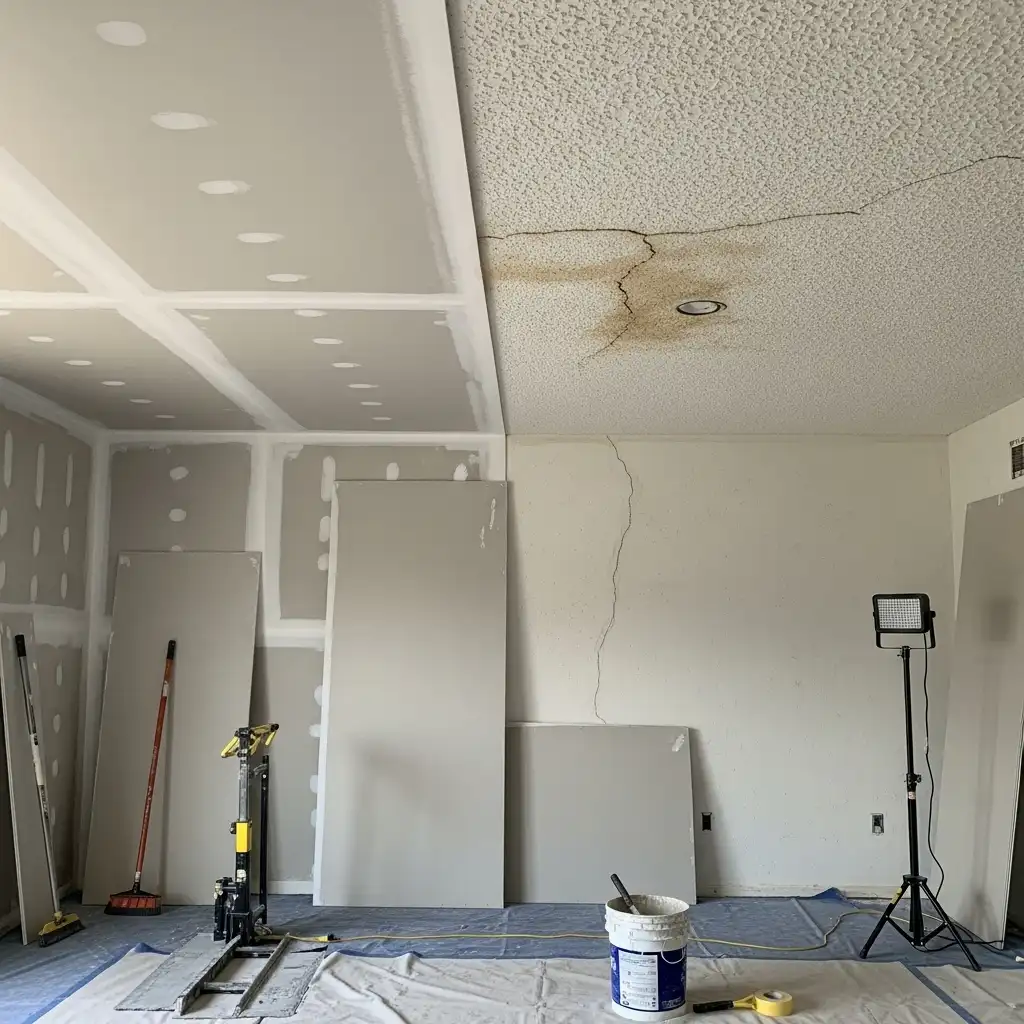
Process: Install half-inch drywall directly over the existing popcorn ceiling by screwing through the texture into ceiling joists. This lowers ceiling height by approximately half-inch but provides a fresh start.
Advantages: No mess, no scraping, works with asbestos ceilings, creates perfectly smooth surface, and allows adding recessed lighting or other ceiling modifications.
Disadvantages: Reduces ceiling height, requires locating and securing to joists, heavy physical work, and costs more than painting or removal.
Cost: Materials cost approximately one dollar per square foot for drywall, tape, and compound. Professional installation ranges from two to four dollars per square foot.
This approach works especially well if you’re planning other ceiling upgrades. For more ceiling transformation ideas, check out our cheap wood ceiling ideas guide.
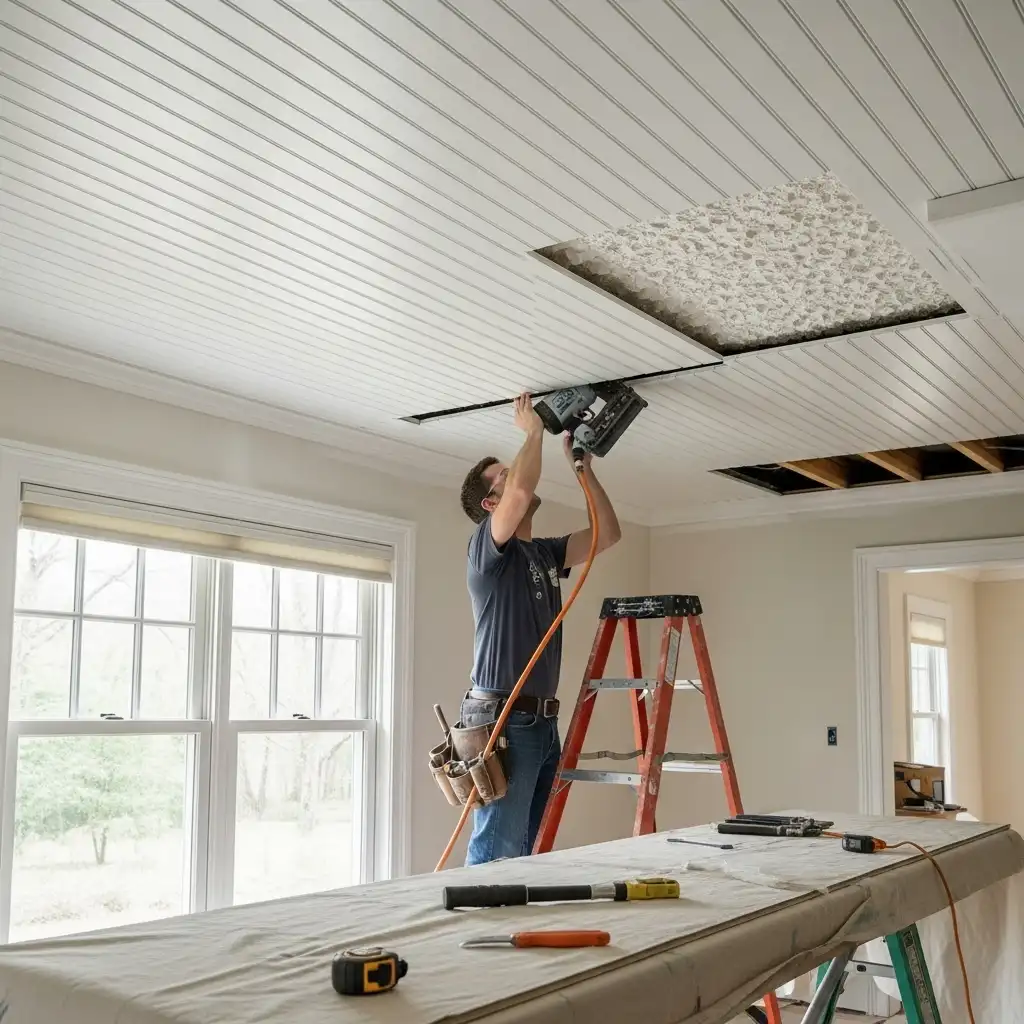
Installing Ceiling Planks or Panels
Tongue-and-groove planks, ceiling tiles, or decorative panels can be installed directly over popcorn texture for a beautiful finished look.
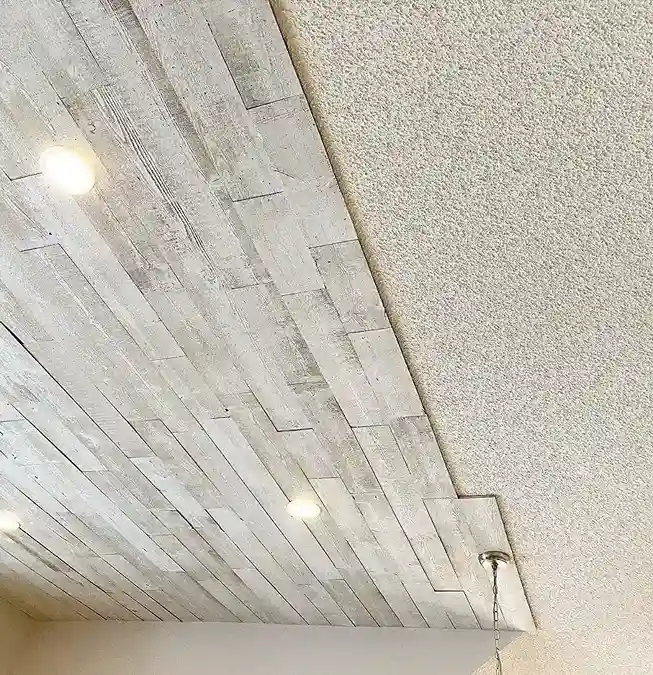
Credits: @dustylumberco
Materials: Wood planks, PVC panels, tin tiles, or acoustic ceiling tiles work well. Choose materials based on your desired aesthetic and budget.
Installation: Most systems attach to furring strips screwed through the popcorn into ceiling joists. Planks or tiles then attach to the furring strips, concealing the old ceiling completely.
Advantages: Creates architectural interest, hides popcorn ceiling, works with asbestos, allows various design aesthetics from rustic wood to industrial tin.
Disadvantages: Reduces ceiling height by one to two inches, requires careful measurement and installation, costs more than paint but less than full drywall installation.
Cost: Materials range from two to ten dollars per square foot depending on the product. Installation adds additional cost if hiring professionals.
Popular options include wood plank ceilings, tongue and groove ceilings, and shiplap ceilings which all add character while hiding texture.
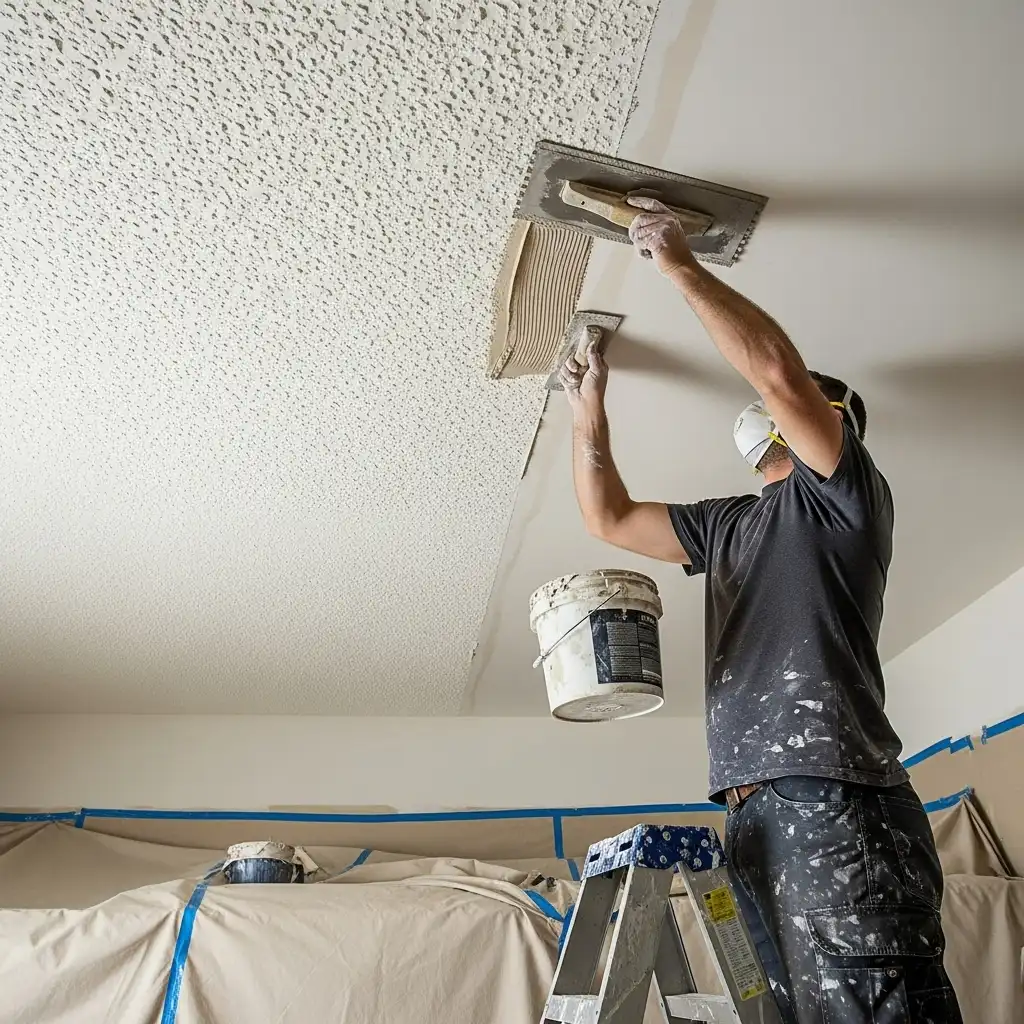
Using Skim Coating
Skim coating involves applying thin layers of joint compound over the entire textured ceiling to create a smooth surface.
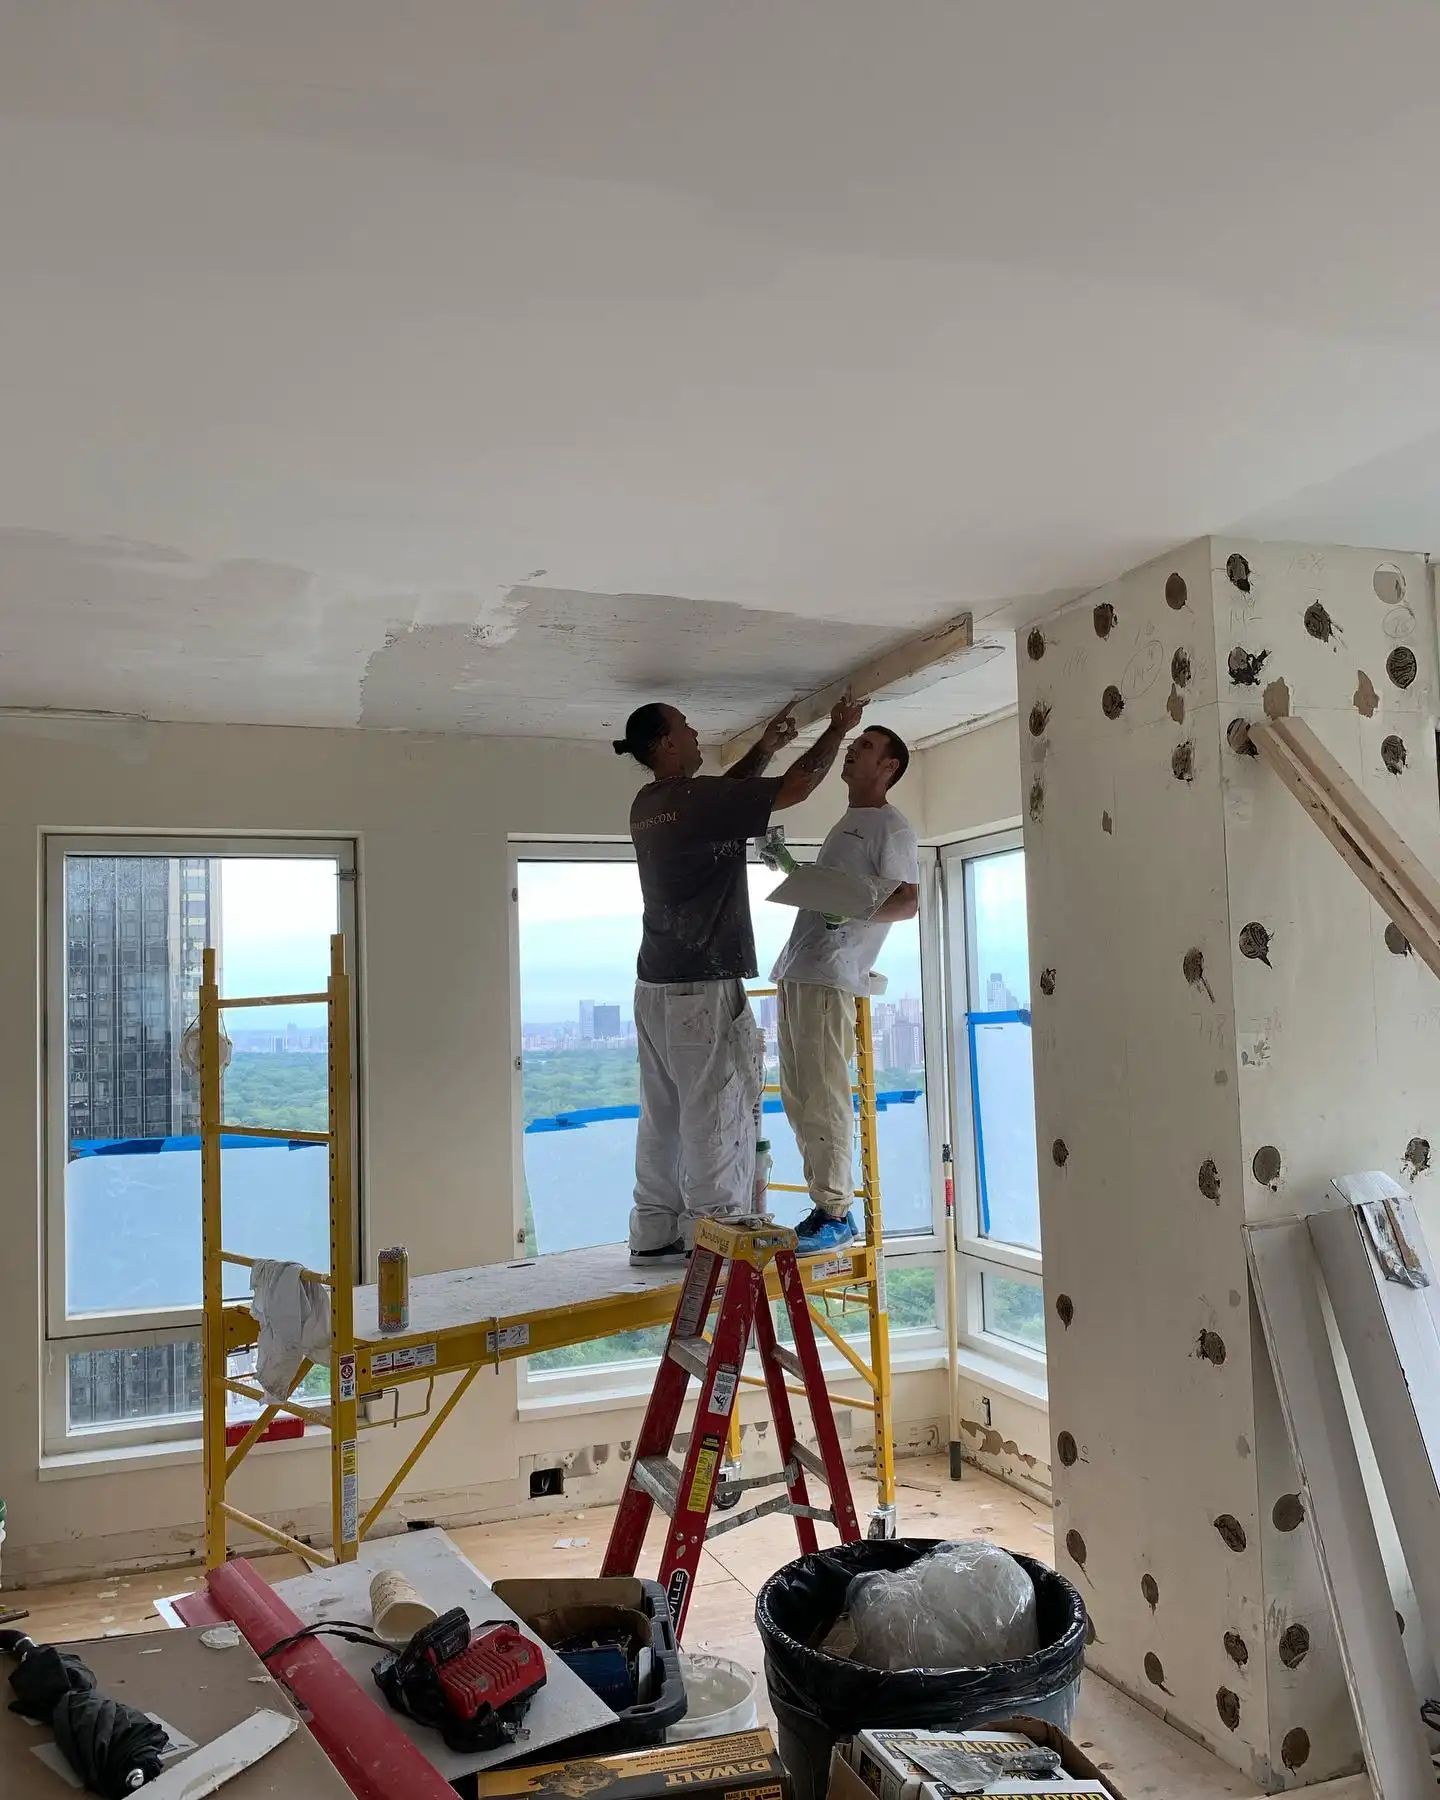
Credits: @primerenovations
Process: Apply multiple thin coats of drywall compound over the popcorn texture, allowing each coat to dry before applying the next. Sand between coats. Final result is a smooth, flat ceiling.
Advantages: Less messy than removal, doesn’t reduce ceiling height, costs less than drywall or panels, and works well for ceilings in good condition.
Disadvantages: Time-intensive with multiple coats and drying time, requires skill to achieve smooth results, adds weight to ceiling, may still show texture shadows depending on lighting.
Cost: Materials cost approximately fifty cents per square foot. Professional skim coating costs one to three dollars per square foot.
This technique works best for experienced DIYers or professionals. Achieving perfectly smooth results requires practice and patience.
Beadboard Ceiling Installation
Beadboard panels offer a classic, cottage-style alternative to plain smooth ceilings while effectively covering popcorn texture.
Process: Install beadboard panels or planks over furring strips attached through the popcorn texture to ceiling joists. Paint or stain to match your decor.
Advantages: Adds architectural character, relatively affordable, DIY-friendly installation, hides all imperfections.
Disadvantages: Reduces ceiling height slightly, requires proper planning for light fixtures, specific aesthetic that doesn’t suit all design styles.
Learn more about this charming option in our beadboard ceiling guide.
Drop Ceiling or Suspended Ceiling
Drop ceilings create a new ceiling plane below the existing popcorn surface using a grid system and ceiling tiles.
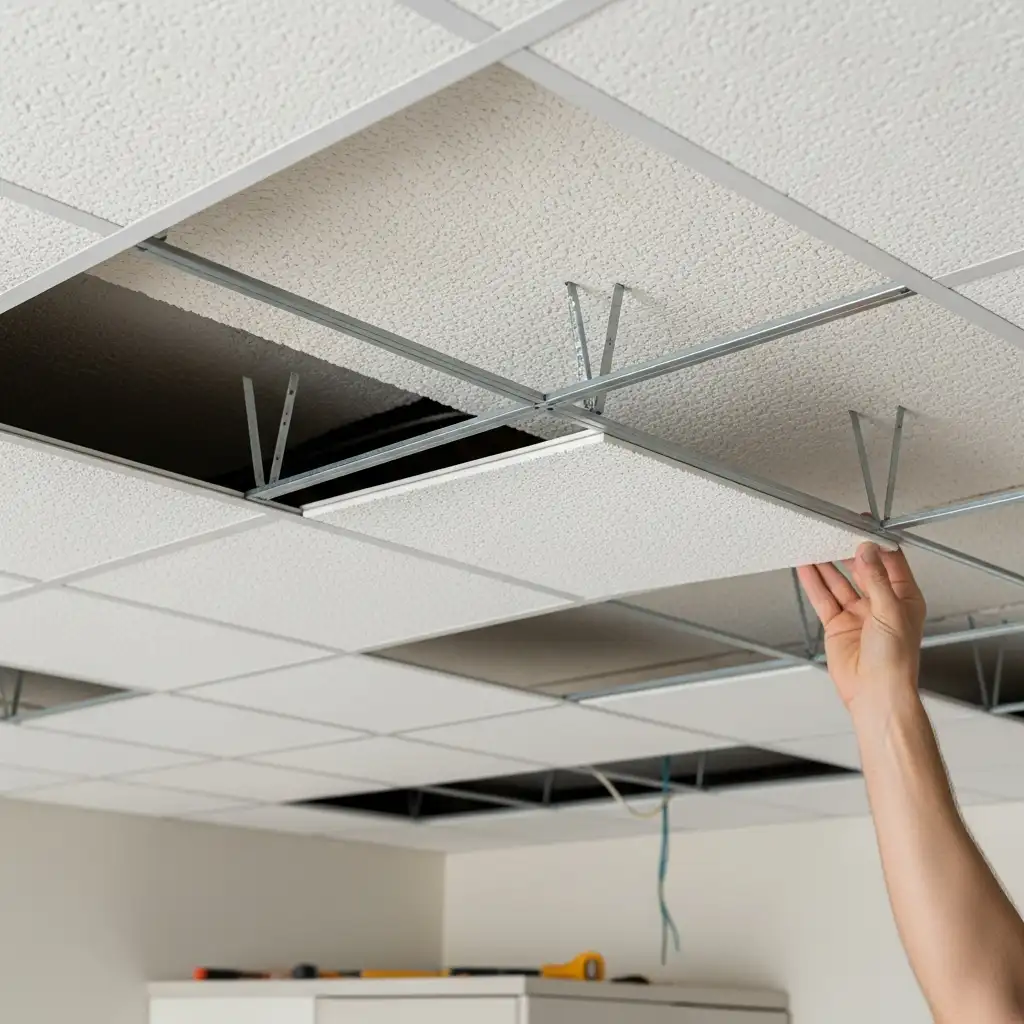
Process: Install a metal grid framework suspended from the existing ceiling, then insert acoustic tiles or panels into the grid.
Advantages: Easy access to utilities and wiring above, hides all ceiling imperfections, allows for recessed lighting, relatively affordable.
Disadvantages: Significantly reduces ceiling height (typically 3-4 inches), industrial appearance unless using decorative tiles, not suitable for rooms with low ceilings.
Cost: Materials typically cost one to three dollars per square foot for basic systems.
For creative drop ceiling applications, see our drop ceiling ideas article.
Stretch Ceiling Systems
Modern stretch ceiling systems use a PVC or fabric membrane stretched over a track system installed around the room perimeter.
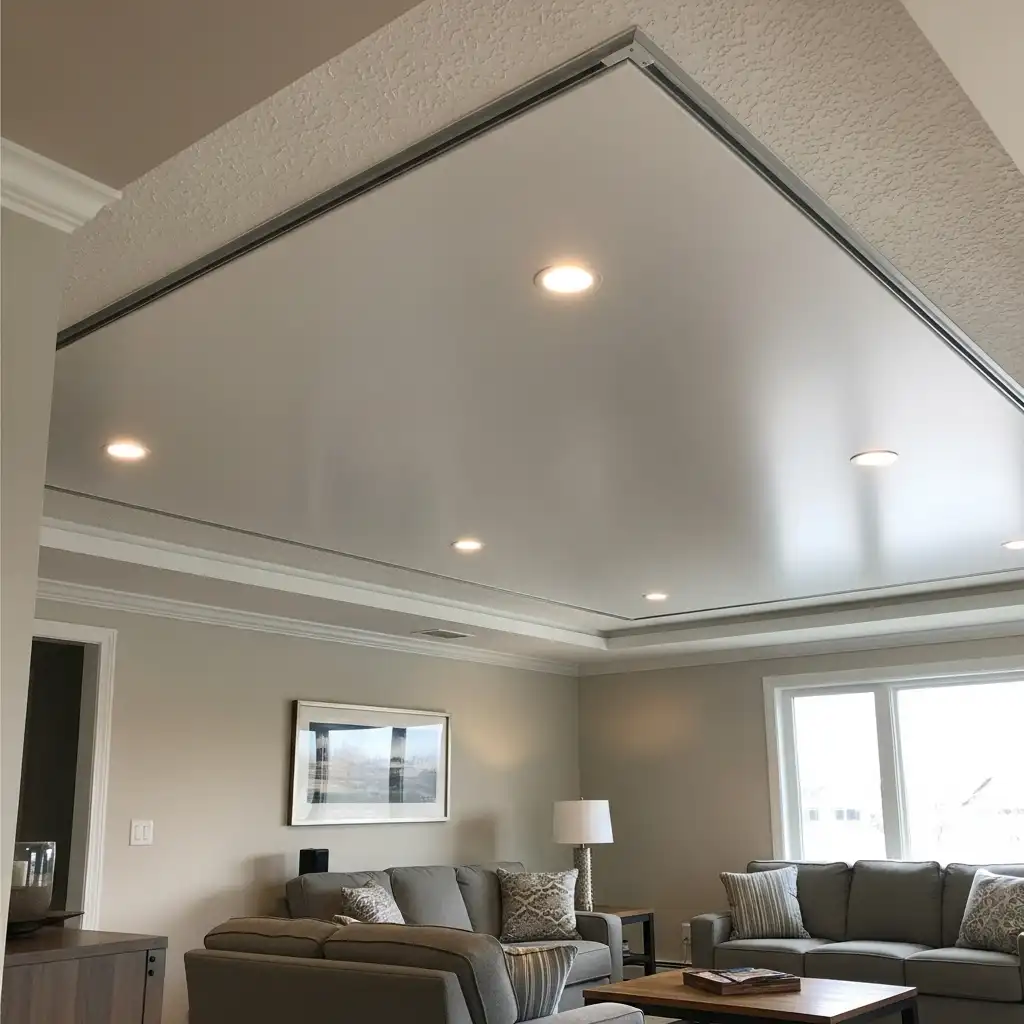
Process: Install a track around the room just below the existing ceiling. Heat and stretch a membrane tight across the track, creating a perfectly smooth new ceiling surface.
Advantages: Completely smooth finish, variety of colors and finishes available including translucent options for backlighting, minimal ceiling height loss, no mess or dust.
Disadvantages: Most expensive covering option, typically requires professional installation, access to ceiling utilities becomes difficult.
Cost: Professional installation typically ranges from five to fifteen dollars per square foot depending on material and complexity.
Popcorn Ceiling Removal: Step-by-Step Guide
If your ceiling tests negative for asbestos, removing popcorn texture is a manageable DIY project, though it’s messy and labor-intensive.
Credits: @alternagc
Tools and Materials Needed
- Plastic sheeting and drop cloths
- Painter’s tape
- Spray bottle or garden pump sprayer
- Wide putty knives or drywall scrapers (6-10 inches)
- Stepladder or scaffolding
- Safety goggles and N95 dust mask
- Drywall mud and taping supplies
- Sandpaper (120-grit and 220-grit)
- Paint primer and ceiling paint
- Shop vacuum
Step 1: Prepare the Room
This is the messiest home improvement project you’ll undertake. Proper preparation saves hours of cleanup.
Remove all furniture or move it to the center of the room and cover with plastic sheeting. Remove light fixtures, ceiling fans, and any hanging items. Cover floors with plastic sheeting taped down at edges, then add drop cloths on top for extra protection.
Cover walls with plastic sheeting starting from the ceiling line down about three feet. Tape plastic over doorways and seal heating/cooling vents to prevent dust from spreading throughout your home.
Turn off electricity to the room at the breaker box for safety. Remove any remaining light bulbs.
Step 2: Test a Small Area
Before committing to the entire ceiling, test your removal technique in a closet or inconspicuous corner.
Spray a small section with warm water until thoroughly dampened. Wait ten to fifteen minutes for the water to penetrate the texture. Try scraping with your putty knife. The texture should come off relatively easily without gouging the drywall underneath.
If the texture is painted over, removal becomes much harder. Multiple coats of paint create a seal that prevents water penetration. You may need to score the surface first or use a texture removal solution instead of plain water.
Step 3: Spray and Soak the Ceiling
Work in sections about four feet by four feet. Using a pump sprayer or spray bottle, thoroughly wet the ceiling texture. Don’t oversaturate to the point where water drips, but ensure the texture is completely dampened.
The water rehydrates the texture compound, making it soft and easier to scrape. Let it soak for ten to twenty minutes. If the texture starts drying out before you scrape, mist it again.
Adding a small amount of liquid dish soap or fabric softener to your water (about one tablespoon per gallon) can help penetrate painted texture more effectively.
Step 4: Scrape Off the Texture
Using a wide putty knife or drywall scraper held at about a thirty-degree angle, gently scrape the dampened texture. Let the tool do the work—excessive pressure will gouge the drywall underneath.
The texture should come off in clumps. If you’re having to press hard or if you’re gouging the drywall, the texture isn’t wet enough. Spray more water and wait longer.
Work systematically across the ceiling, allowing scraped material to fall to the floor. Don’t try to catch it—cleanup is easier when it’s all on the floor rather than smeared everywhere.
Step 5: Wipe Down the Ceiling
After scraping each section, use a damp sponge to wipe away any remaining texture residue. This step is crucial for achieving a smooth finish. The ceiling should feel relatively smooth to the touch, though you’ll still see the drywall tape lines and screw indentations.
Change your sponge water frequently as it becomes cloudy with texture residue.
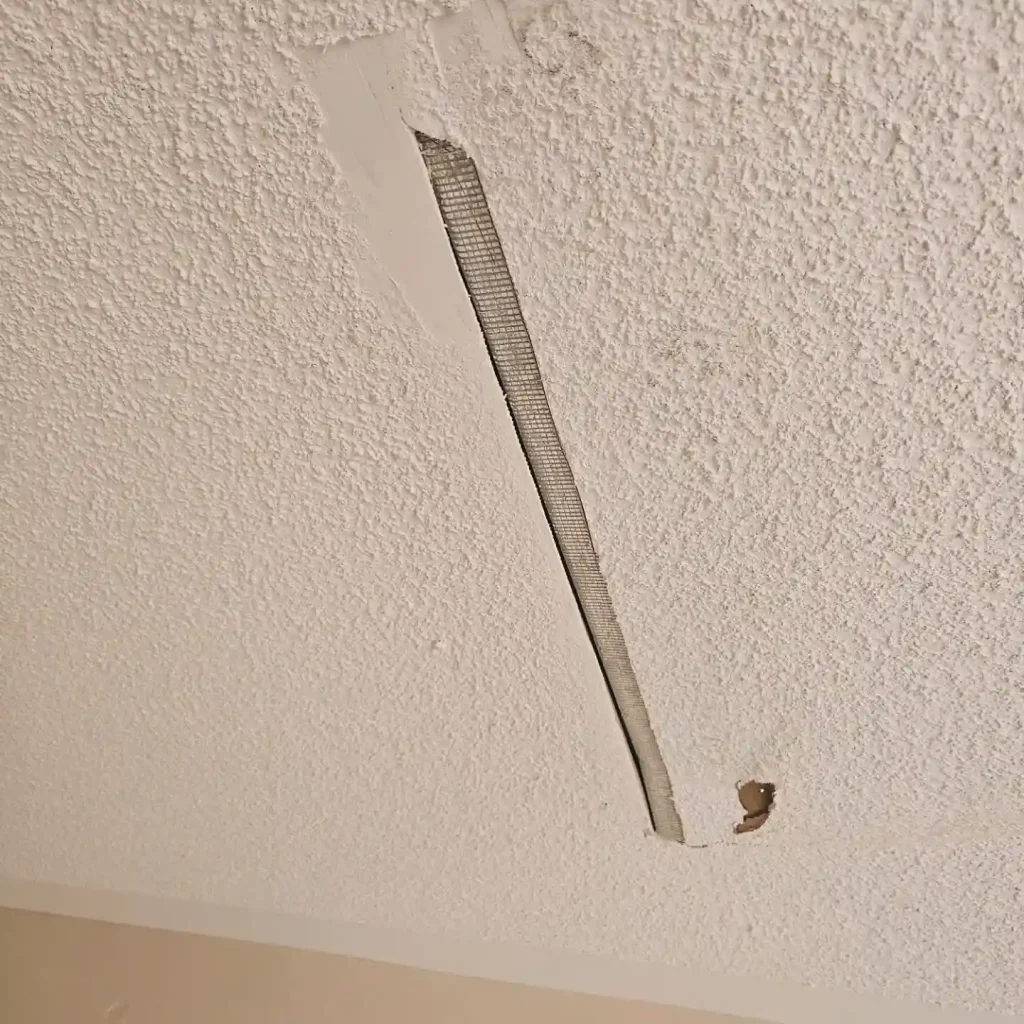
Step 6: Repair and Smooth the Ceiling
Once the entire ceiling is scraped and dry (allow twenty-four hours), inspect for damage. Scraping often reveals previous repairs, nail pops, tape lines, and imperfections that were hidden under texture.
Apply drywall joint compound to fill any gouges, holes, or imperfections. Smooth compound over visible tape lines to create a seamless surface. This process may require multiple coats, with sanding between each coat after the compound dries completely.
Sand the entire ceiling with 120-grit sandpaper to smooth out compound applications and create an even surface. Follow with 220-grit sandpaper for a final smooth finish.
This step determines your final result. Take your time and aim for perfection. Any imperfections will be visible once painted.
Step 7: Prime and Paint
After sanding, vacuum and wipe down the ceiling to remove all dust. Apply a quality primer designed for new drywall. Primer seals the surface and ensures even paint coverage.
Once primer is completely dry, apply two coats of ceiling paint. Use a roller with an appropriate nap length (usually half-inch for smooth ceilings). Paint in overlapping sections to avoid lap marks.
Consider using paint with a flat finish, which best hides minor imperfections. Semi-gloss or satin finishes show every flaw. For more inspiration on ceiling finishes, explore our painted ceiling ideas guide.
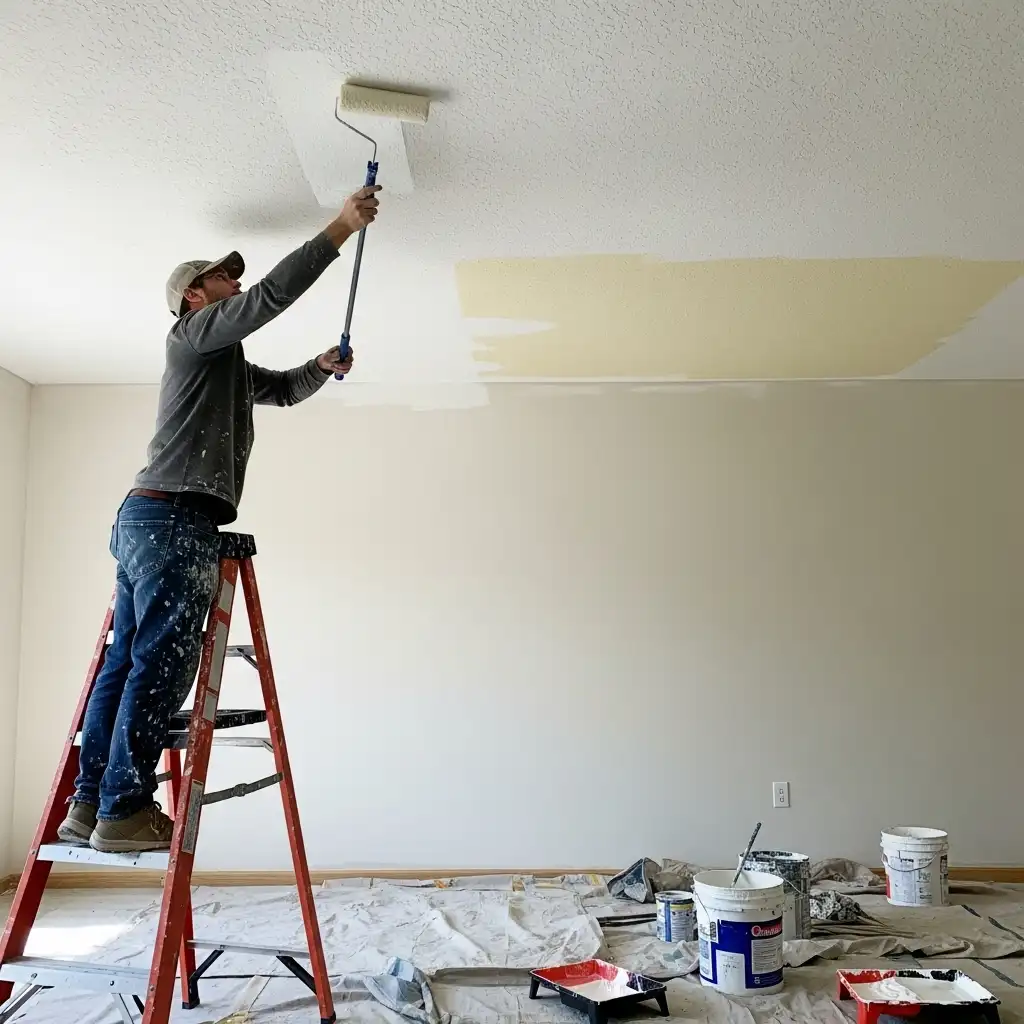
How to Paint Popcorn Ceiling Without Removal
If removal seems too daunting or your ceiling contains asbestos, painting popcorn ceiling is a simpler alternative that can brighten and freshen the space.
Challenges of Painting Popcorn Ceilings
The texture absorbs significantly more paint than smooth surfaces. The bumpy texture creates shadows that can show roller marks. Paint can cause the texture to soften and potentially fall off if applied too heavily.
Materials Needed
- High-quality paint roller with thick nap (3/4 to 1-inch)
- Extension pole for roller
- Paint tray and liner
- Ceiling paint (flat finish recommended)
- Drop cloths and protective sheeting
- Painter’s tape
- Safety goggles
- N95 dust mask
Steps to Paint Popcorn Ceiling
Clean the Ceiling: Use a vacuum with brush attachment to remove loose dust, cobwebs, and debris. Be gentle to avoid damaging the texture. Let the ceiling dry completely if you use any damp cleaning.
Prepare the Room: Cover everything and tape off walls at the ceiling line. Popcorn ceiling painting is drippy and messy.
Choose Quality Paint: Use premium ceiling paint with good coverage. Cheaper paint requires more coats, increasing the risk of texture softening and falling.
Load Roller Properly: Don’t oversaturate your roller. Too much paint causes dripping and can make texture heavy enough to fall off. Roll off excess paint in the tray before applying to ceiling.
Use Rolling Technique: Roll in one direction, then cross-roll perpendicular. Apply paint gently without pressing hard. The thick nap roller should fill the texture’s crevices without crushing the texture.
Work in Sections: Paint small sections at a time, maintaining a wet edge to prevent lap marks. Work systematically across the ceiling.
Apply Multiple Thin Coats: Two to three thin coats provide better coverage and durability than one thick coat. Allow each coat to dry completely before applying the next.
Expect Texture Loss: Some texture softening and minor falling is normal. Touch up any bare spots after the ceiling dries.
Spray Painting Popcorn Ceilings
For large areas, professional painters often use airless paint sprayers. This method provides even coverage and faster application but requires significant preparation to protect walls, floors, and all surfaces from overspray.
Spraying works best for whole rooms or houses. For single rooms, rolling is usually more practical for DIY projects.
Alternative Ceiling Ideas Beyond Popcorn Removal
If you’re investing in ceiling updates, consider these creative alternatives that go beyond simple smooth ceilings:
Exposed Beam Ceilings
Add rustic charm or modern elegance with exposed beams. Real wood beams or faux beam alternatives can be installed after removing popcorn texture. This works especially well in vaulted ceiling living rooms or spaces with height to spare.
Coffered Ceilings
For a luxurious upgrade, coffered ceilings add architectural depth and elegance. While more complex and expensive, they transform ordinary rooms into sophisticated spaces.
Tray Ceilings
Tray ceilings create visual interest by recessing the center portion of the ceiling, adding dimension and the opportunity for creative lighting.
Cathedral Ceilings
If structural modifications are possible, cathedral ceilings open up spaces dramatically, though this requires significant renovation work.
Cost Comparison: Removal vs. Covering vs. Painting
Understanding costs helps you decide which approach fits your budget and goals.
DIY Popcorn Ceiling Removal Costs
- Materials (scrapers, compound, paint, supplies): $100-$300 for average room
- Time investment: 20-40 hours for 12×12-foot room
- Total DIY cost: Approximately $0.25-$0.75 per square foot
Professional Popcorn Ceiling Removal Costs
- Asbestos testing: $100-$300
- Professional removal (no asbestos): $1-$3 per square foot
- Asbestos abatement: $3-$8 per square foot
- Repair and painting: Additional $1-$2 per square foot
DIY Popcorn Ceiling Painting Costs
- Quality ceiling paint: $30-$60 per gallon (covers approximately 300 square feet on popcorn)
- Supplies: $20-$50
- Total DIY cost: Approximately $0.30-$0.50 per square foot
Professional Painting Costs
- Professional painting: $1-$2 per square foot including labor and materials
Covering Costs
- New drywall: $2-$4 per square foot installed
- Ceiling planks/panels: $3-$12 per square foot installed
- Skim coating: $1-$3 per square foot
- Beadboard: $2-$5 per square foot installed
- Drop ceiling: $2-$5 per square foot
- Stretch ceilings: $5-$15 per square foot
Pros and Cons of Each Method
Popcorn Ceiling Removal
Pros: Creates modern smooth ceiling, increases home value, allows unlimited design options, eliminates dust-trapping texture, provides clean slate for any finish.
Cons: Very messy and labor-intensive, potential asbestos concerns, may reveal ceiling imperfections requiring extensive repair, time-consuming process, physically demanding work.
Best For: Homeowners planning to stay long-term, homes without asbestos, those willing to invest time or money for best results, anyone wanting maximum flexibility for future ceiling designs.
Painting Popcorn Ceiling
Pros: Least expensive option, freshens appearance, DIY-friendly, quick project completion, no ceiling height loss, minimal disruption.
Cons: Doesn’t eliminate texture, still looks dated, difficult to get even coverage, texture continues collecting dust, temporary solution to aesthetic issues.
Best For: Budget-conscious homeowners, rental properties, those planning to sell soon without major renovation investment, temporary improvements.
Covering Popcorn Ceiling
Pros: No mess, works with asbestos ceilings, creates smooth or decorative ceiling, faster than removal, adds architectural interest with planks or tiles, protects existing ceiling.
Cons: Reduces ceiling height, more expensive than painting or removal, permanent installation requires commitment, may not suit all architectural styles.
Best For: Homes with asbestos, low-ceiling situations where height loss is acceptable, those wanting unique ceiling design, avoiding removal mess, adding character to rooms.
Room-Specific Considerations
Different rooms have unique requirements when dealing with popcorn ceilings:
Living Room Popcorn Ceilings
Living rooms are high-visibility spaces where ceiling appearance matters most. Removal or covering typically provides the best results. Consider the room’s architectural style—farmhouse living rooms might pair well with wood planks, while mid-century modern spaces benefit from smooth, clean ceilings.
Bedroom Popcorn Ceilings
Bedrooms offer more flexibility since ceilings are often viewed while lying down. A fresh coat of paint might suffice in guest bedrooms, while master bedrooms deserve the investment in complete removal or attractive covering options.
Kitchen Popcorn Ceilings
Kitchens accumulate grease and moisture, making textured ceilings especially problematic. Smooth ceilings are easier to clean and more hygienic. If you’re planning a kitchen remodel, include ceiling updates in your plans.
Bathroom Popcorn Ceilings
Moisture is the enemy of popcorn ceilings in bathrooms. The texture can harbor mold and mildew. Removal or covering with moisture-resistant materials is strongly recommended. Consider this during any bathroom remodel project.
Basement Popcorn Ceilings
Basements often have exposed utilities that popcorn texture was meant to hide. Explore basement ceiling ideas including exposed basement ceilings which can look intentionally industrial and modern.
Lighting Considerations After Popcorn Removal
Once you’ve created smooth ceilings, lighting becomes more important since imperfections show more easily.
Recessed lighting, track lighting, and modern ceiling light fixtures not only illuminate your newly smooth ceilings but also create attractive focal points that draw eyes away from minor imperfections.
Consider flush mount ceiling lights for rooms with lower ceilings, or statement fixtures in taller spaces.
When to Hire Professionals vs. DIY
DIY-Friendly Situations
- Small rooms like bathrooms or bedrooms
- Ceilings confirmed asbestos-free through testing
- You have time for messy, labor-intensive work
- You’re comfortable on ladders and with basic tools
- Budget constraints make professional help impractical
- You’re experienced with drywall work for repairs
- Single room or limited area projects
Hire Professionals When
- Asbestos is present or suspected
- Large areas need treatment (whole house)
- Ceiling height exceeds 10 feet
- You lack time for lengthy DIY project
- You want guaranteed smooth results
- Physical limitations make ladder work unsafe
- You’re preparing home for sale and need quality results
- Structural issues exist that require expertise
- You’re combining with other renovation work
Tips for Successful Popcorn Ceiling Projects
Test First: Always test your method in a small, inconspicuous area like a closet before committing to the entire ceiling.
Take Your Time: Rushing leads to poor results. Allow proper drying time between steps and don’t skip preparation.
Protect Everything: Over-prepare your space. The mess is worse than you imagine, and thorough protection saves hours of cleanup.
Use Quality Materials: Cheap paint, thin rollers, or inferior compound creates more work and worse results. Invest in good supplies from the start.
Consider Lighting: Smooth ceilings show imperfections more than textured ones. Plan lighting carefully to minimize shadows that highlight flaws.
Work with Helper: Having someone to hold tools, move ladders, or take over when you’re tired makes the job faster and safer.
Check Building Codes: Some covering methods may require permits. Check local requirements before starting major ceiling work.
Plan for Disposal: Scraped popcorn texture creates substantial debris—often several heavy trash bags per room. Arrange for proper disposal before starting.
Ventilate Well: Dust, paint fumes, and compound odors require good ventilation. Open windows and use fans throughout the project.
Be Realistic About Results: DIY smooth ceilings rarely match professional results. Set realistic expectations and aim for “much better” rather than “perfect.”
Protect Your Health: Always wear appropriate safety gear including dust masks, safety goggles, and protective clothing.
Document Progress: Take before and after photos. They’re satisfying to look back on and helpful if you need to file insurance claims or for resale value documentation.
Maintaining Ceilings After Popcorn Removal or Covering
Once you’ve invested time and money in updating your ceilings, proper maintenance protects your investment.
Regular Cleaning: Dust smooth ceilings with microfiber cloths or vacuum with soft brush attachments every few months. Clean immediately addresses any stains or marks before they set.
Address Water Damage Quickly: Ceiling water stains indicate leaks requiring immediate attention. Water damage ruins ceiling surfaces and may indicate serious structural issues above.
Touch Up Paint: Keep leftover ceiling paint for touching up scuffs, marks, or damage. Address touch-ups promptly before they become bigger problems or stand out more.
Control Humidity: Excess moisture damages ceilings, especially drywall. Use exhaust fans in bathrooms and kitchens to prevent moisture problems that can cause paint peeling or texture damage.
Inspect Regularly: Periodically check ceilings for cracks, settling, or other issues. Early detection prevents minor problems from becoming major repairs requiring extensive work.
Clean Light Fixtures: Dusty light fixtures cast shadows that make ceiling imperfections more visible. Keep fixtures clean for the best ceiling appearance.
Impact on Home Value and Resale
Removing or updating popcorn ceilings typically provides positive return on investment, especially in markets where buyers expect modern finishes.
Increased Appeal: Smooth, modern ceilings make homes show better and photograph better for listings. First impressions matter tremendously in real estate.
Broader Buyer Pool: Many buyers specifically avoid homes with popcorn ceilings or factor removal costs into offers, potentially reducing your selling price by thousands.
Perceived Value: Updated ceilings signal overall home maintenance and modernization, creating positive first impressions that influence buyer perception of entire property.
Actual ROI: Real estate professionals estimate popcorn ceiling removal returns 50-75% of costs in added home value, with higher returns in competitive markets where modern finishes are expected.
Market Dependent: In some markets, particularly lower-priced properties, popcorn ceilings are still common and removal may not significantly impact value.
However, if your home needs other major updates like outdated kitchens or bathrooms, address those first for better return on renovation investment. Coordinate all updates for cohesive appeal.
Coordinating Ceilings with Overall Home Design
Your ceiling treatment should complement your home’s overall design aesthetic:
Modern Homes: Smooth, clean ceilings in neutral whites work best. Consider adding wood beams on ceiling for warmth without traditional texture.
Traditional Homes: Smooth ceilings with crown molding maintain classic elegance. Coffered or tray ceilings add upscale architectural detail.
Rustic or Farmhouse: Wood plank ceilings, beadboard, or exposed beams create authentic rustic charm that complements rustic living room ideas.
Cottage Style: Beadboard, painted wood planks, or simple smooth ceilings in soft whites work beautifully with cottage home design.
Contemporary: Absolutely smooth ceilings or creative wall paneling extended to ceilings create cutting-edge looks.
Common Mistakes to Avoid
Not Testing for Asbestos: This is the most dangerous mistake. Never assume your ceiling is asbestos-free without testing if your home predates 1990.
Skipping Room Preparation: Inadequate protection creates hours of extra cleanup. Always over-prepare rather than under-prepare spaces.
Using Too Much Water: Oversaturating ceilings during removal can damage drywall underneath or cause ceiling collapse in extreme cases.
Rushing Repairs: Smooth ceilings show every imperfection. Take time to properly repair, sand, and prepare surfaces before painting.
Choosing Wrong Paint Sheen: Glossy or semi-gloss finishes highlight every flaw. Flat finish is almost always best for ceilings.
Not Addressing Root Causes: If popcorn is covering water damage or structural issues, address those problems before covering them again.
Improper Tool Selection: Using wrong scrapers, rollers, or materials makes jobs harder and produces inferior results.
Ignoring Safety: Falls from ladders are serious. Use proper equipment, never overreach, and consider scaffolding for large areas.
Attempting Complex Projects Alone: Some ceiling work genuinely requires two people for safety and efficiency. Don’t risk injury trying to save helper costs.
Frequently Asked Questions
Q: How long does popcorn ceiling removal take?
For an average 12×12-foot room, expect 20-40 hours for complete DIY removal including prep, scraping, repair, and painting. Professional crews typically complete rooms in one to three days depending on condition and required repairs. Larger projects or those requiring extensive repairs take proportionally longer.
Q: Can I remove popcorn ceiling without making a mess?
No method is completely mess-free, but proper preparation minimizes cleanup significantly. Using plastic sheeting everywhere, working systematically, and containing debris as you work helps enormously. Wet scraping methods create less airborne dust than dry scraping, which is healthier and easier to clean.
Q: Why won’t my popcorn ceiling scrape off easily?
The most common reason is paint. If the ceiling has been painted, especially with multiple coats, the paint creates a waterproof barrier preventing water penetration. You may need to score the surface with a utility knife, use commercial texture removal products, or consider covering methods instead of removal.
Q: Is it better to remove or cover popcorn ceiling?
This depends entirely on your specific situation. Removal provides the best aesthetic result and doesn’t reduce ceiling height but is messy and labor-intensive. Covering works better when asbestos is present, you want to avoid mess, or you’re creating a decorative ceiling with planks or tiles. Consider your budget, time availability, ceiling condition, ceiling height, and long-term plans when deciding.
Q: How much does professional popcorn ceiling removal cost?
Professional removal for asbestos-free ceilings typically costs $1-$3 per square foot including scraping, repair, and painting. Asbestos abatement increases costs to $3-$8 per square foot. A typical 300 square foot room costs $300-$900 for professional removal, or $900-$2,400 if asbestos is present. Get multiple quotes and verify licensing and insurance.
Q: Can I just paint over popcorn ceiling?
Yes, painting is the easiest and least expensive option for updating popcorn ceilings. Use a thick-nap roller (3/4 to 1-inch), quality ceiling paint, and apply multiple thin coats. However, painting doesn’t eliminate the texture or its dust-collecting properties—it simply freshens the appearance temporarily.
Q: Will removing popcorn ceiling increase my home value?
Generally yes, especially in markets where buyers expect modern finishes. Smooth ceilings typically return 50-75% of removal costs in increased home value. However, impact varies by market, home price point, and buyer expectations. Consult local real estate agents about your specific market before investing in removal for resale purposes.
Conclusion
Popcorn ceilings remain one of the most common renovation projects in older homes, and for good reason. These dated textured surfaces make rooms feel smaller, darker, and less modern while collecting dust and making cleaning nearly impossible.
Whether you choose removal, painting, or covering, updating textured ceilings creates more attractive, appealing spaces that better reflect contemporary design aesthetics and improve your daily living experience.
The right approach depends on your specific situation: budget constraints, asbestos concerns, available time, physical capabilities, ceiling height considerations, and long-term home plans. Take time to carefully consider your options, test for asbestos if necessary, and choose the method that best fits your needs and goals.