Tired of staring at a plain, textured drywall ceiling? Looking for a way to add instant charm and character to a room without a full-scale renovation? A beadboard ceiling might be the perfect solution.
This classic design element brings a touch of cottage-core warmth, coastal ease, or farmhouse simplicity to any space. But is it right for your home?
This complete guide will walk you through everything you need to know—from style inspirations to a step-by-step installation overview.
What is Beadboard?
Credits: @cozycrazing
Beadboard is a type of wood paneling characterized by its vertical lines, or “beads,” that run along long, narrow planks. Traditionally made from wood, it’s now widely available in more affordable and easy-to-install materials like MDF (Medium-Density Fiberboard) and PVC/Vinyl, which are perfect for moisture-prone areas like bathrooms and kitchens.
Style Inspirations: Find Your Beadboard Look
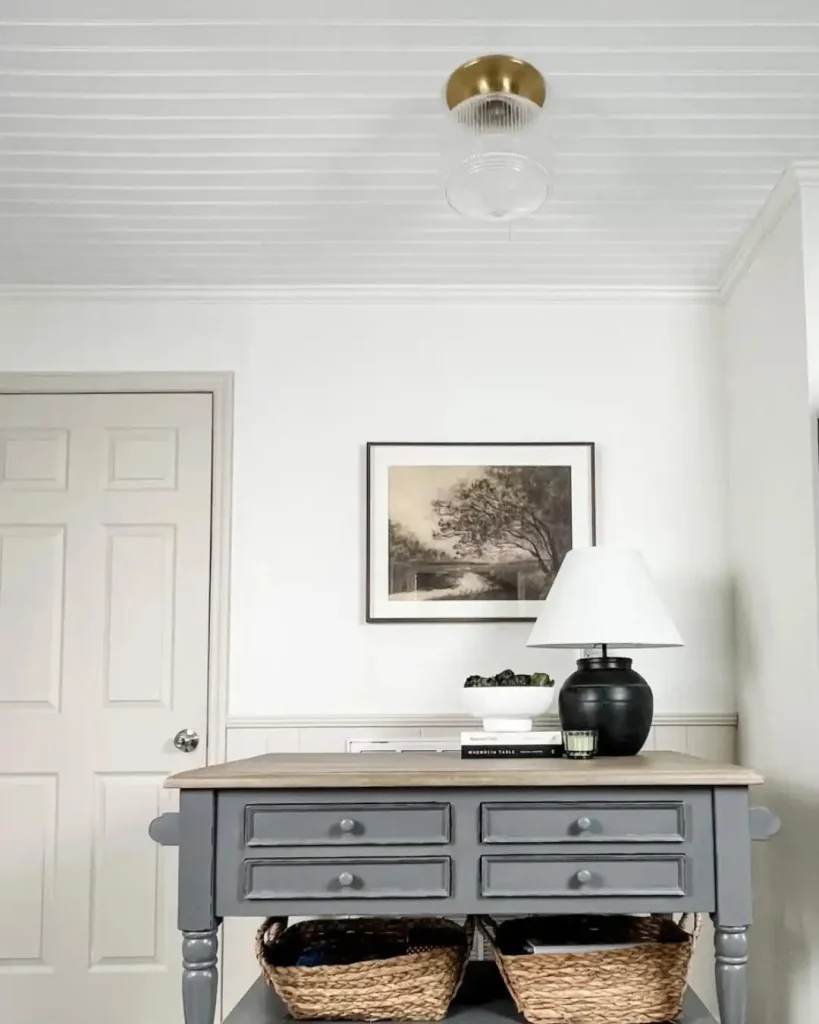
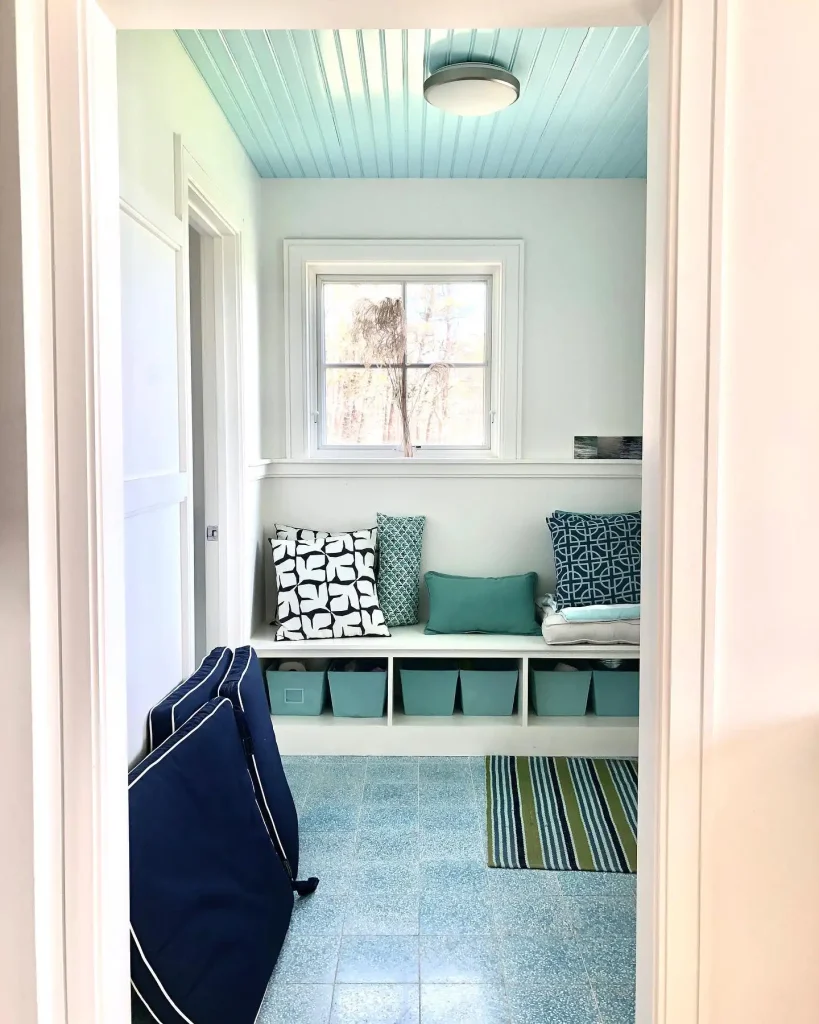
1. Coastal Cottage Charm
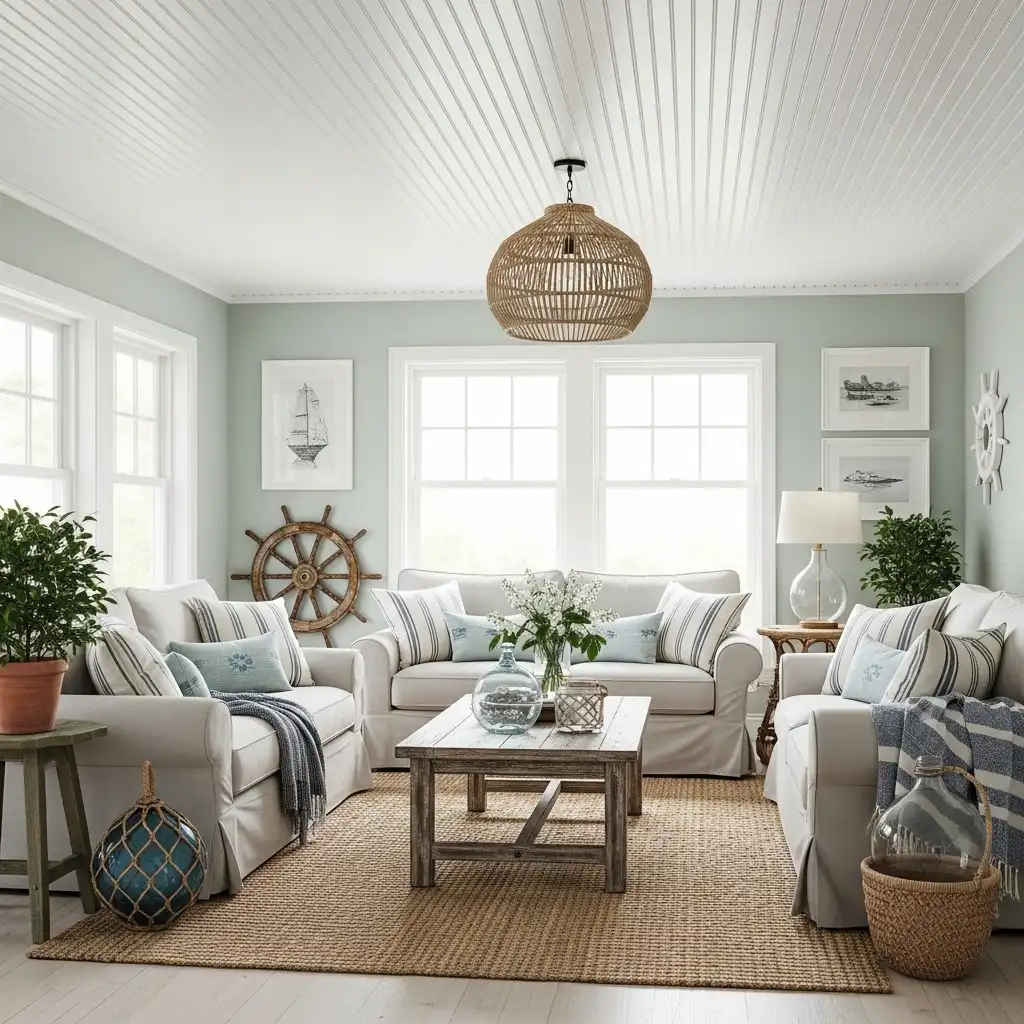
Create a light, airy beach-house feel by painting beadboard in crisp white or soft seafoam green. Pair with woven rattan light fixtures, nautical accents, and plenty of natural light for a space that feels like a permanent vacation. You can try with various paints on the ceilings.
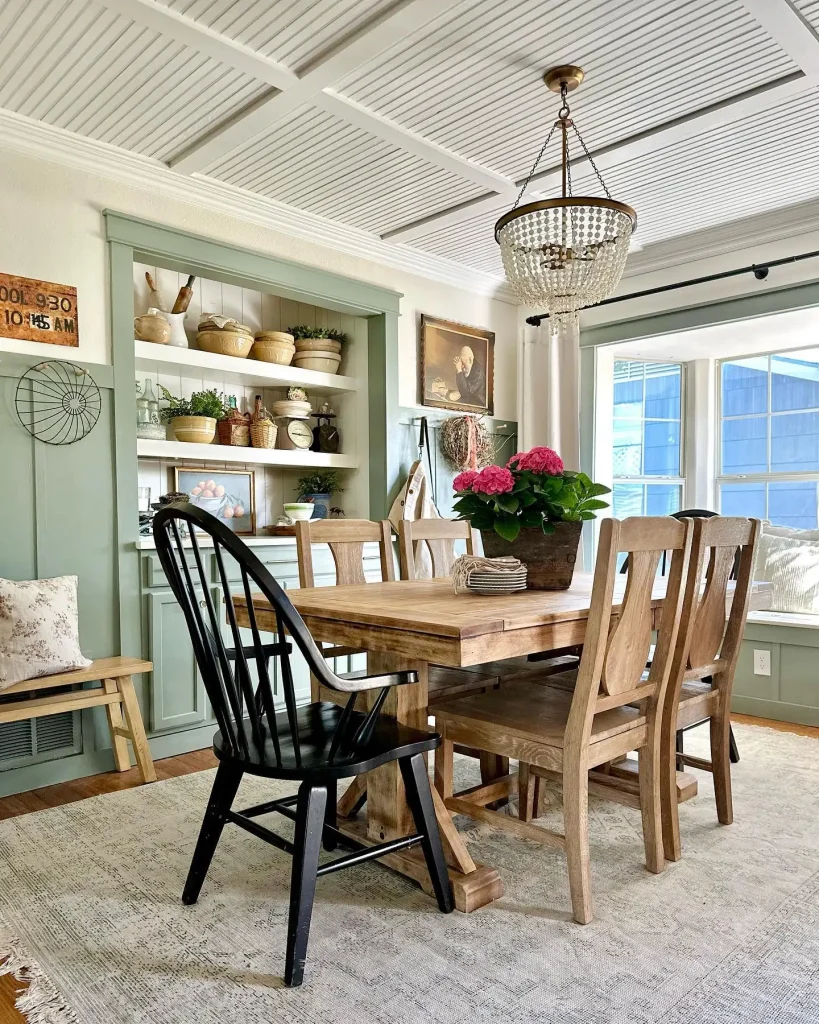
2. Farmhouse Fresh
Credits: @thorn_cove_abode
For that modern farmhouse look, install white beadboard and contrast it with dark wood beams. Add a statement wrought-iron chandelier and complement with shiplap walls for the ultimate Joanna Gaines-inspired space. Furthermore, if you are working on basement project then try exposed basement ceilings.
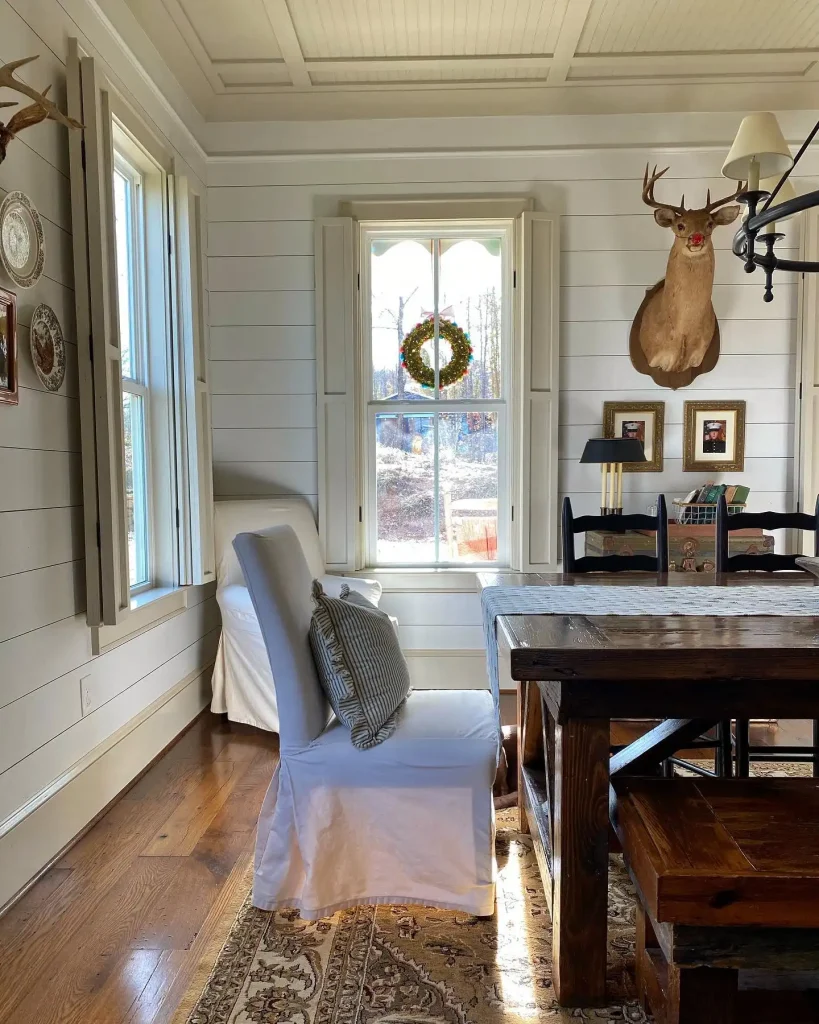
3. Rustic Lodge Retreat
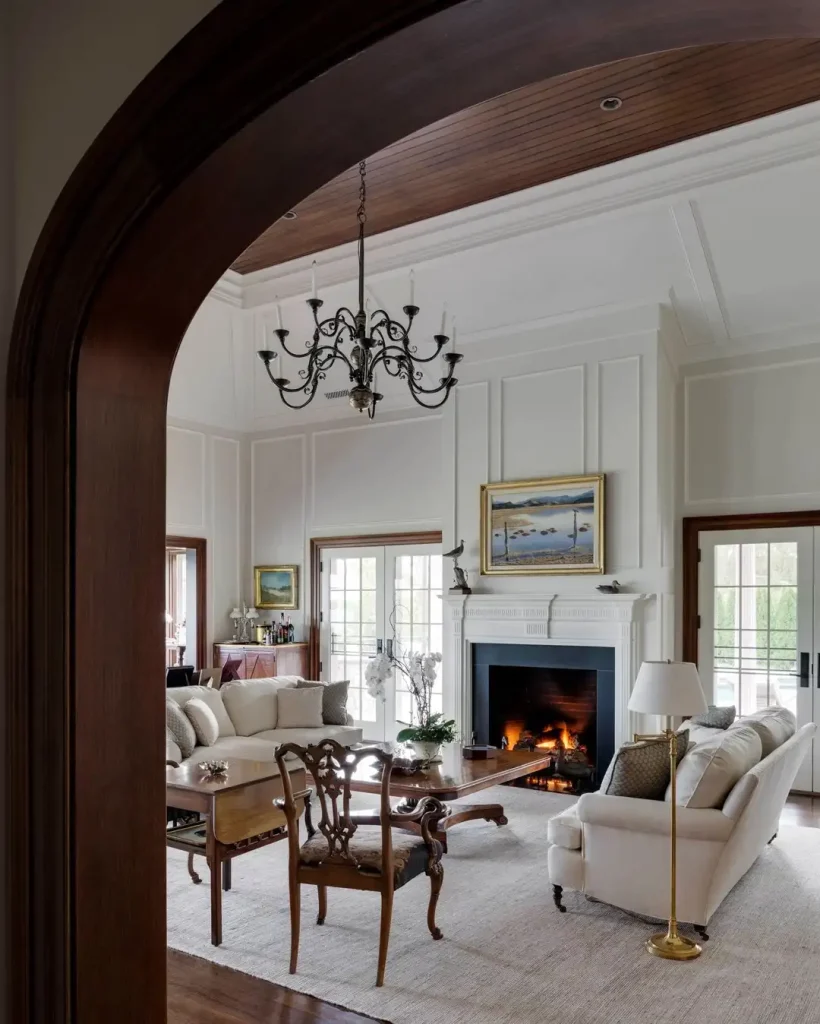
Credits: @patrickahearnarchitect
Stain wood beadboard in rich walnut or ebony to create cozy, cabin-like atmosphere. Combine with exposed wooden beams, a stone fireplace, and leather furniture for a room that feels warm and inviting year-round.
4. Modern Minimalist
Credits: @armstrongceilings
Keep it sleek with high-gloss white beadboard and minimalist track lighting. The clean lines add texture without visual clutter, perfect for contemporary kitchens or bathrooms.
5. Vintage Victorian Elegance
Credits: @stylecarrot
Opt for intricate beaded patterns and paint in soft pastels like pale blue or lavender. Complete the look with a crystal chandelier and ornate crown molding for timeless elegance.
Why Choose a Beadboard Ceiling? The Pros and Cons
Before you dive in, it’s important to weigh the benefits and drawbacks.
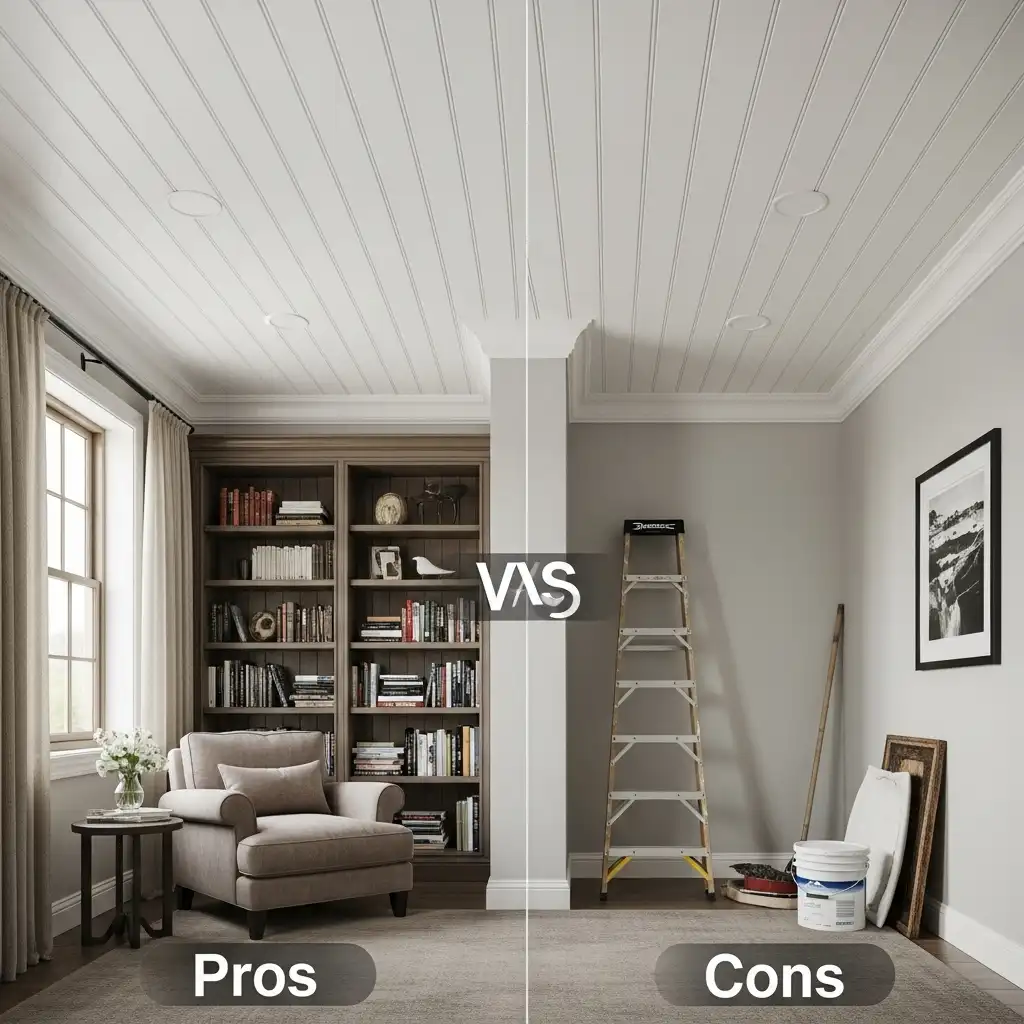
The Advantages:
- Adds Instant Character: It immediately gives a room a finished, custom-built look that flat drywall can’t match.
- Hides Imperfections: It’s a fantastic way to cover up a cracked, textured (popcorn), or otherwise damaged ceiling without the mess of scraping and re-mudding.
- Works with Low Ceilings: Unlike bulky ceiling tiles or beams, beadboard is relatively thin and can make a low ceiling feel cozy and intentional rather than cramped.
- Versatile Style: While classic, it adapts to many styles. Paint it white for a cottage feel, a bold color for drama, or a wood stain for a rustic look.
- DIY-Friendly: For a handy homeowner, installing beadboard is a very achievable weekend project.
The Disadvantages:
- Can Date a Space: If not chosen carefully, it can lean too heavily into a specific, dated aesthetic.
- Potential for Moisture Damage (Wood/MDF): In bathrooms, real wood and MDF can warp if not properly sealed with high-quality paint or primer.
- Maintenance: The grooves can collect dust and cobwebs over time, requiring occasional dusting.
- Can Shrink/Expand: Natural wood products can expand and contract with humidity, potentially revealing seams.
Cost Breakdown: What to Expect
The cost can vary widely based on material and whether you DIY.
- Materials Only (DIY):
- PVC/Vinyl Beadboard: $1 – $3 per square foot. Best for bathrooms and kitchens.
- MDF Beadboard: $1 – $2.50 per square foot. A good, paintable option for dry rooms.
- Real Wood Beadboard: $3 – $7+ per square foot. For a high-end, authentic look.
- Professional Installation:
- Expect to pay between $5 – $12 per square foot for materials and labor, depending on your location and the ceiling’s complexity. A 10’x12′ room (120 sq ft) could cost between $600 and $1,440 professionally installed.
How to Install a Beadboard Ceiling: A Step-by-Step Overview
While every project is different, here is the general process for a DIY installation.
Tools & Materials You’ll Need:
- Beadboard planks
- Construction Adhesive
- Finishing Nails & Nail Gun
- Measuring Tape, Level, Pencil
- Caulk & Paintable Wood Filler
- Paint & Primer
Step 1: Preparation is Key
Remove any existing light fixtures. If you’re covering a popcorn ceiling, ensure it is securely attached and not containing asbestos. Find and mark the ceiling joists with a stud finder—this is where you will nail the planks for a secure hold.
Step 2: Plan Your Layout
Decide which direction you want the boards to run. Traditionally, they run perpendicular to the ceiling joists for easier nailing. Start your layout from the center of the room or the most visible wall, ensuring you don’t end up with a narrow, awkward strip on the opposite side.
Step 3: Install the Planks
Apply a generous bead of construction adhesive to the back of the first plank. Press it firmly into place on the ceiling and secure it with finishing nails into the joists. Use the tongue-and-groove system to connect the next plank, and continue until the entire ceiling is covered.
Step 4: Add the Finishing Touches
This is what makes it look professional.
- Fill Nail Holes: Use paintable wood filler on all nail holes.
- Caulk the Seams: Run a thin bead of paintable caulk along all edges where the beadboard meets the walls and any corners. This creates a seamless, built-in look.
- Install Trim: Add crown molding or a simple cove trim around the perimeter to cover the expansion gap and create a polished transition to the walls.
Step 5: Prime and Paint
Prime first! A high-quality primer is essential, especially for MDF or wood, to prevent tannin bleed and ensure an even finish. Then, apply two coats of your chosen paint. A semi-gloss is often recommended for its durability and ease of cleaning.
Frequently Asked Questions (FAQs)
Can you install a beadboard ceiling over a popcorn ceiling?
Yes! This is one of the most popular reasons to choose beadboard. It’s a clean and effective way to cover a popcorn texture without the messy and hazardous process of removal. Just ensure the popcorn is firmly attached.
What is the best paint for a beadboard ceiling?
A durable, washable paint is best. A satin or semi-gloss sheen is ideal for most rooms as it reflects light well and is easy to wipe clean. For a more muted look in a bedroom, a matte finish is also an option.
Is beadboard on a ceiling a dated look?
While it’s a classic, its longevity depends on execution. A cheap, poorly installed beadboard can look dated. To keep it modern, ensure it’s well-painted with crisp lines, and pair it with updated light fixtures and decor. It’s less about the beadboard itself and more about the overall style of the room.
Conclusion
A beadboard ceiling is a timeless and surprisingly practical way to elevate your home’s interior. It solves common problems like ugly textures and low ceilings while adding a layer of warmth and craftsmanship that is hard to replicate. Whether you’re a seasoned DIYer or hiring a pro, this project can dramatically transform a kitchen, bathroom, porch, or any room in need of a little character. So, look up and imagine the possibilities.