Limewash walls bring centuries-old European charm into contemporary interiors. This ancient paint technique creates soft, mottled surfaces with organic depth that standard paint simply cannot replicate.

Unlike flat wall finishes, limewash develops character over time. The subtle variations and gentle patina make every wall unique and full of personality.
What Is Limewash?
Limewash is a natural wall coating made from limestone that’s been crushed, burned, and mixed with water. The resulting calcium hydroxide creates a breathable, eco-friendly paint alternative.
Source: @accentwallsandfinishes
This traditional finish dates back thousands of years. Ancient builders used limewash on everything from Mediterranean villas to English cottages.
The material differs fundamentally from modern paint. It penetrates and bonds with porous surfaces rather than sitting on top like a coating.
Limewash is completely natural with zero VOCs. It’s safe for people with chemical sensitivities and environmentally conscious homeowners.
Limewash vs. Paint: Understanding the Difference
Traditional paint forms a film on wall surfaces. This creates a uniform, consistent color and finish across the entire wall.
Limewash absorbs into the surface, creating depth and variation. The matte finish develops subtle shifts in tone that change with lighting.

Paint traps moisture behind its surface, potentially causing mold and mildew. Limewash remains breathable, allowing walls to release moisture naturally.
The texture is another key distinction. Paint can be completely smooth, while limewash always maintains slight texture and movement.
The Aesthetic Appeal of Limewash
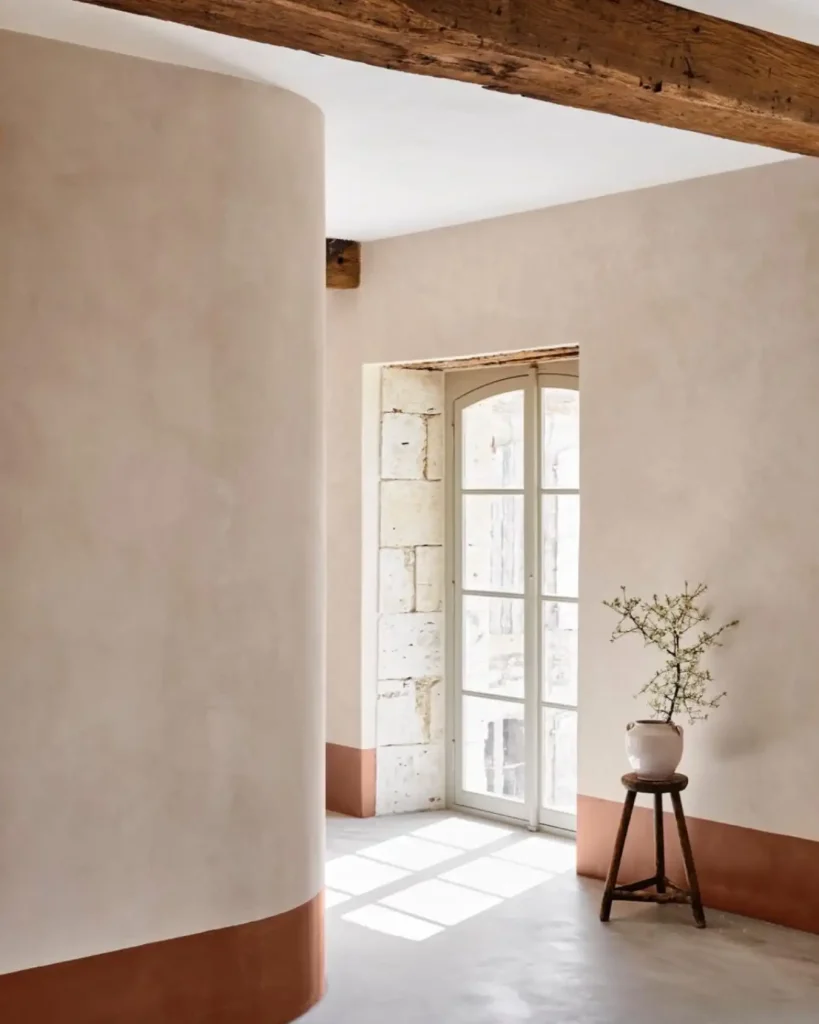
Limewash creates the coveted “old world” look that’s trending in home interior decor. The finish feels authentic and lived-in from day one.
Color variations within a single wall add visual interest. Light catches the surface differently throughout the day, creating ever-changing beauty.
The matte, chalky appearance softens spaces beautifully. It’s perfect for modern cottagecore aesthetics and farmhouse styles.
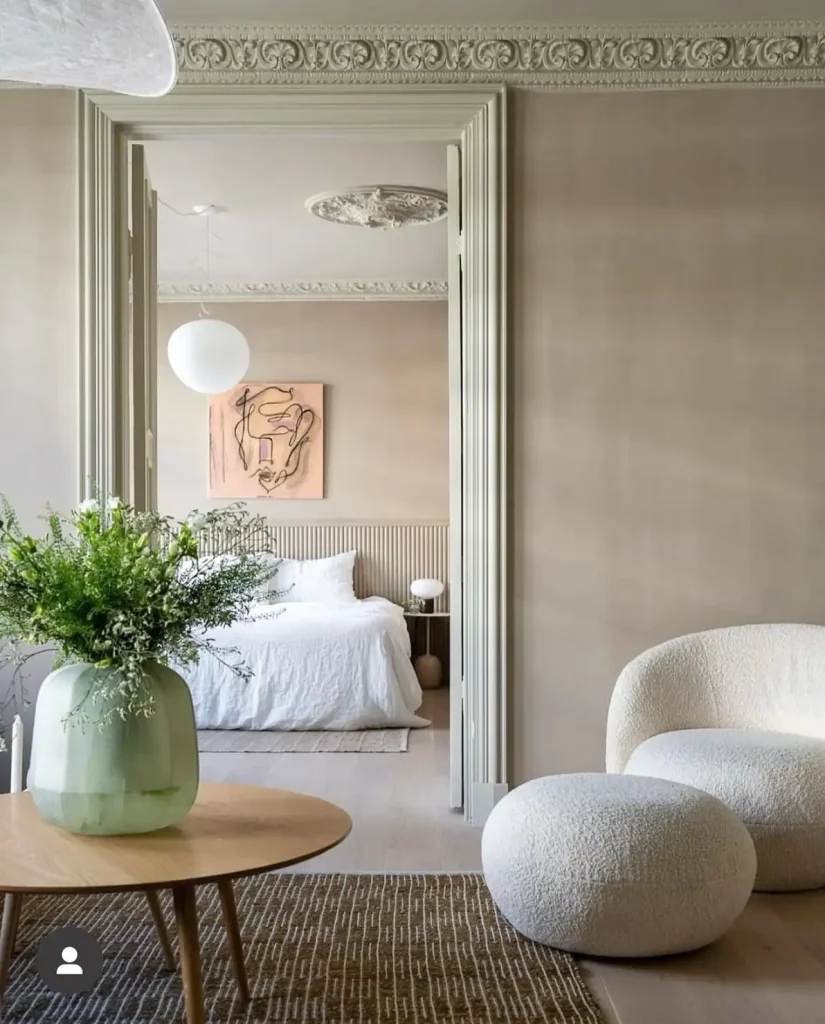
Limewash works equally well in traditional and contemporary settings. The texture adds warmth to minimalist spaces without overwhelming clean lines.
Best Surfaces for Limewash Application
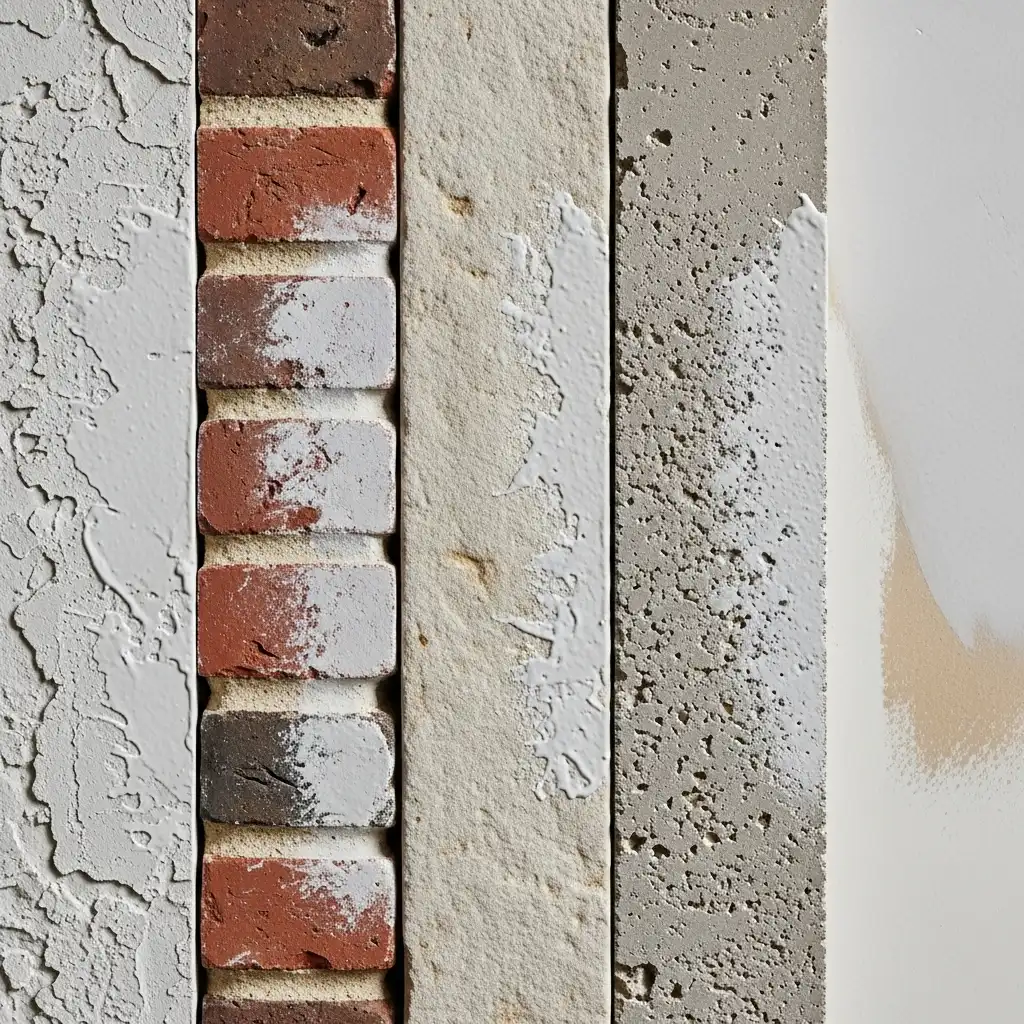
Limewash adheres best to porous, mineral-based surfaces. Plaster, brick, stone, and concrete provide ideal substrates.
Unpainted drywall can work but requires proper preparation. The surface must be able to absorb the limewash for proper bonding.
Existing painted walls need special treatment. You’ll often need to remove paint or apply a bonding primer designed for limewash.
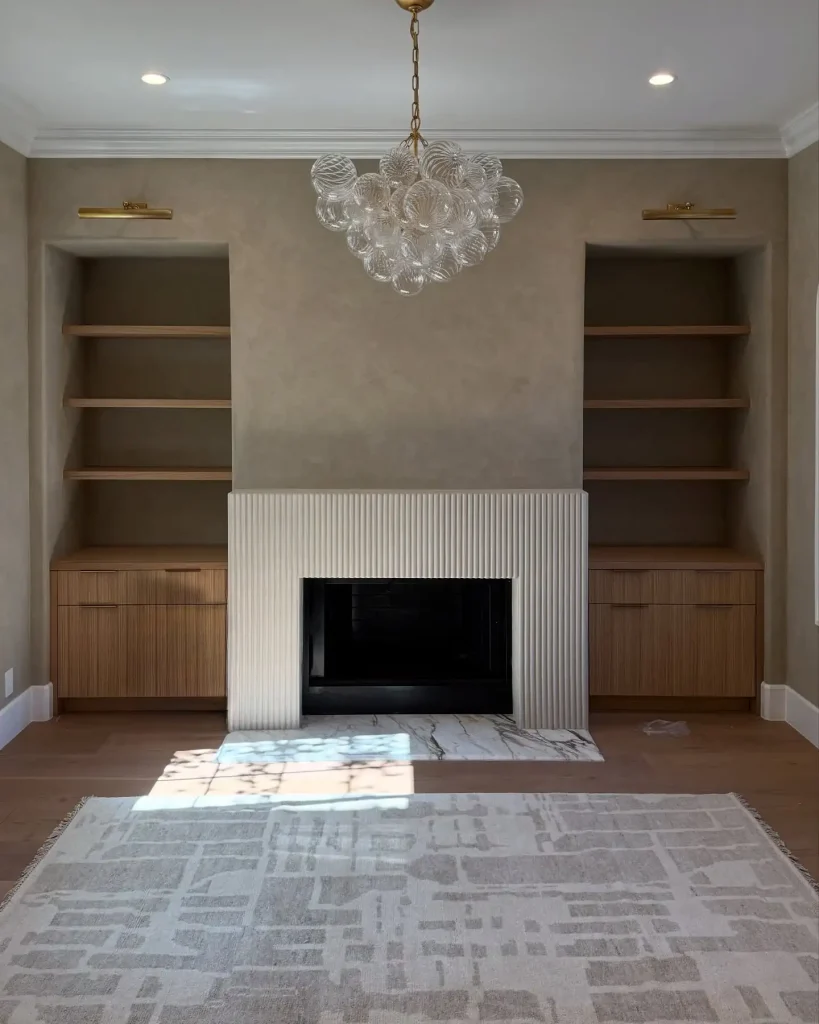
Brick walls are spectacular candidates for limewash. The texture shows through the coating, creating beautiful depth. Consider this for fireplace wall ideas.
Preparing Walls for Limewash
Start by cleaning walls thoroughly. Remove dirt, grease, and loose debris that could prevent proper adhesion.
Fill any cracks or holes with appropriate patching materials. Allow patches to cure completely before applying limewash.
Test the surface porosity by splashing water on the wall. If it absorbs quickly, you’re ready for limewash. If water beads up, remove the coating or apply primer.
Protect floors, trim, and adjacent surfaces with drop cloths and tape. Limewash is harder to clean up than regular paint once dried.
Application Techniques
Apply limewash with a natural bristle brush for authentic texture. Work in cross-hatch patterns, varying your brush strokes for organic variation.
Some applicators prefer paint sprayers for large areas. This creates more uniform coverage but less handcrafted character.
Source: @wabisabispaces_interiors
Layer thin coats rather than one thick application. Two to three coats build proper coverage while maintaining the characteristic translucency.
Don’t aim for perfection. The beauty lies in visible brush strokes and natural variations across the surface.
Creating Texture and Depth
Vary your application pressure to create highs and lows. Heavier pressure in some areas, lighter in others, builds dimensional interest.
Use circular motions mixed with linear strokes. This randomness prevents repetitive patterns that look artificial.
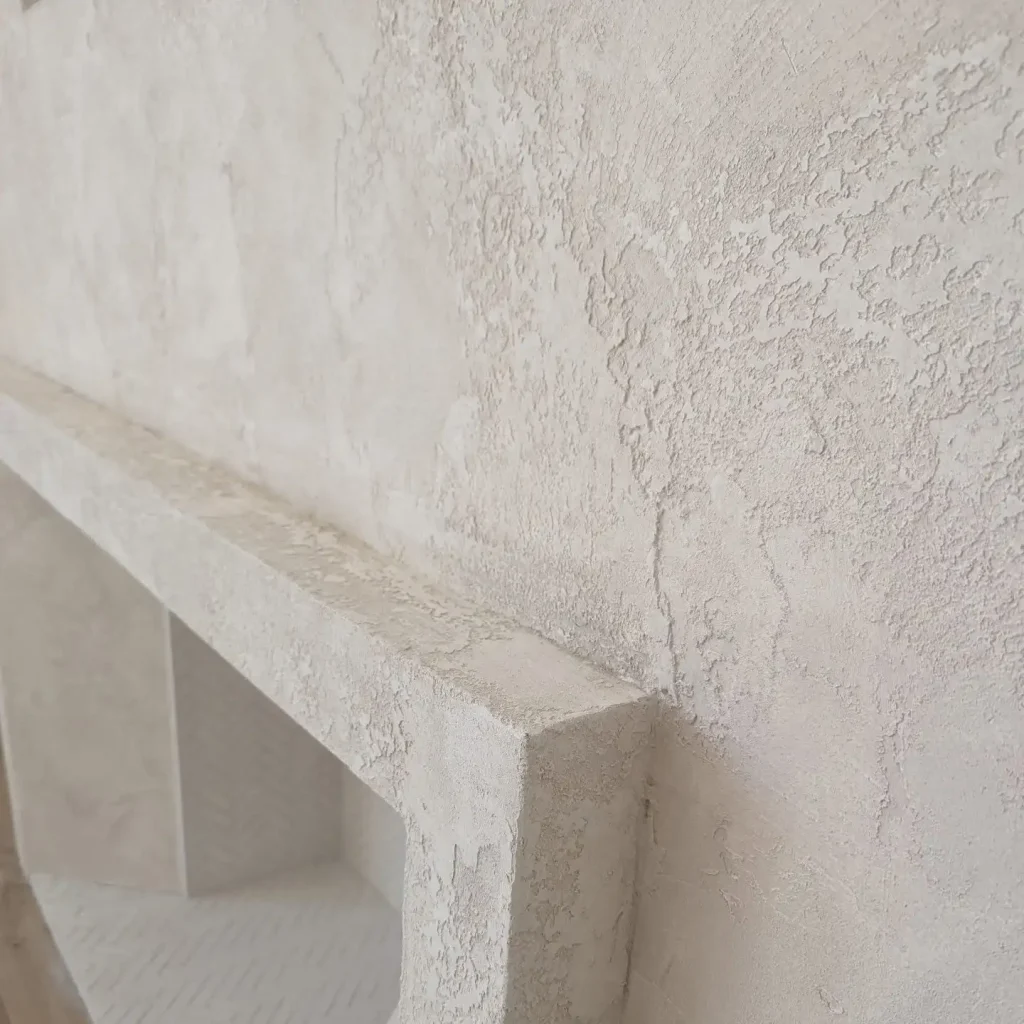
Source: @stellarsurfaces
Allow layers to dry between coats. Each layer interacts with previous ones, building complexity and depth.
Some professionals dampen the wall between coats. This extends working time and helps layers blend seamlessly.
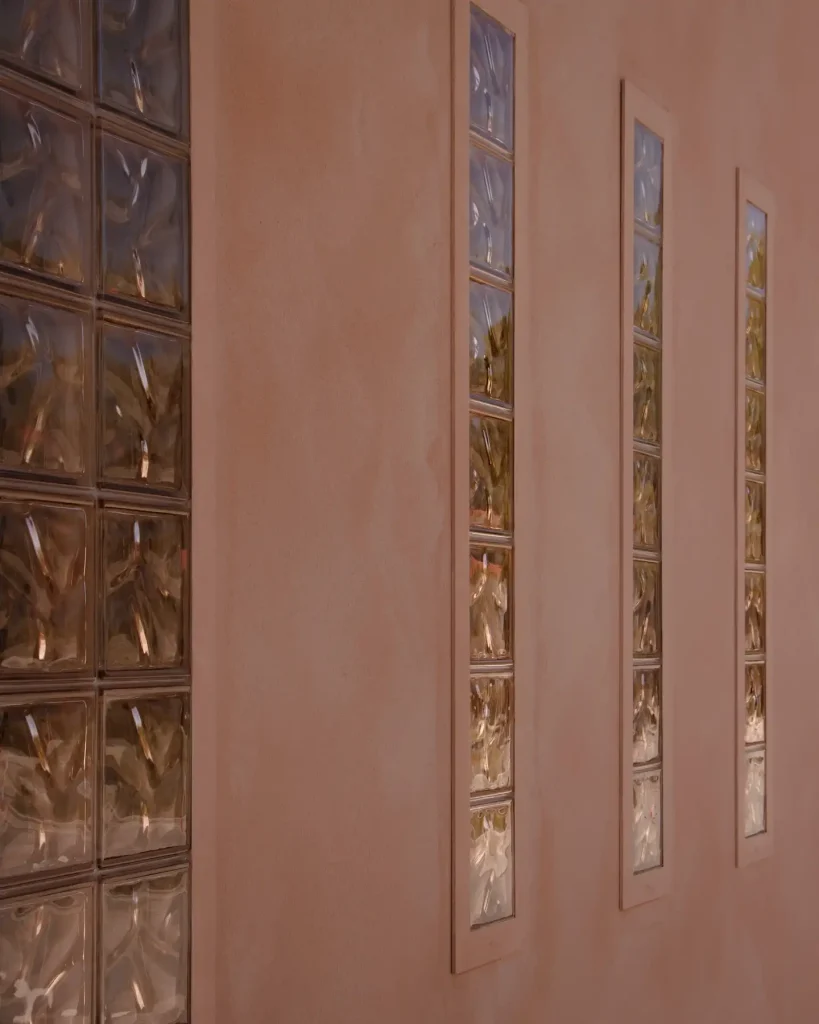
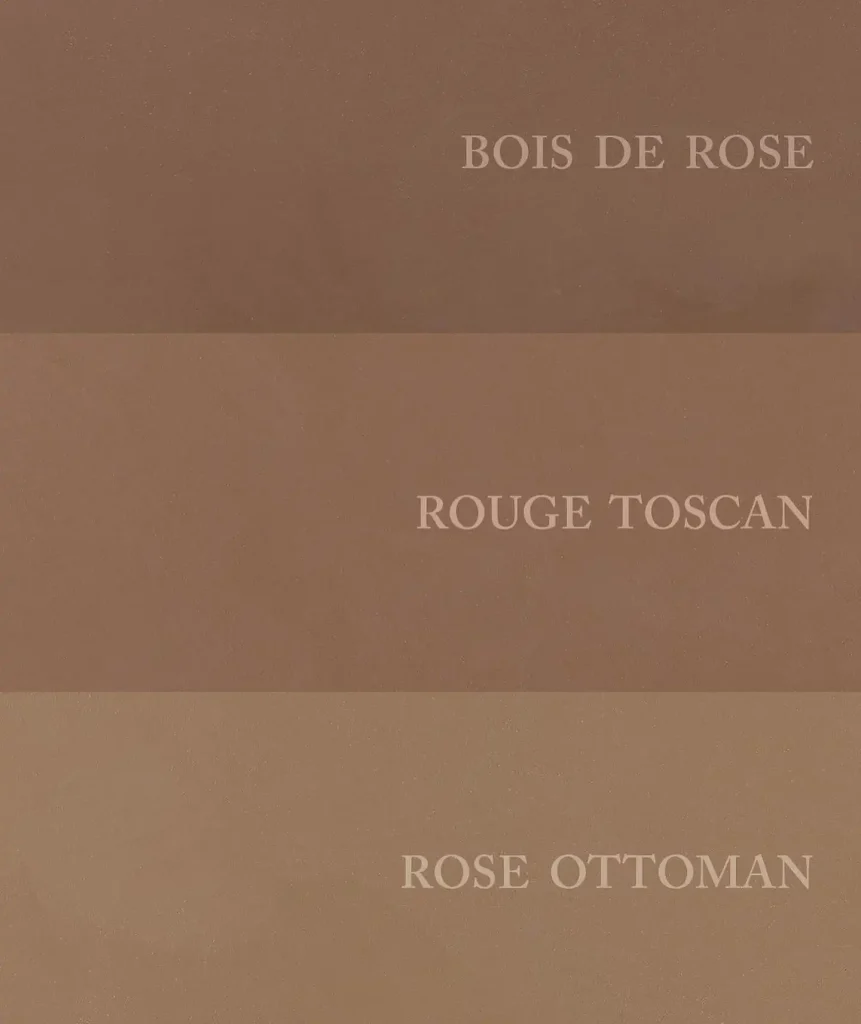
Color Options and Mixing
Traditional limewash comes in white and earth tones. Natural pigments create soft colors that age beautifully over time.
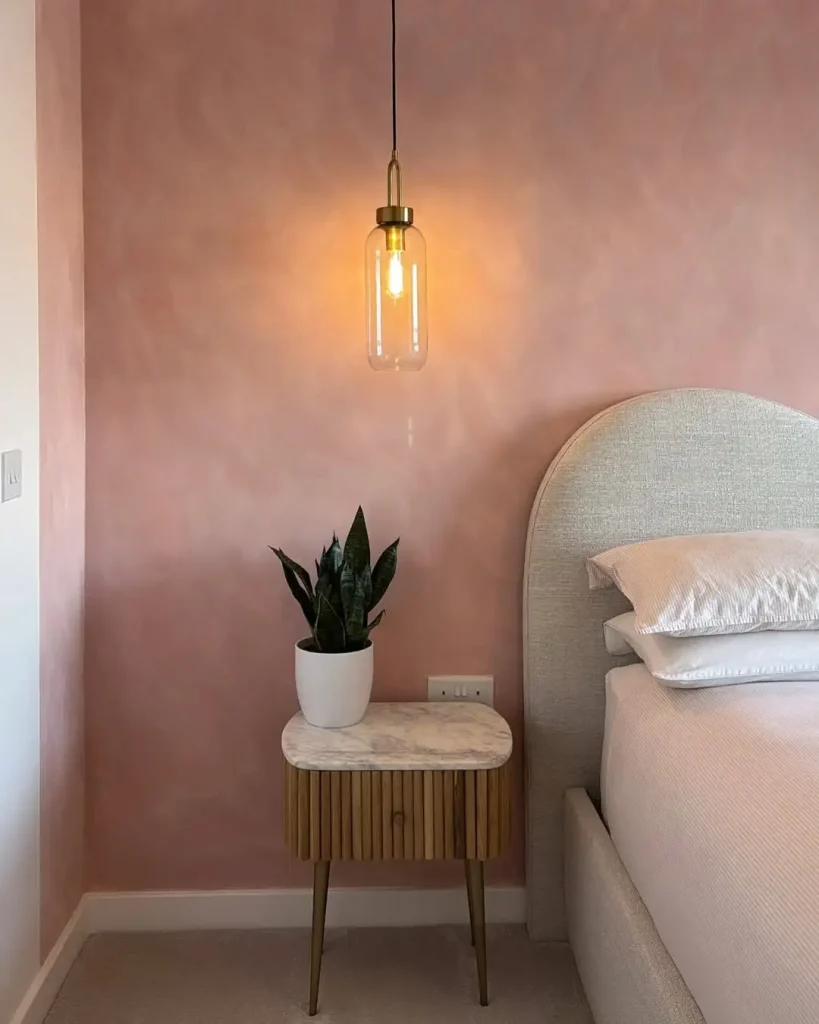
Modern limewash offers expanded color palettes. You’ll find everything from deep charcoals to soft pastels suitable for bedroom paint colors.
Source: @rustoleumuk @14ontheplace
Mix your own custom colors using natural pigments. Start with white limewash and add pigment gradually until achieving your desired shade.
Test colors on sample boards first. Limewash looks different wet versus dry, and coverage depth affects the final color.
Limewash in Different Room Styles
Farmhouse living rooms benefit tremendously from limewash walls. The texture complements shiplap, wood beams, and rustic furniture beautifully.
Create stunning cottage Christmas decor backdrops with limewash. The soft, neutral base allows seasonal decorations to shine.
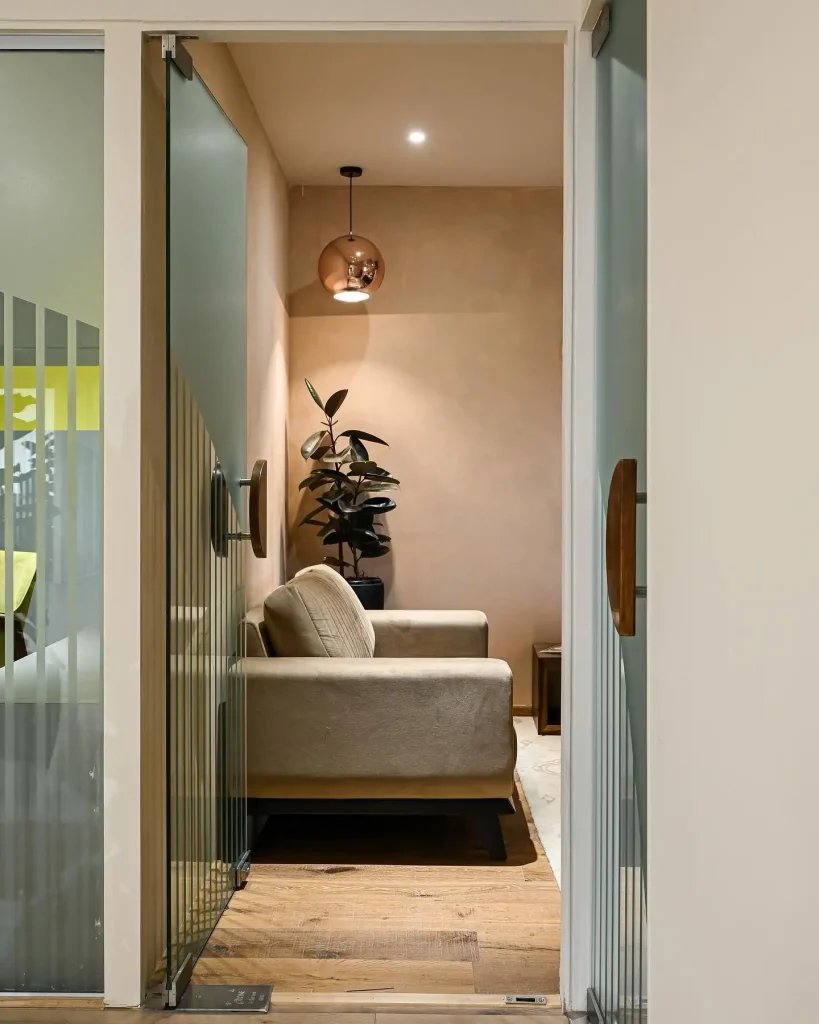
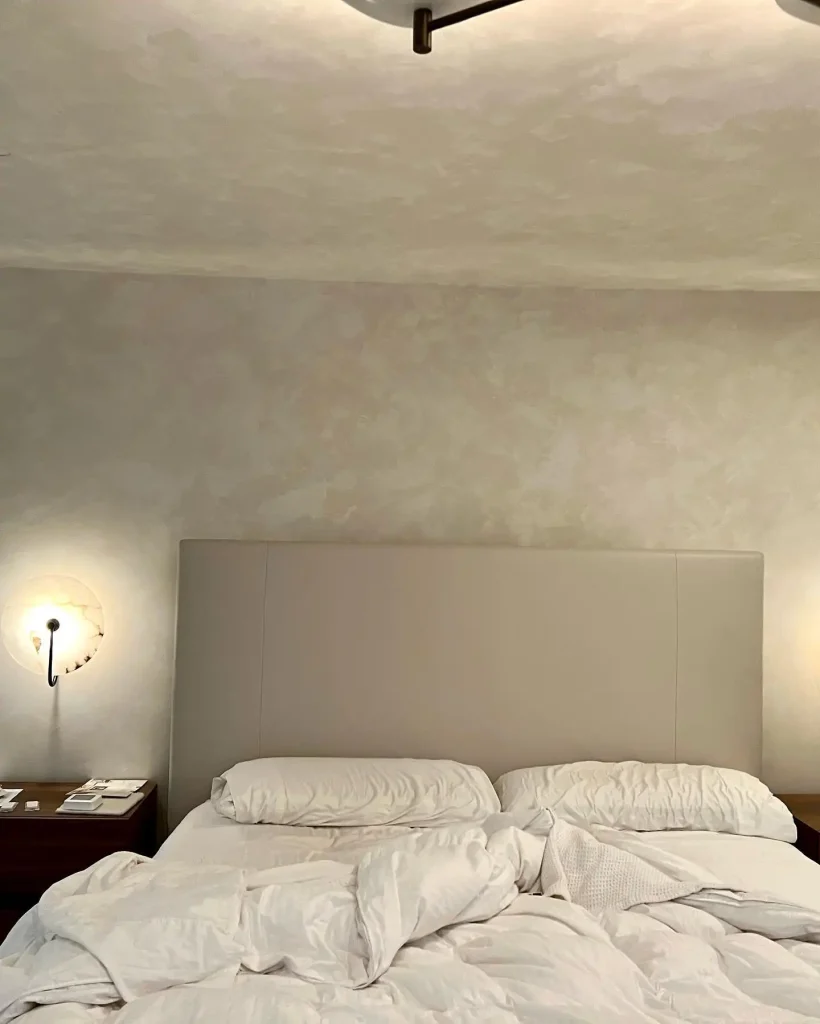
Master bedroom ideas often include limewash for its calming, organic feel. The matte finish doesn’t reflect light harshly like glossy paints.
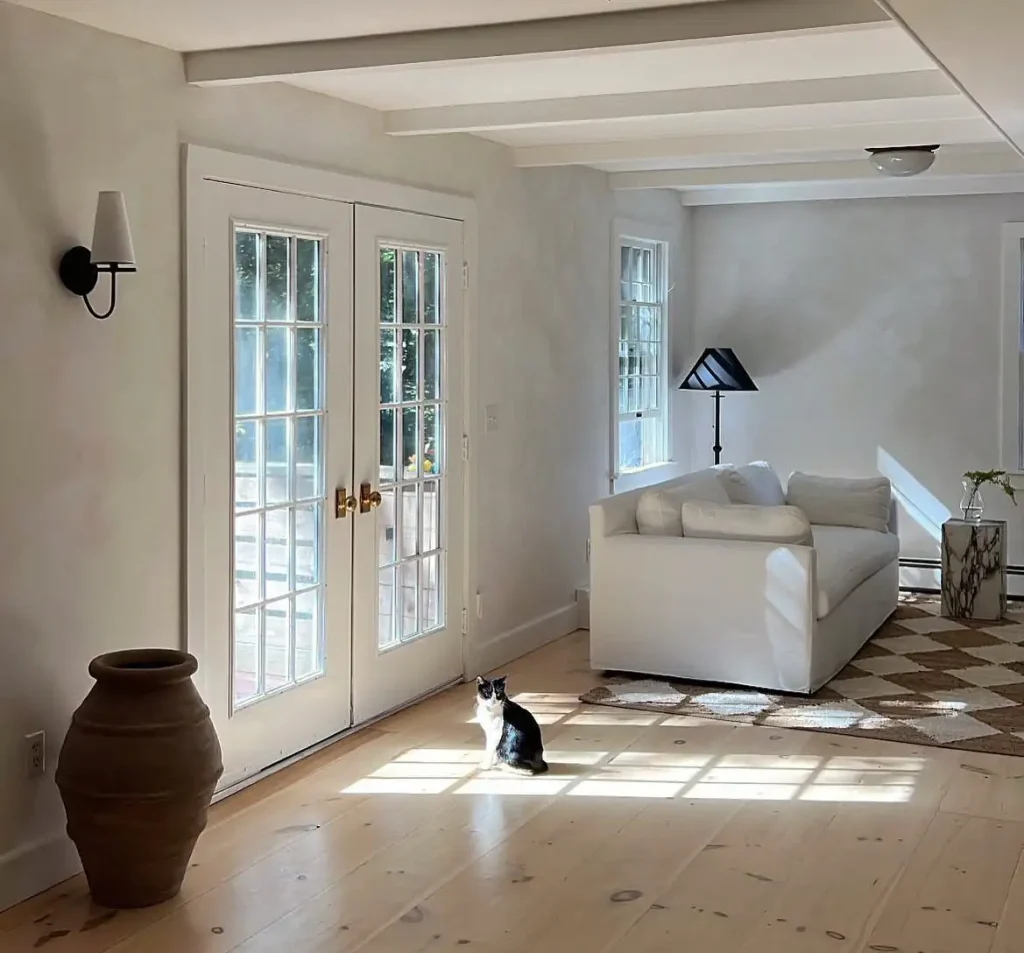
Modern minimalist spaces gain warmth from limewash texture. It softens stark white living rooms without adding color.
Limewash for Accent Walls
Create dramatic bedroom wallpaper accent walls alternatives with limewash. The texture provides visual interest without busy patterns.
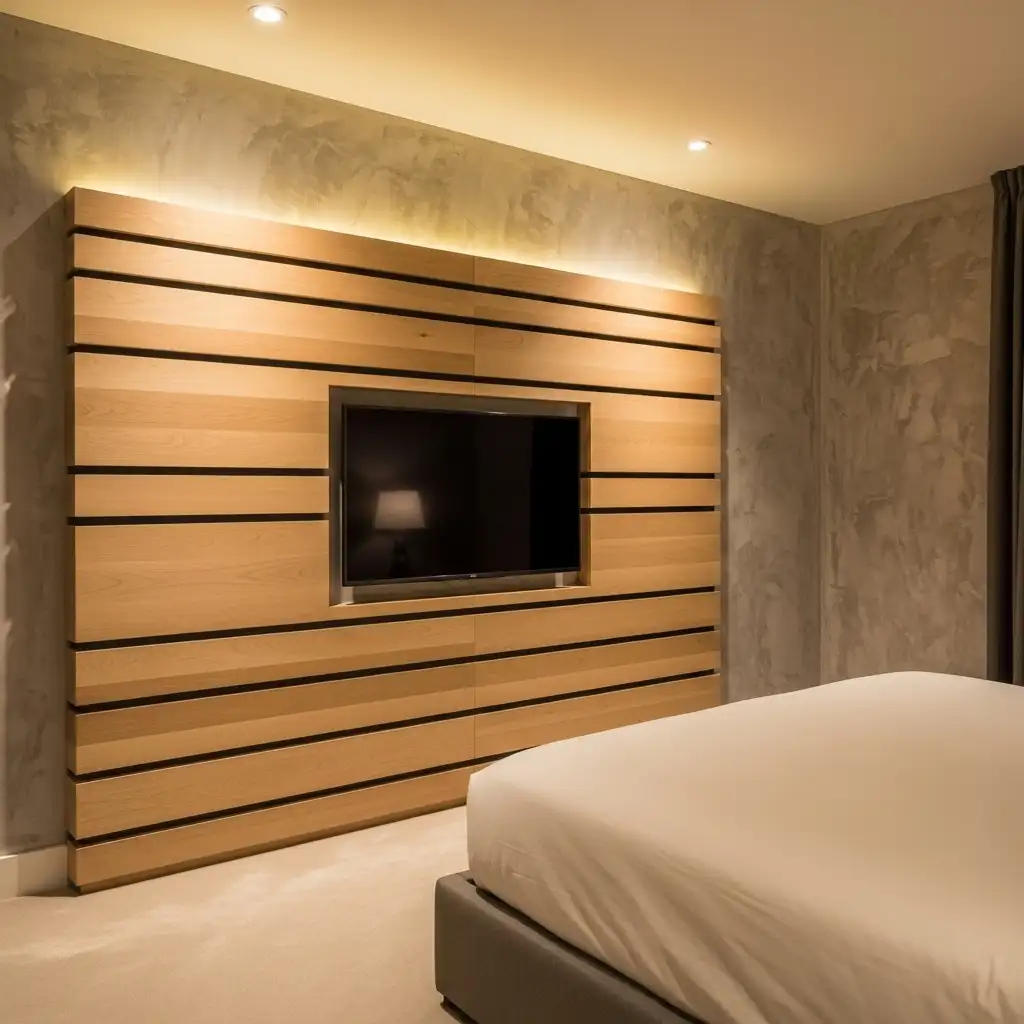
Limewash works beautifully behind wood panels behind TV installations. The organic texture contrasts nicely with clean media wall lines.
Staircase wall design ideas benefit from limewash’s ability to hide imperfections. The textured finish forgives minor wall irregularities.
Use limewash to highlight architectural features. Apply it to chimney breasts, alcoves, or any area deserving special attention.
Combining Limewash with Other Wall Treatments
Pair limewash with wall paneling ideas for layered interest. Wood wainscoting below limewash walls creates classic proportions.
Tongue and groove walls make excellent partners for limewash. Use each material on different walls for textural contrast.

Beadboard wall accents painted traditionally play well against limewash surfaces. The contrast highlights both treatments.
Consider limewash as a cheap wall covering idea that delivers high-end results. The material costs less than many trendy alternatives.
Maintenance and Durability
Limewash becomes more durable as it cures. The calcium carbonation process continues for months after application, hardening the surface.
The finish naturally resists mold and mildew growth. Lime’s high pH creates an inhospitable environment for organic growth.
Clean limewash walls gently with soft cloths and water. Avoid harsh chemicals that could damage the finish or alter the appearance.

Touch-ups blend seamlessly into existing limewash. Unlike paint, you won’t notice patch repairs once they dry.
Aging and Patina Development
Limewash develops beautiful patina over years. The finish gracefully ages, gaining character rather than looking worn.
Expect some natural chalking, especially in the first year. This powder easily brushes away and diminishes over time.
Color deepens and evens out as the finish cures. Walls that look slightly streaky when fresh develop into unified surfaces.
High-traffic areas may show more wear. This creates authentic-looking aged spots that many homeowners find charming.
Cost Considerations
Limewash material costs more per gallon than standard paint. However, you’ll need less product due to thin application layers.
Professional application typically costs $3-8 per square foot. The specialized technique commands higher labor rates than standard painting.
DIY application saves money but requires practice. Consider starting with a small bedroom or closet to develop skills.
The longevity justifies the investment. Properly applied limewash lasts decades without repainting, unlike paint’s 5-10 year lifespan.
DIY Application Tips
Start with pre-mixed limewash for easier application. Mixing from scratch requires experience to achieve proper consistency.
Work in comfortable temperatures between 50-80°F. Extreme heat or cold affects drying time and final appearance.
Keep a wet edge while working. Stopping mid-wall can create visible lines where dry meets wet application.
Embrace imperfections rather than fighting them. The organic, irregular finish is limewash’s signature characteristic.
Common Mistakes to Avoid
Don’t apply limewash too thickly. Heavy application looks chalky and may not bond properly to the surface.
Avoid using synthetic brushes or rollers. Natural bristles create the authentic texture limewash is known for.
Never apply limewash over glossy paint without proper prep. The finish won’t adhere and will eventually peel.
Don’t rush the drying process. Each coat needs adequate cure time for proper carbonation and durability.
Limewash in Historic Renovation
Period barn house living projects benefit from authentic limewash. It maintains historical accuracy while providing modern durability.
Limewash works perfectly for cottage-style homes seeking authentic character. The finish honors traditional building methods beautifully.
Historic preservation often requires breathable wall coatings. Limewash meets these requirements while looking period-appropriate.
Research your home’s original finish before choosing limewash. Many historic buildings were originally limewashed, making it the perfect restoration choice.
Environmental Benefits
Limewash is completely biodegradable and non-toxic. The natural ingredients pose zero environmental harm during production or application.
The breathable nature improves indoor air quality. Walls regulate moisture naturally, preventing mold and maintaining healthy humidity.

Source: @nikki_michelle_1
Lime production has a lower carbon footprint than synthetic paint manufacturing. The material absorbs CO2 as it cures, partially offsetting emissions.
No harsh chemicals or VOCs off-gas into your home. This makes limewash ideal for nursery ideas and children’s spaces.
Limewash in Commercial Spaces
Restaurants embrace limewash for its authentic, old-world atmosphere. The finish photographs beautifully and creates Instagram-worthy backdrops.
Boutique hotels use limewash to establish unique character. Each wall’s variation ensures no two rooms feel identical.
Office spaces benefit from limewash’s calming, organic aesthetic. The matte finish reduces glare on computer screens.
Retail environments use textured limewash walls to elevate product displays. The neutral backdrop lets merchandise stand out.
Seasonal Considerations
Apply limewash during mild weather for best results. Spring and fall offer ideal temperature and humidity conditions.
Avoid application during freezing temperatures. Lime needs above-freezing conditions to cure properly.
Summer heat accelerates drying, which can complicate application. Work during cooler morning or evening hours if possible.
Indoor climate control makes year-round application feasible. Maintain consistent temperatures for optimal curing.
Frequently Asked Questions
Can limewash be applied over existing paint?
Limewash can go over paint, but the surface must be properly prepared. Glossy or semi-gloss paint should be sanded to create tooth for adhesion. Flat paint in good condition may accept limewash with a bonding primer. The best results always come from applying limewash directly to porous, unpainted surfaces like plaster or bare drywall.
How long does limewash take to dry?
Limewash feels dry to the touch within 2-4 hours under normal conditions. However, full curing takes weeks to months as the calcium carbonation process continues. Wait 24 hours between coats and avoid washing walls for at least 30 days after final application. The finish strengthens significantly over time.
Is limewash suitable for bathrooms and kitchens?
Limewash works in bathrooms and kitchens due to its breathable, moisture-regulating properties. It resists mold better than regular paint. However, avoid direct water contact areas like shower walls. Use limewash on bathroom walls away from direct spray. In kitchens, keep it away from stovetop backsplashes where grease accumulates.
Can I remove limewash if I change my mind?
Removing limewash is challenging once it fully cures. You can paint over it with appropriate primers, or sand it off completely. Power washing removes limewash from exterior brick or stone. For interior walls, covering with new drywall is sometimes easier than removal. This permanence means careful color selection and surface preparation are crucial.
How much does limewash cost compared to paint?
Limewash materials cost $40-80 per gallon versus $30-50 for premium paint. However, coverage differs—limewash goes further due to thin application. Professional limewash installation costs more than painting due to specialized application techniques. Despite higher upfront costs, limewash’s 20+ year lifespan makes it cost-effective long-term compared to repainting every 5-10 years.
Final Thoughts
Limewash walls offer timeless beauty that improves with age. The organic texture and depth create sophisticated spaces that feel both historic and contemporary.
This traditional finish requires patience and practice but rewards homeowners with truly unique surfaces. No two limewashed walls look identical, ensuring your space remains one-of-a-kind.
Whether you’re renovating a cottage home or adding character to new construction, limewash delivers unmatched authenticity. The natural material connects your home to centuries of building tradition while meeting modern performance standards.