If you’re like many homeowners, your basement presents a fantastic opportunity for extra living space—a home theater, a playroom, a home gym, or that coveted home office. But there’s one common obstacle that can stump even the most enthusiastic renovator: the low-hanging, often cluttered and unattractive ceiling.
The traditional solution of installing a drop ceiling eats up precious inches, and drywalling can be expensive and permanent. So, what’s the most effective, budget-friendly, and surprisingly stylish alternative? Painting everything overhead a uniform, dark color.
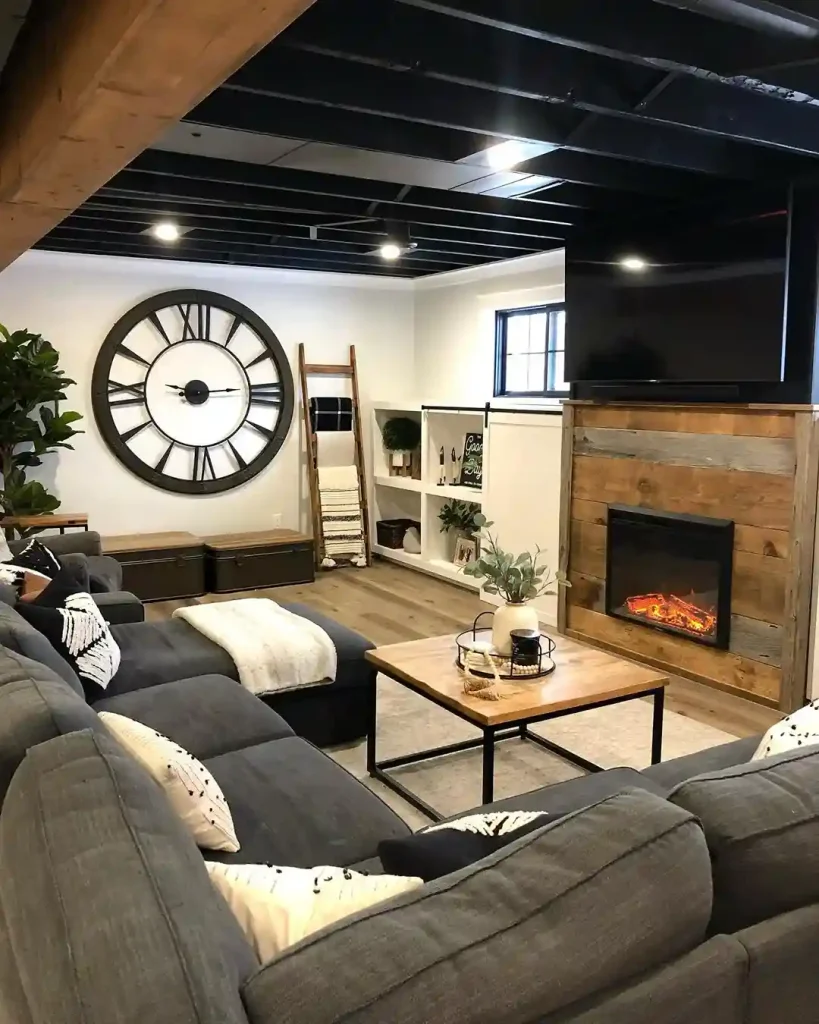
Credits: @thelakesidefarmhouseproject
This isn’t just a quick fix; it’s a powerful design strategy that can transform your basement from a cramped, utilitarian space into a cozy, intentional, and modern area. This guide will walk you through the why, the how, and the stunning results of painting your low basement ceiling.
Why a Low Basement Painted Ceiling? The Power of Perception
Before we pick up a paint roller, it’s crucial to understand the design psychology behind this approach. Our brains are wired to interpret visual cues in specific ways, and you can use this to your advantage.
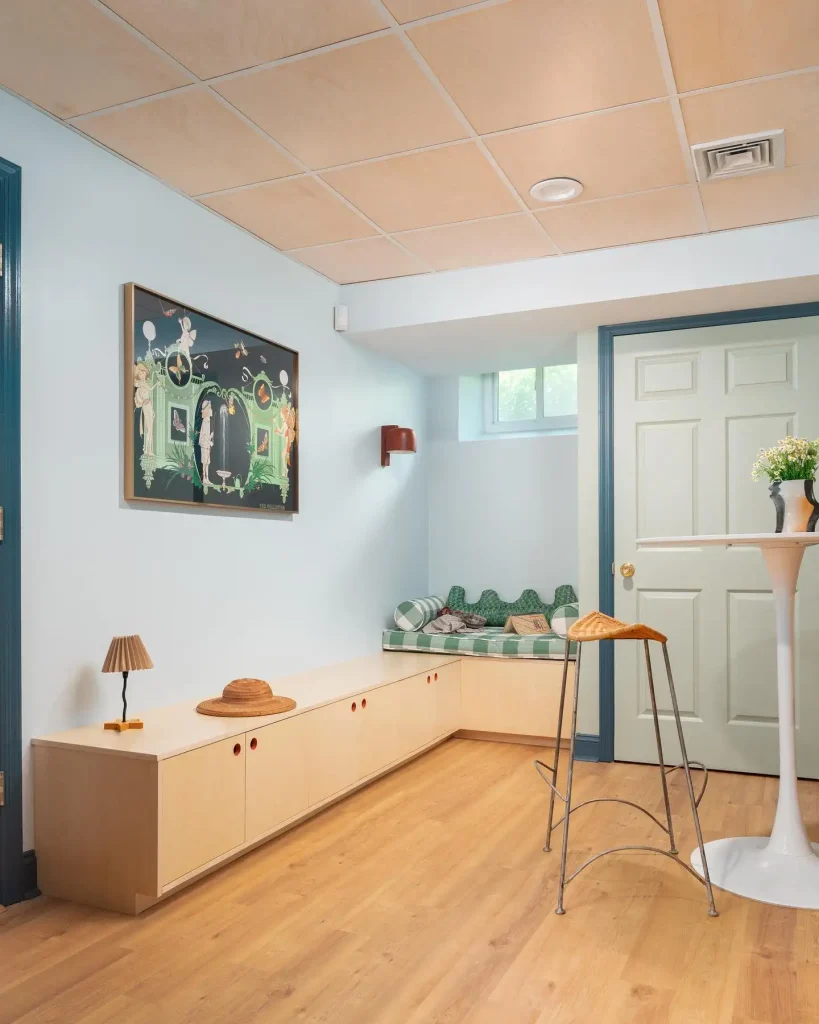
Credits: @spacesbyhollievelten
- The “Ceiling Vanish” Effect: A white or light-colored ceiling draws the eye upward and defines the boundary of a room. In a space with low clearance, this highlights the cramped nature of the area. By painting the ceiling, ducts, pipes, and wires all one dark, matte color—typically black or very dark gray—you eliminate these visual cues. The ceiling plane visually recedes, blurring into the periphery and creating an illusion of greater height. It’s the same principle that makes wearing head-to-toe black appear slimming. This ideas is very good for living room ceiling.

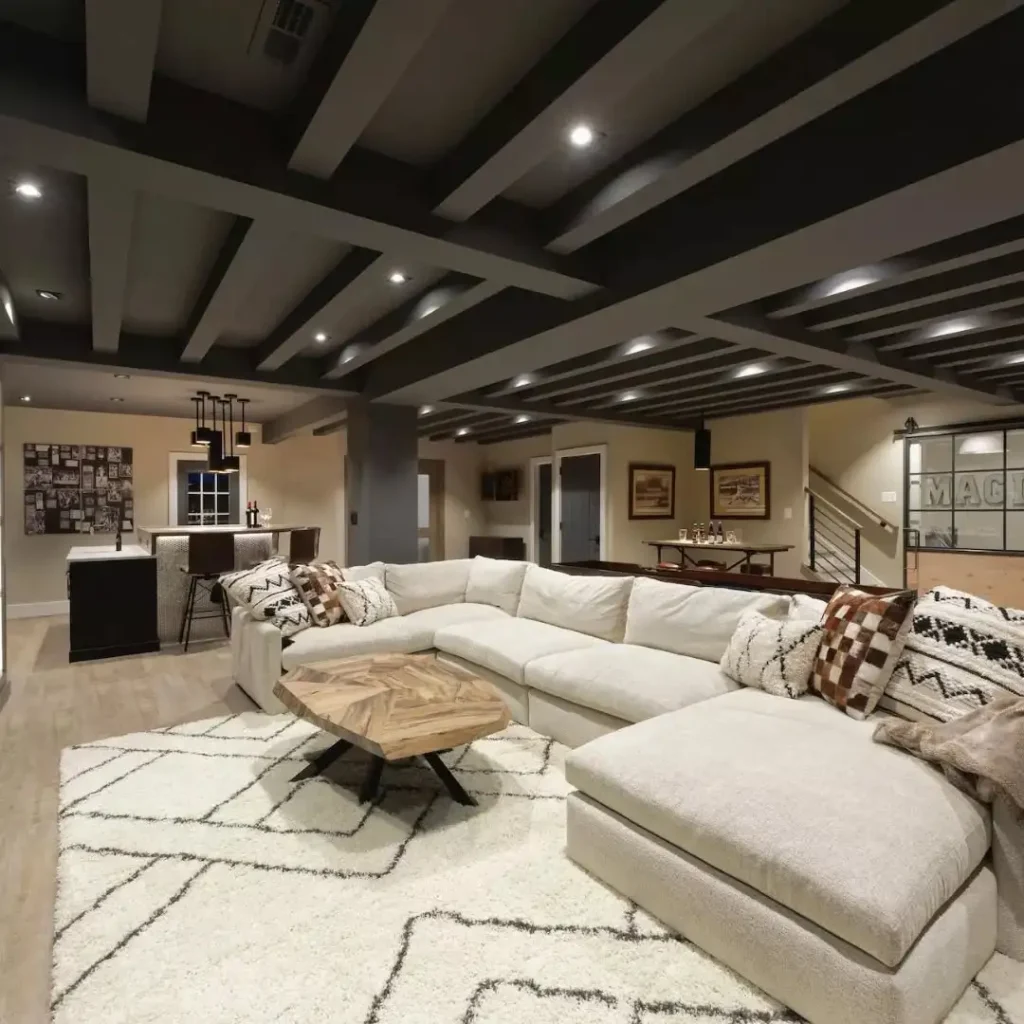
- Embracing the Industrial Aesthetic: Instead of fighting against the functional elements of your basement, you can celebrate them. Exposed structural elements have a raw, industrial charm that is both modern and timeless. Painting everything uniformly turns a “mess” of mechanicals into a cohesive, intentional design feature. This approach is perfect for creating a loft-like vibe that feels urban and sophisticated. For more on this look, explore our guide to exposed basement ceiling ideas.
- Unbeatable Practicality and Cost: Compared to the labor and materials required for a drop ceiling or a drywalled finish, painting is incredibly inexpensive. It also provides unparalleled access to electrical wiring, plumbing, and HVAC systems for any future updates or repairs. This is a major advantage over permanent ceiling solutions.
Choosing the Perfect Color: It’s Not Just Black and White
While matte black is the go-to for a reason, it’s not your only option. The best color depends on the overall mood you want to create and the amount of light in your basement.
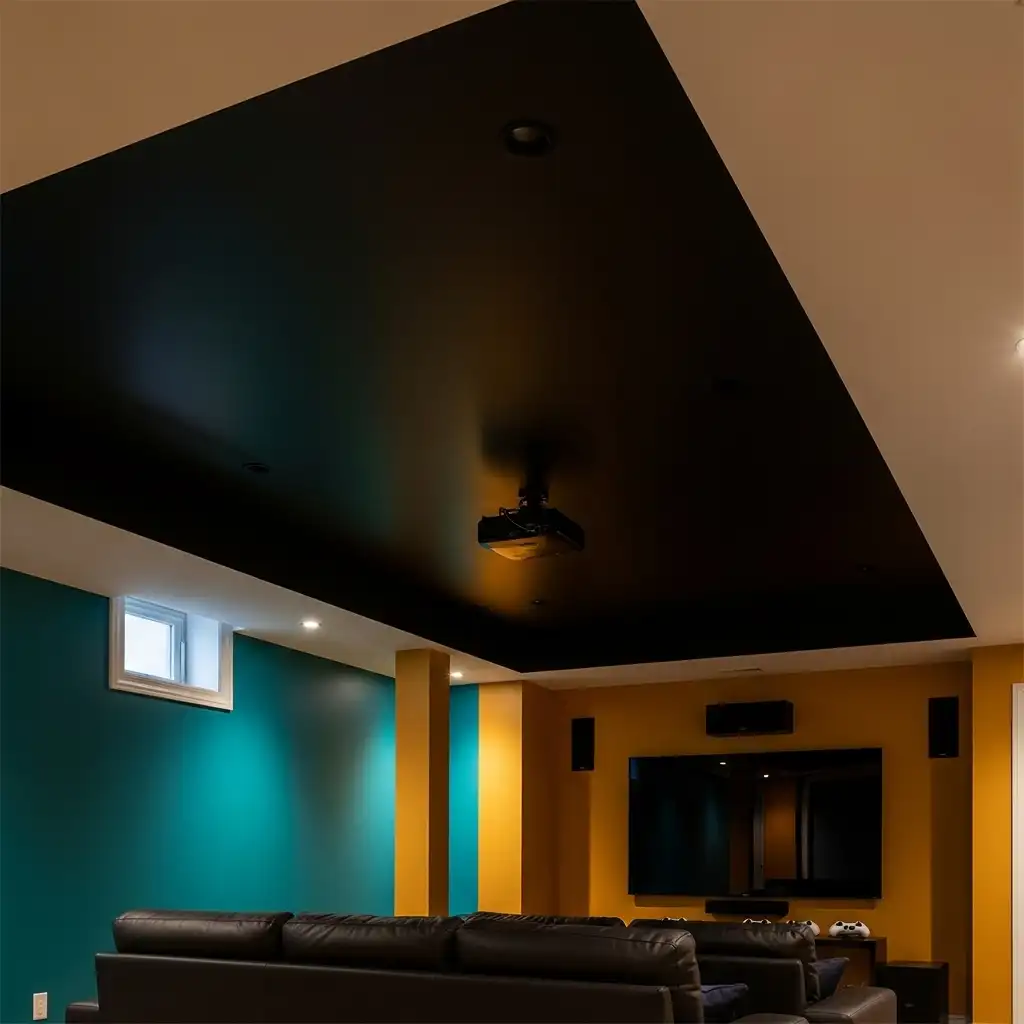
- Matte Black: The classic choice. It’s the most effective at making the ceiling disappear and provides a sharp, modern contrast that makes your wall color pop. It’s ideal for home theaters, game rooms, and spaces where you want a dramatic, cocoon-like feel.
- Charcoal Gray: A slightly softer alternative to pure black. It still provides the receding effect but feels a touch warmer and less severe. This is an excellent compromise if you’re worried black will feel too dark.
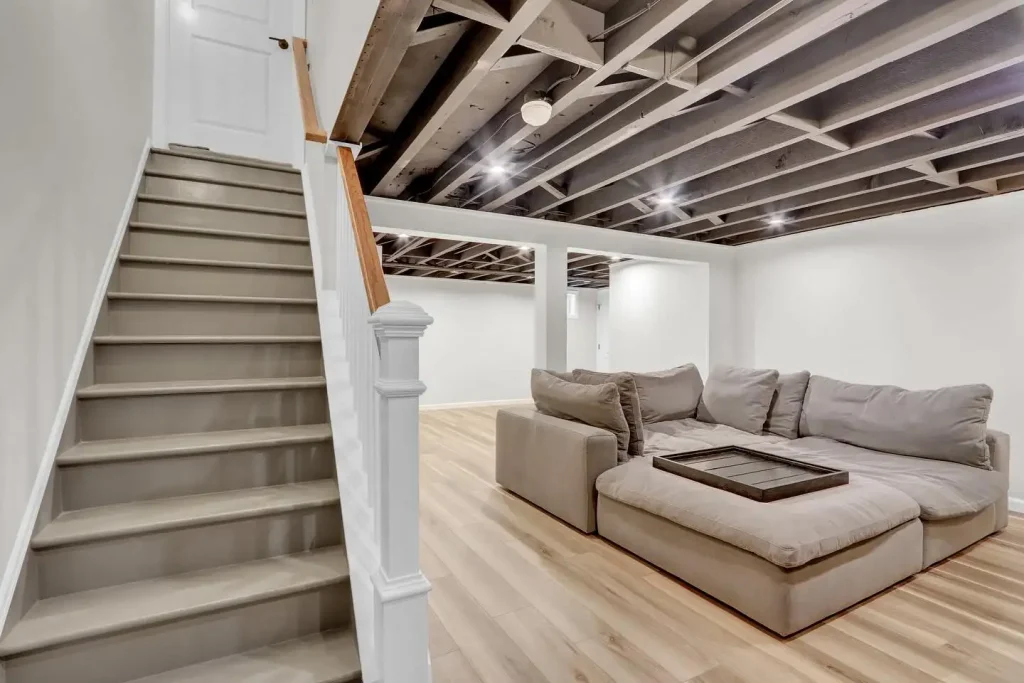
Credits: @metrodesignbuildgroup
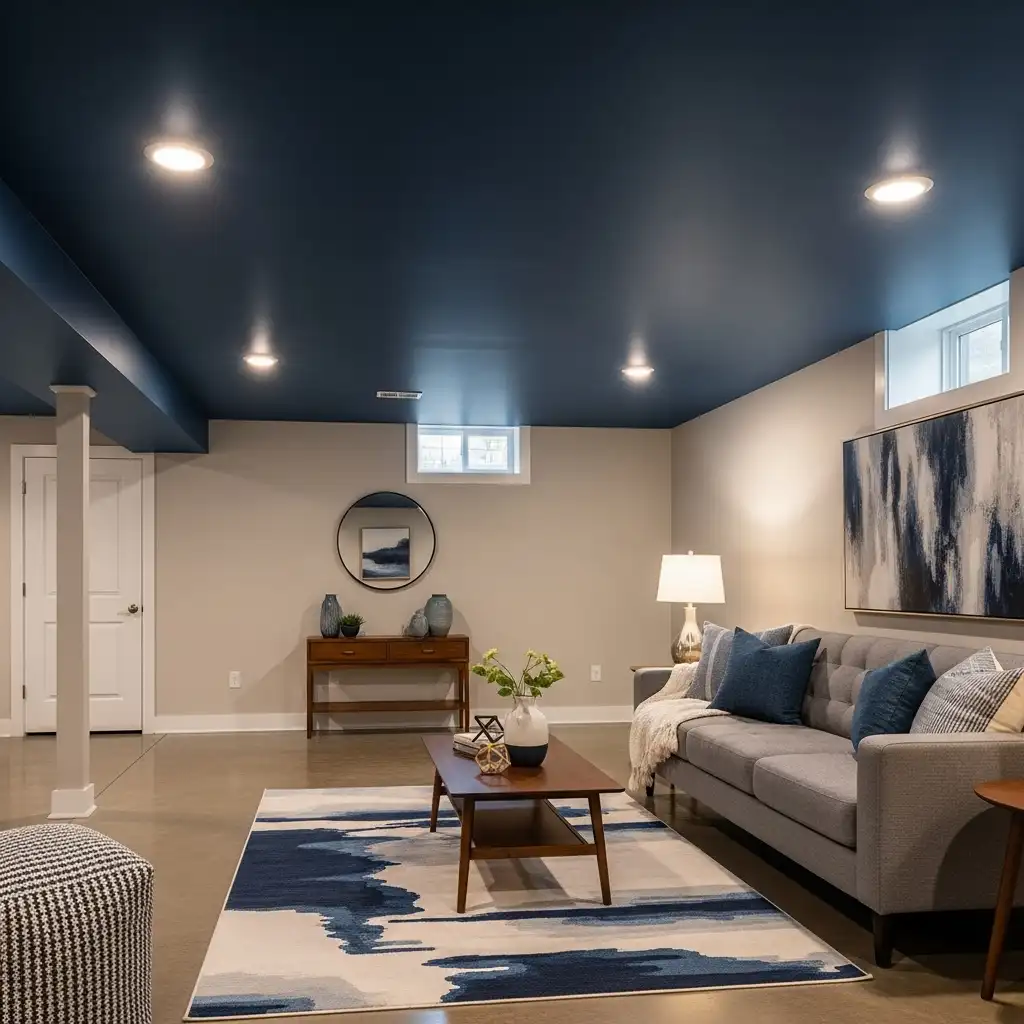
- Dark Navy Blue: For a more unique and sophisticated look, a deep navy can be stunning. It maintains the visual receding quality while adding a subtle hint of color that can complement your overall design scheme. Not only for living room but also applicable in the bedroom ceilings.
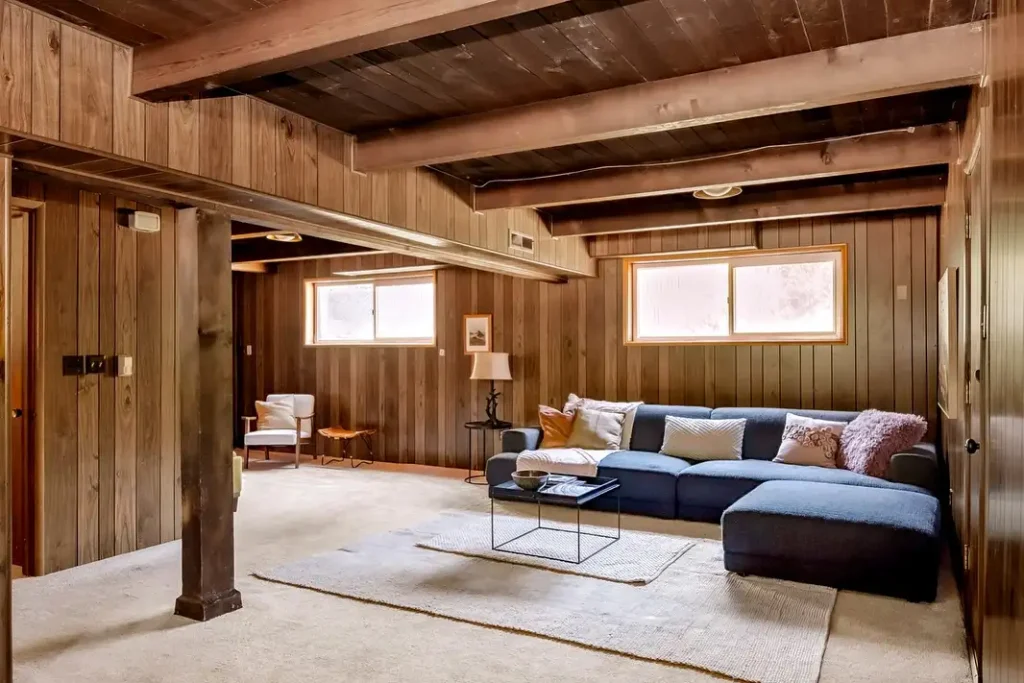
- Deep Brown: If your basement has warm-toned flooring or wood accents, a dark chocolate or espresso brown can create a cozy, rustic feel that is less industrial and more lodge-like.
The Golden Rule: Whatever color you choose, it must be a flat or matte finish. A satin or semi-gloss sheen will reflect light, highlighting every pipe and duct and completely defeating the purpose of the paint.
Step-by-Step: How to Paint Your Basement Ceiling
This project is more about preparation and patience than complex technique. Set aside a weekend for the best results.
Tools & Materials You’ll Need:
- Painter’s plastic sheeting or drop cloths
- Painter’s tape (a must for clean lines on walls)
- A sturdy ladder or scaffolding
- Safety glasses, a respirator mask, and a hat
- Stiff bristle brush (for dusting)
- Trisodium phosphate (TSP) cleaner or a degreasing cleaner
- A high-quality, stain-blocking primer (oil or shellac-based is best for potential rust)
- A paint sprayer (highly recommended) or long-nap roller and extension pole
- Matte or flat paint in your chosen color
Step 1: The Great Clean-Out
Remove all furniture and belongings from the basement. This is a messy job, and you don’t want anything in the way or covered in dust.
Step 2: Meticulous Preparation
This is the most critical step. Proper prep ensures the paint adheres properly and lasts for years.
- Cover Everything: Use painter’s plastic to cover walls, light fixtures (remove bulbs first), and the entire floor. Tape the plastic securely to the top of your walls.
- Dust and Degrease: Over time, ceiling joists and mechanicals accumulate dust and grime. Use a stiff brush to dislodge cobwebs and loose dust. Then, wash all surfaces with a TSP solution or a degreasing cleaner to remove any oily residue. Allow everything to dry completely.
Step 3: Prime for Success
Do not skip the primer! It seals the various surfaces (wood, metal, PVC), provides a uniform base for the topcoat, and prevents stains like rust from bleeding through.
- Use a stain-blocking primer. For any metal pipes or ducts that show signs of rust, an oil or shellac-based primer is essential.
- Apply the primer evenly using a sprayer or roller. Ensure you get coverage in all the nooks and crannies.
Step 4: The Main Event – Applying Paint
Once the primer is fully dry (check the can for timing), you’re ready for the topcoat.
- The Sprayer Advantage: An airless paint sprayer is the superior tool for this job. It allows you to quickly and evenly coat all the complex, uneven surfaces of an exposed ceiling, ensuring a uniform finish without brush marks.
- The Roller Method: If using a roller, choose one with a long nap (3/4″ to 1″) to hold more paint and reach into crevices. Use a brush to “cut in” and cover areas the roller can’t reach.
- Apply Two Coats: Plan on applying at least two thin coats of paint rather than one thick coat. This prevents drips and ensures complete, rich coverage. Allow the first coat to dry completely before applying the second.
Step 5: The Final Reveal
After the final coat is touch-dry, carefully remove all the painter’s plastic and tape. Reinstall your light bulbs and move your furniture back in. Take a step back and admire the transformation.
Lighting a Painted Basement Ceiling: Creating Ambiance
With a dark ceiling overhead, your lighting strategy becomes more important than ever. You need to bring the light down to the human level to create a comfortable and inviting atmosphere.
- Recessed Can Lights: These are ideal as they are installed between the joists, shining light downward without drawing attention to the ceiling itself.
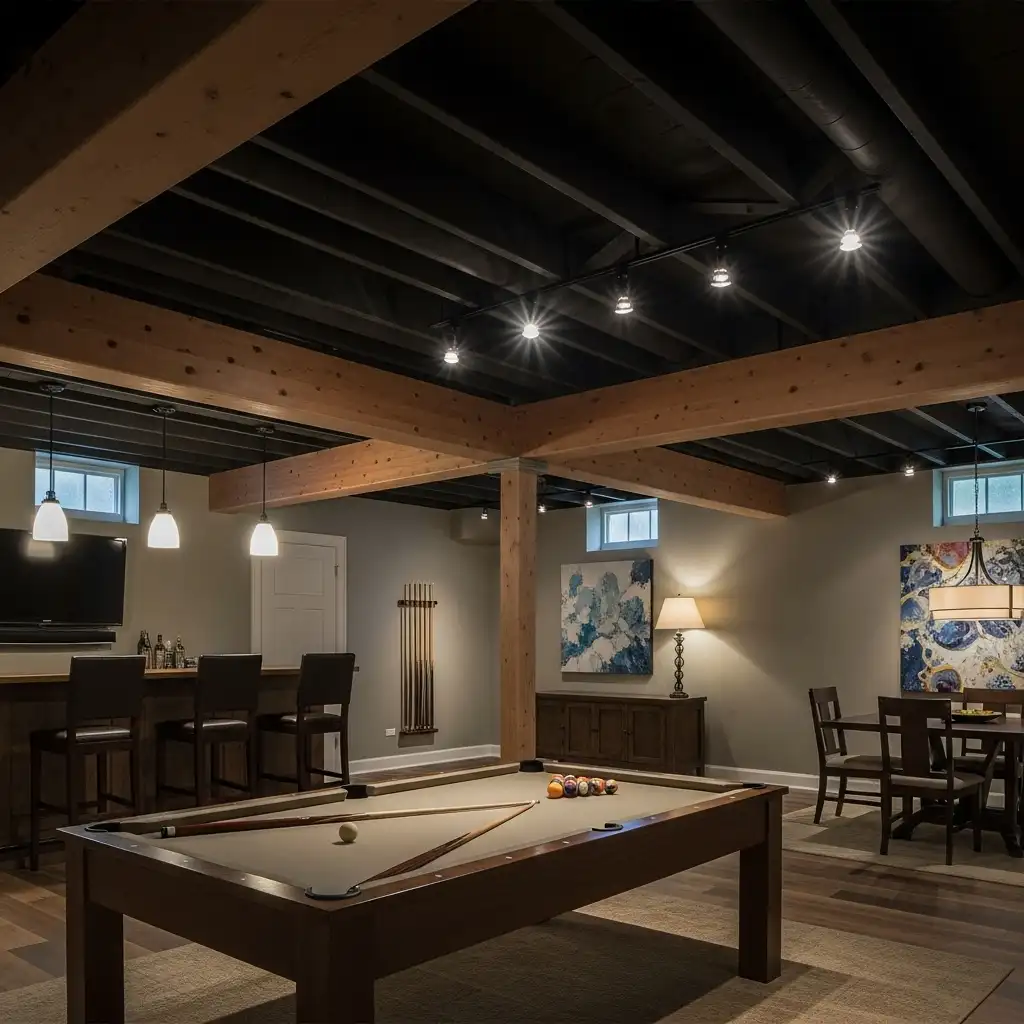
- Track Lighting: A flexible option that allows you to direct light exactly where you need it—on a reading nook, a pool table, or artwork.
- Pendant Lights: Use them sparingly and hang them low over key areas, like a bar or a dining table, to create intimate pools of light.
- Floor and Table Lamps: This is the secret weapon. Ample ambient lighting from lamps at ground level will make the room feel warm and cozy, completely negating the need for light from above. For more inspiration, check out our guide to basement ceiling ideas.
Design Styles That Shine with a Painted Ceiling
This ceiling treatment works beautifully with several popular design aesthetics:
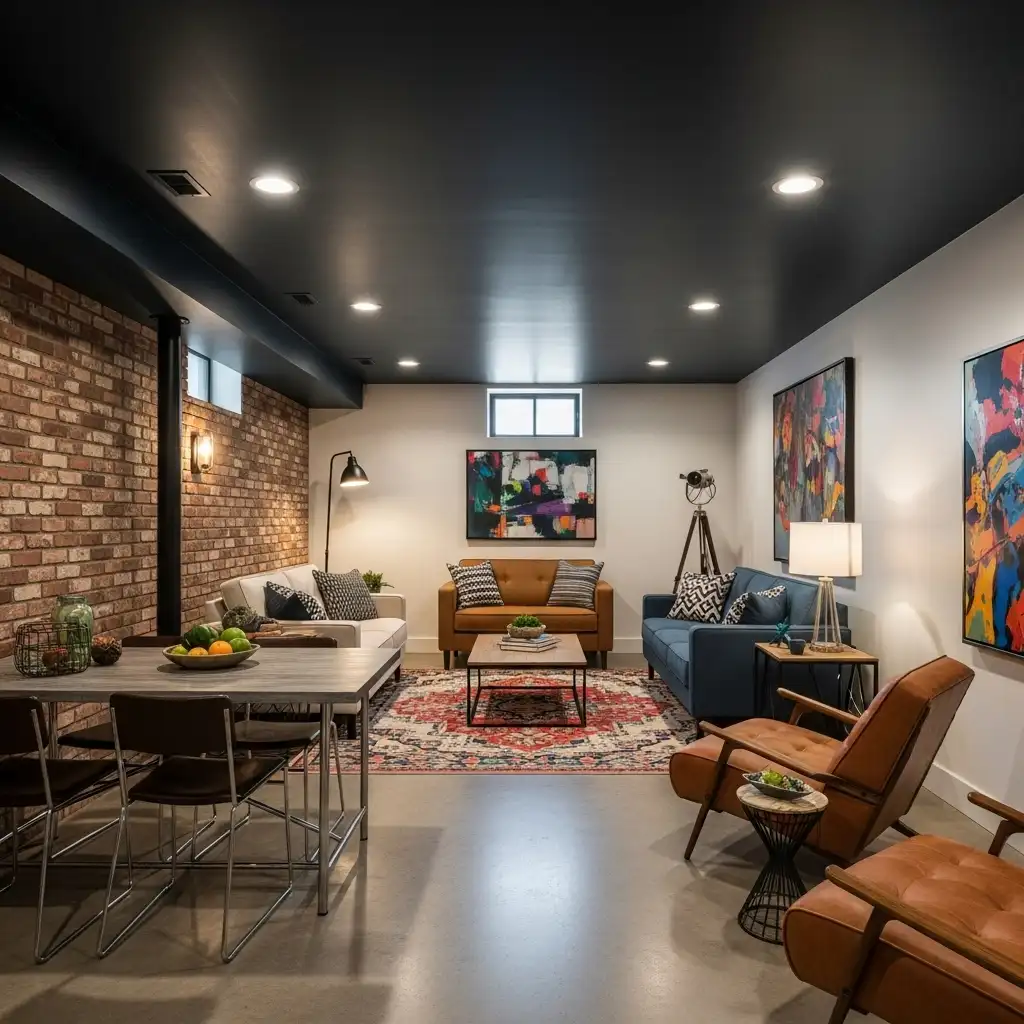
- Industrial: Pair with concrete floors, brick walls (or faux brick panels), and metal furniture.
- Modern: Combine with sleek, low-profile furniture, a neutral color palette on the walls, and strategic accent lighting.
- Eclectic: The dark ceiling acts as a neutral “sky” that allows your colorful artwork, vibrant rugs, and unique furniture to take center stage.
- Man Cave/Game Room: The cozy, enclosed feeling is perfect for a home theater or a space dedicated to entertainment.
Conclusion: Embrace the Height You Have
Painting a low basement ceiling is more than a mere painting project; it’s a clever design intervention that maximizes your space both visually and functionally. It’s affordable, practical, and delivers a high-impact, professional look that belies its simple execution. By choosing the right color, preparing meticulously, and implementing a smart lighting plan, you can turn your basement’s greatest weakness into its most defining, stylish asset. Stop fighting the low clearance and start embracing the potential hiding in plain sight, just above your head.
Frequently Asked Questions (FAQs)
1. Won’t a dark ceiling make my basement feel even smaller and darker?
This is the most common concern, but the effect is actually the opposite. A light-colored ceiling draws the eye upward, emphasizing the low height and creating a definite, confining “lid” on the room. A matte, dark ceiling causes the ceiling plane to visually recede and blur into the background. This eliminates the defined boundary, creating an illusion of more space and height. The key is to combine it with good wall lighting and ambient floor lamps to keep the living space bright and welcoming at eye level.
2. What is the best type of paint to use for this project?
The finish is more important than the brand. You must use a flat or matte finish paint. Any sheen (eggshell, satin, semi-gloss) will reflect light, highlighting every pipe, wire, and duct and defeating the purpose of making the ceiling disappear. For the type, a durable interior paint is fine. However, the primer is critical. Use a high-quality, stain-blocking primer (an oil or shellac-based primer is best for sealing any potential rust on metal pipes) to ensure good adhesion and prevent any stains from bleeding through your topcoat.
3. Can I do this myself, or should I hire a professional?
This is a very achievable DIY project for a homeowner who is comfortable with basic painting and preparation. The most challenging aspects are the physical discomfort of working overhead and the meticulous prep work required. Renting an airless paint sprayer will make the job faster and give a more uniform finish than rolling. However, if you have a complex web of electrical wires, plumbing, or HVAC that makes access extremely difficult, or if you are not comfortable on a ladder for extended periods, hiring a professional painter would be a wise investment to ensure a flawless, safe result.