Elevate Your Walls. Wood wall paneling is the ultimate design power move, adding instant warmth and character to any space. From a cozy NYC studio to a sun-drenched Phoenix home, this timeless element works everywhere.
Our ultimate guide covers everything—from styles to cost breakdowns to step-by-step installation—so you can tackle your project with confidence.
I. Planning and Design Fundamentals
1. Defining Your Paneling Style
The style sets the entire tone for your room.
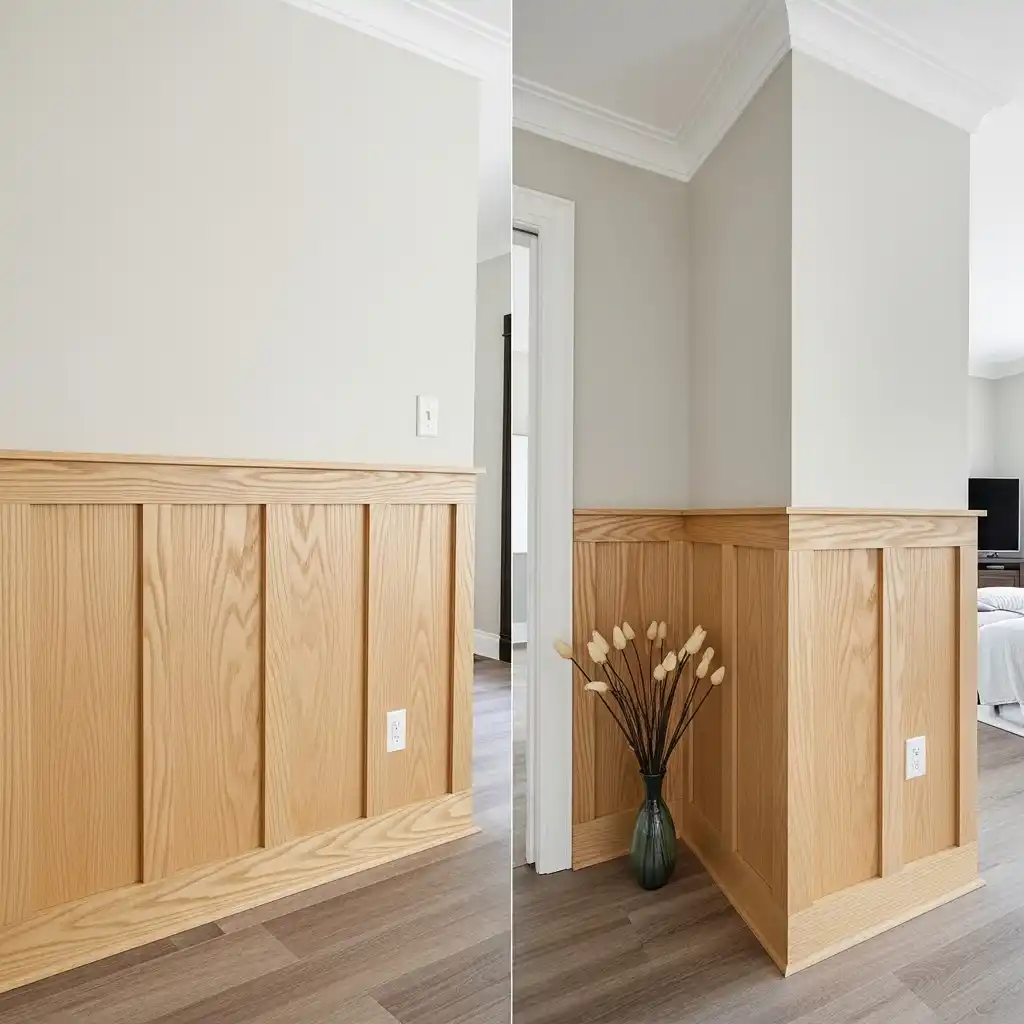
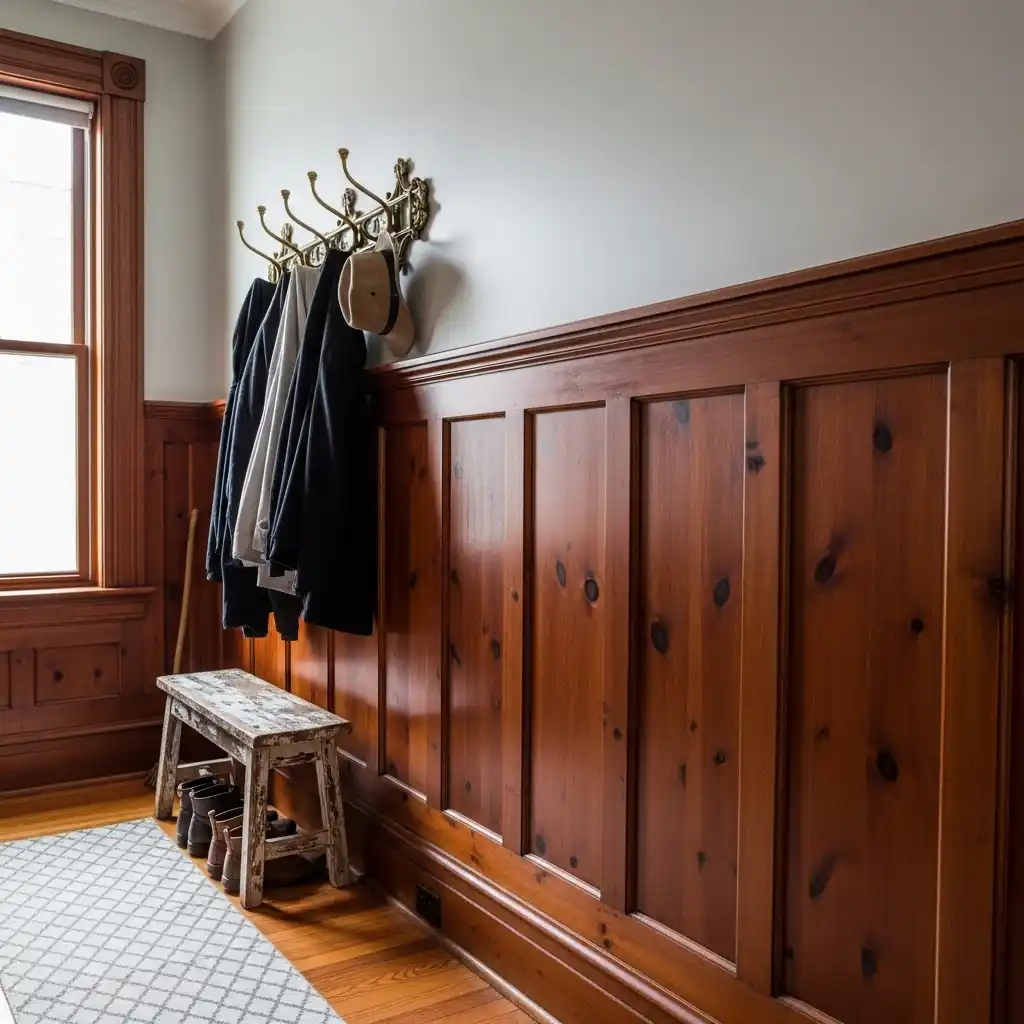
- Wainscoting: Covers the lower third of the wall, often topped with a chair rail. Ideal for dining rooms and hallways.

Credits:@wallsandceiling
- Shiplap: Horizontal or vertical boards that overlap, creating a rustic, coastal, or modern farmhouse look. Popular in living rooms and kitchens.
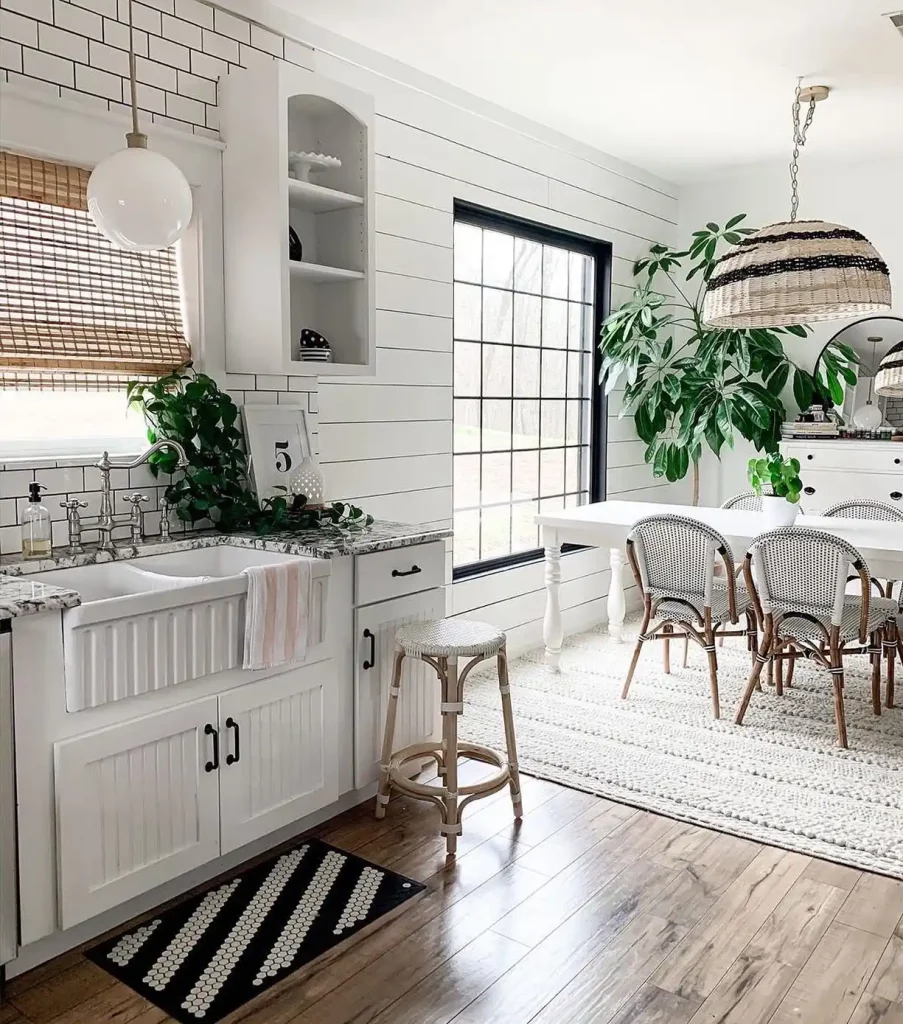
Credits:@boutiquerugs
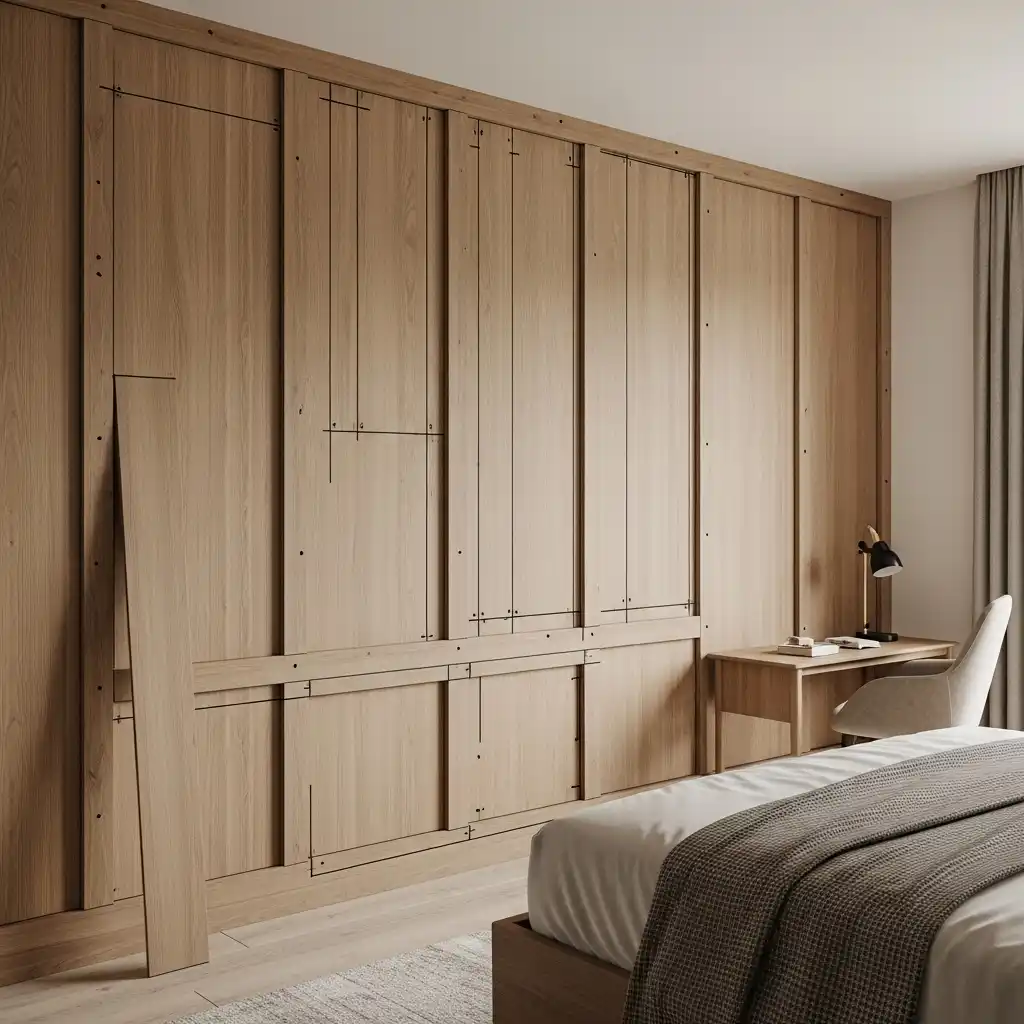
- Board and Batten: Wider boards (boards) spaced out with narrow strips of wood (battens) covering the seams. Excellent for creating dramatic vertical lines in tall spaces.
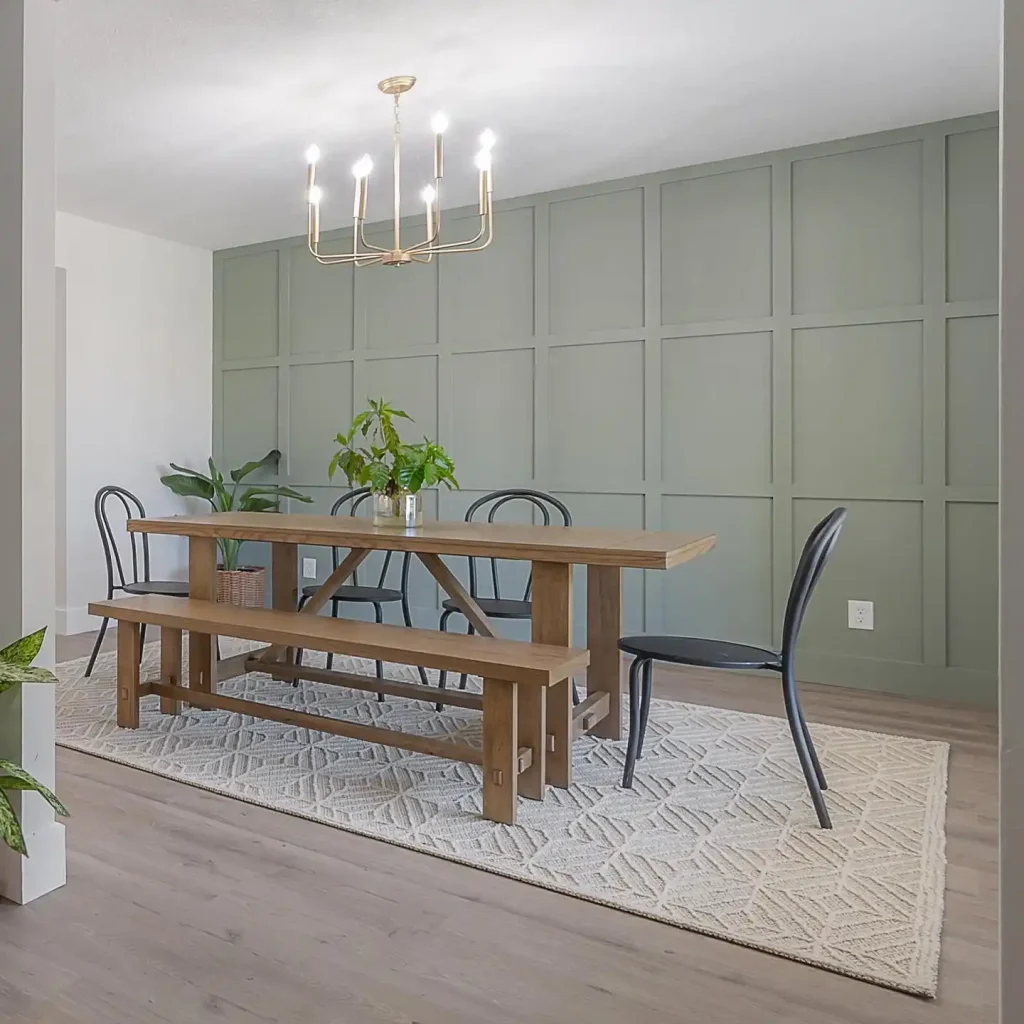
Credits:@wallsandceiling
- Beadboard: Narrow vertical planks separated by a small ridge or “bead.” Gives a classic cottage or vintage feel, perfect for a cozy bedroom.
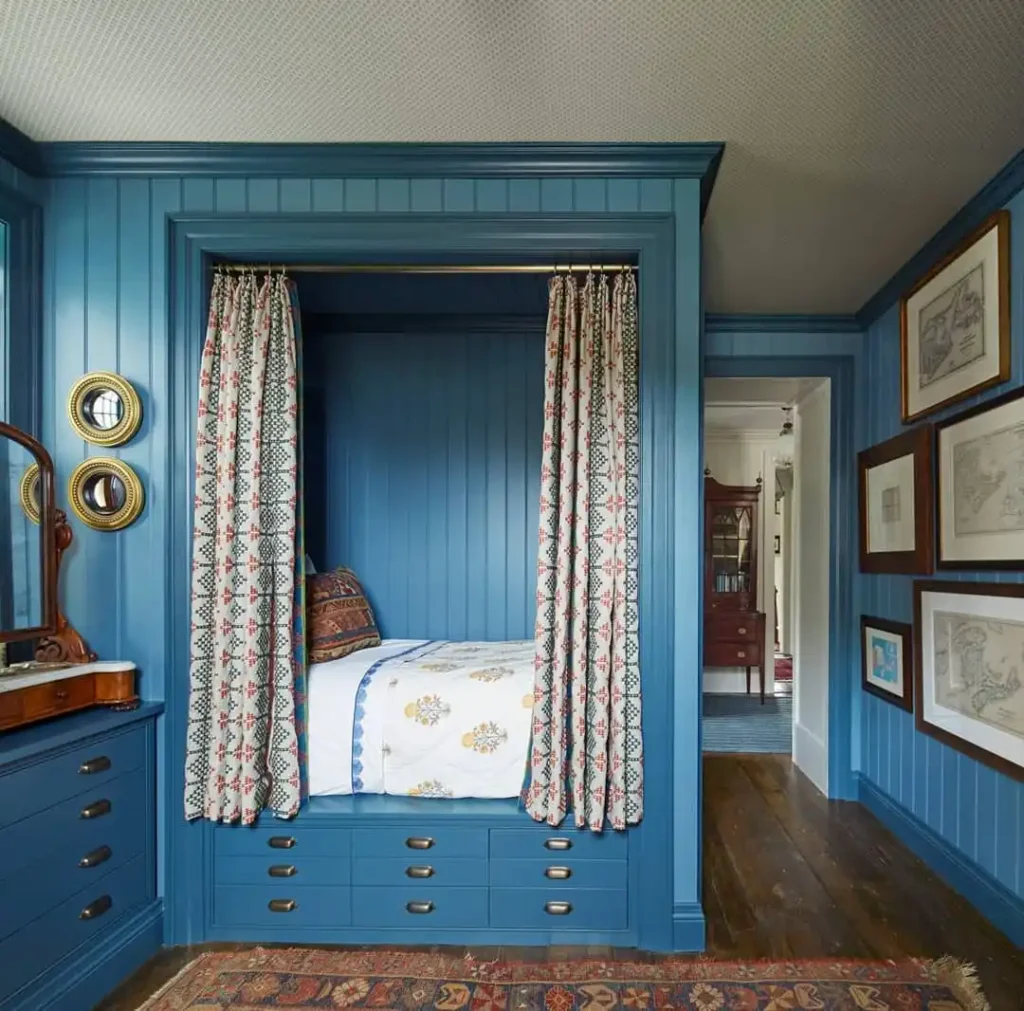
Credits:@verandamag
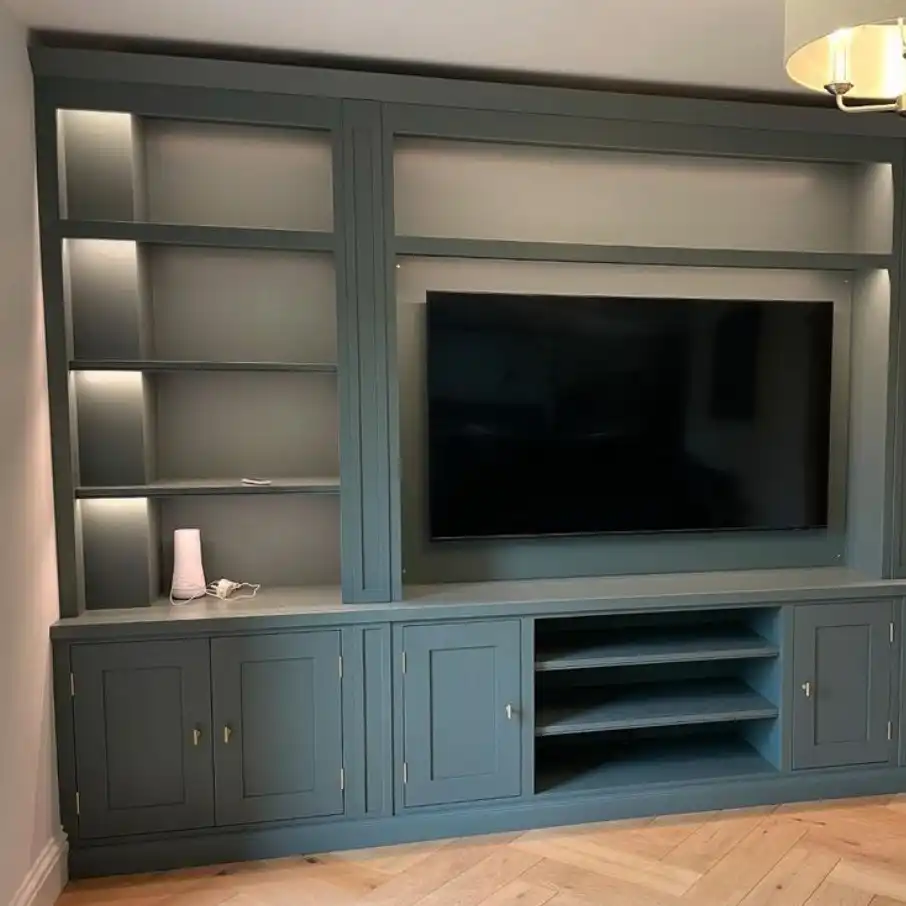
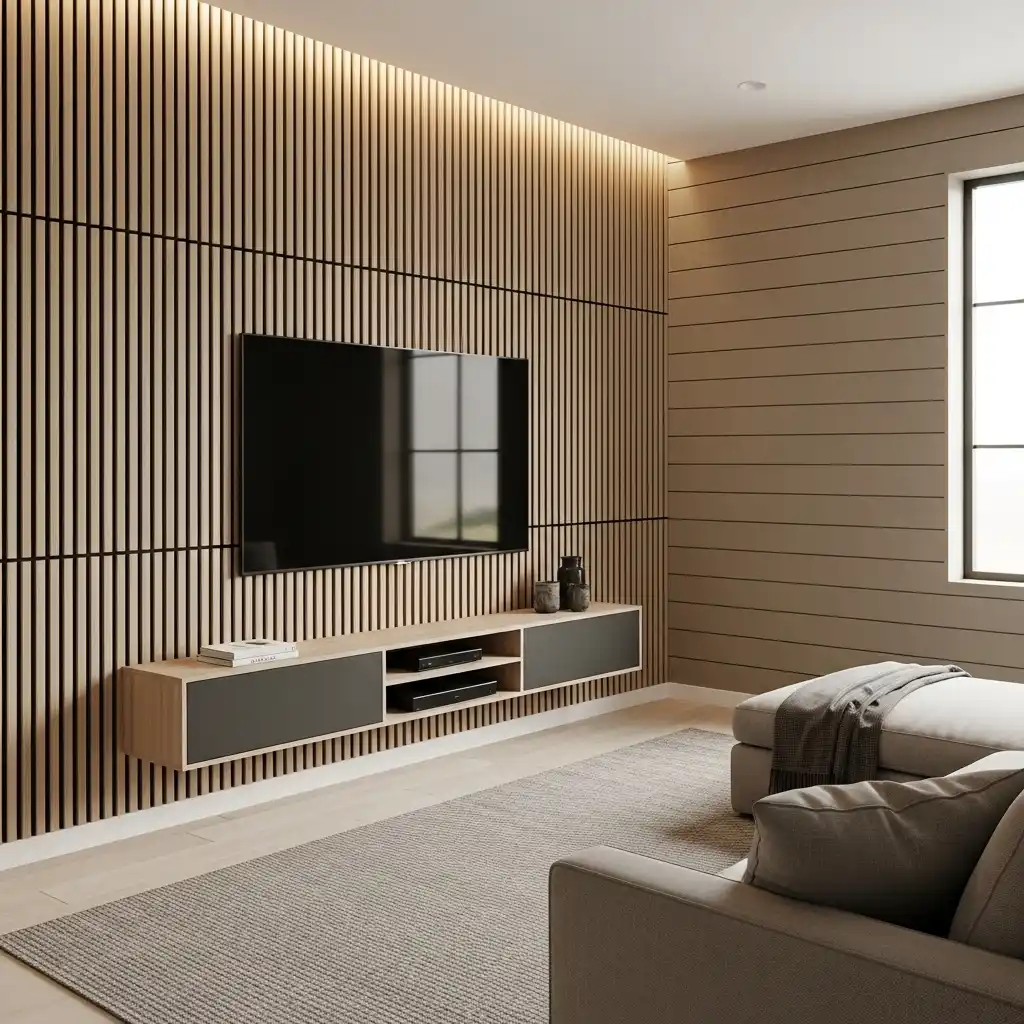
- Slat Panel/Acoustic: Modern design using narrow wooden slats on a felt backing, primarily for visual texture and noise reduction. Highly popular in media rooms and home offices.
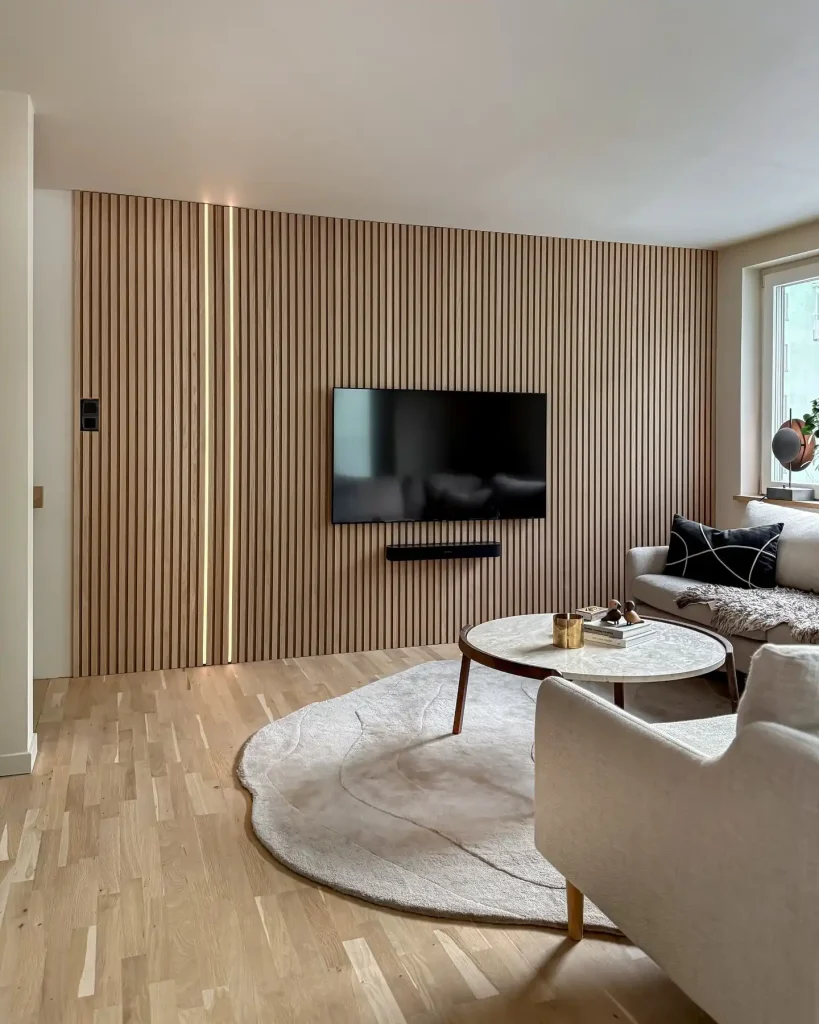
Credits:@wallsandceiling
2. Selecting the Right Material
Your choice of material impacts cost, durability, and appearance.
- Medium-Density Fiberboard (MDF): A budget-friendly, smooth, and consistent material that’s excellent for painting. Cost Estimate: $0.40 – $1.00 per square foot for panels.
Credits:@brooksukltd
- Pine: A soft, affordable, and easy-to-work-with wood. Accepts stain well for a rustic look. Cost Estimate: $1.00 – $5.00 per square foot.
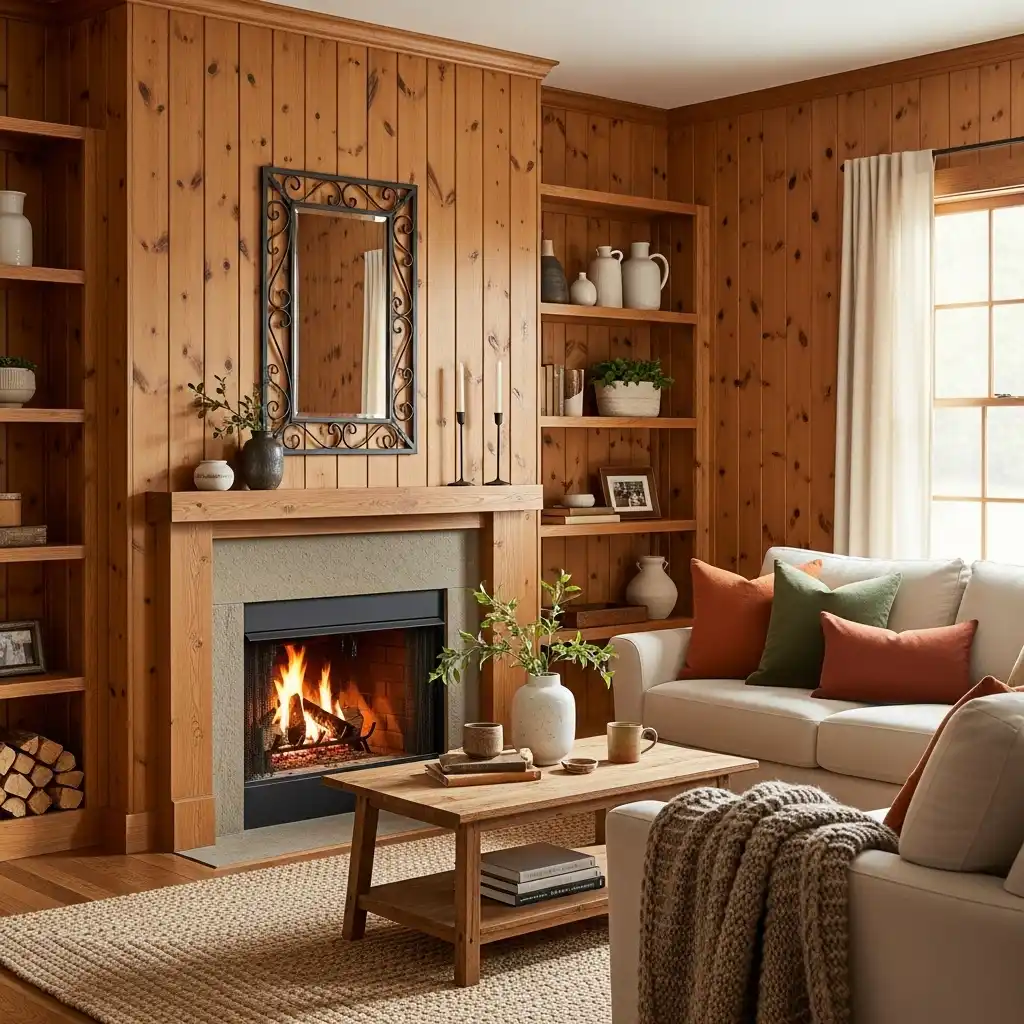
- Hardwoods (Oak, Maple, Walnut): Premium materials offering beautiful natural grain and superior durability. Best for clear-coat or stained finishes. Cost Estimate: $5.00 – $40.00+ per square foot.

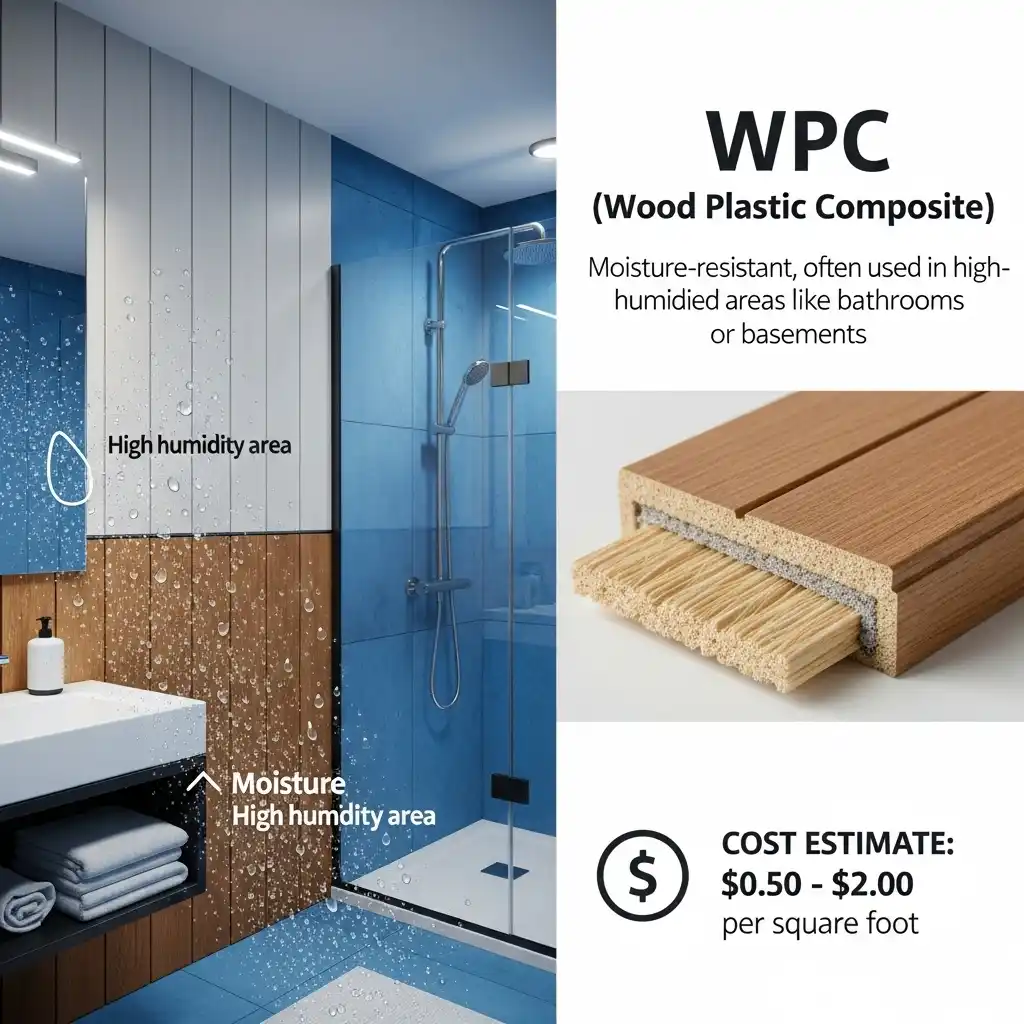
- Composite/WPC (Wood Plastic Composite): Moisture-resistant, often used in high-humidity areas like bathrooms or basements. Cost Estimate: $0.50 – $2.00 per square foot.
3. Budgeting for Your Project
The average wood paneling installation ranges from $20 to $40 per square foot installed, including materials and labor.
- Budget-Relevant Fact 1 (Materials): Choosing paint-grade MDF for a wainscoting project in a high-traffic area like a Chicago hallway can keep your material cost under $500 for a typical 100 sq. ft. wall.
- Budget-Relevant Fact 2 (Labor): Professional installation can add $1,000 to $1,600 to the total project price for a mid-sized room, so a DIY approach offers significant cost savings.
4. Determining Panel Height and Layout
- Wainscoting: Typically installed at 32-48 inches, or one-third the height of the wall.
- Full-Wall Paneling: Covers the entire wall, creating a dramatic focal point, often behind a bed or in a home office.
- Layout Planning: Always start your layout from the most visible wall or corner. Use a pencil to sketch the final design on the wall to ensure even spacing and panel symmetry before cutting.
5. Paneling for Specific Rooms
- Living Rooms: Acoustic slat panels (for media walls) or full-height shiplap create a statement.
- Bathrooms/Kitchens: Use moisture-resistant options like composite panels or treated wood to prevent warping and mold.
- Bedrooms: Beadboard wainscoting or a calming, stained wood behind the headboard enhances the cozy feel.

- Hallways: Chair rail height wainscoting offers protection against scuffs in a busy area like an entryway in Denver.
II. Essential Tools and Preparation
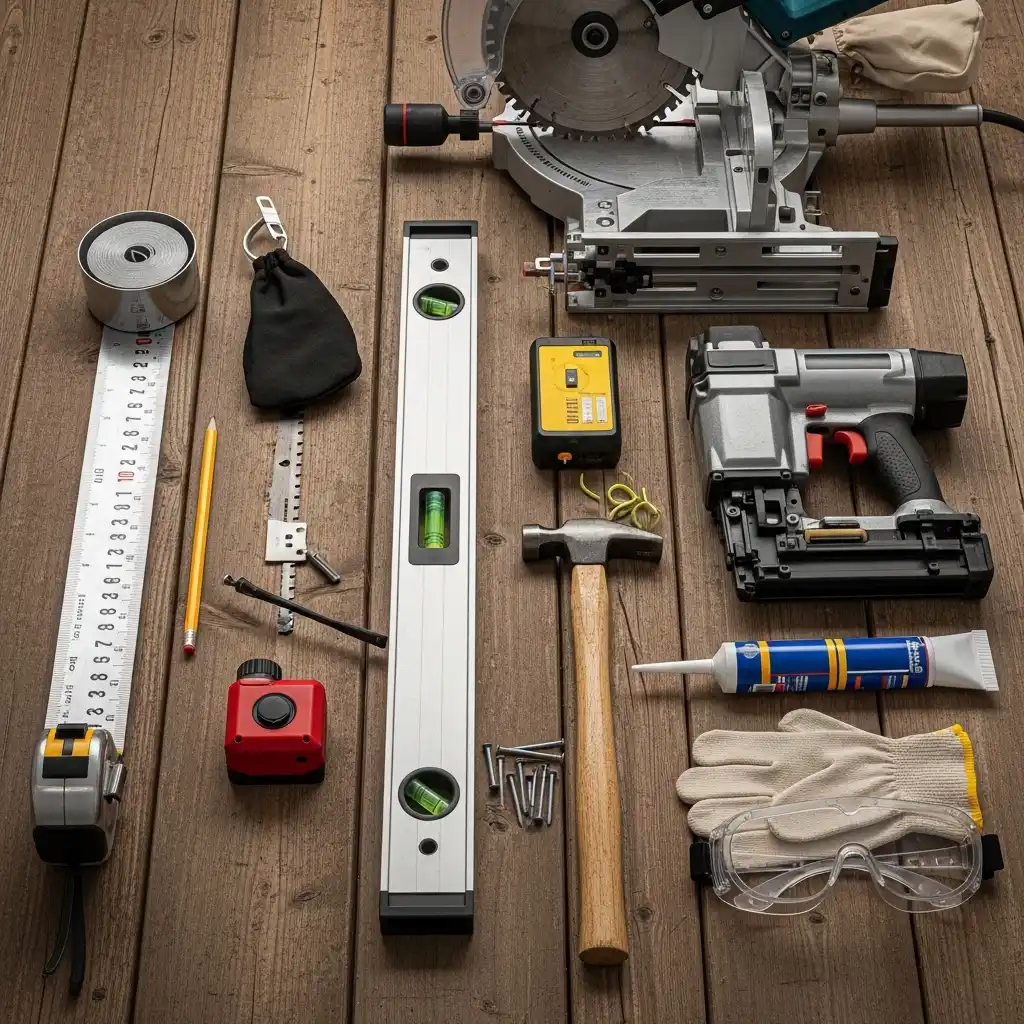
6. Gathering Your Essential Tools
- Measuring tape and pencil
- Level (preferably a long one or a laser level)
- Miter saw (or circular saw for straight cuts)
- Jigsaw (for cuts around outlets and switches)
- Stud finder
- Nail gun (brad nailer) or hammer and finishing nails
- Caulk gun and construction adhesive
- Safety gear (goggles and gloves)
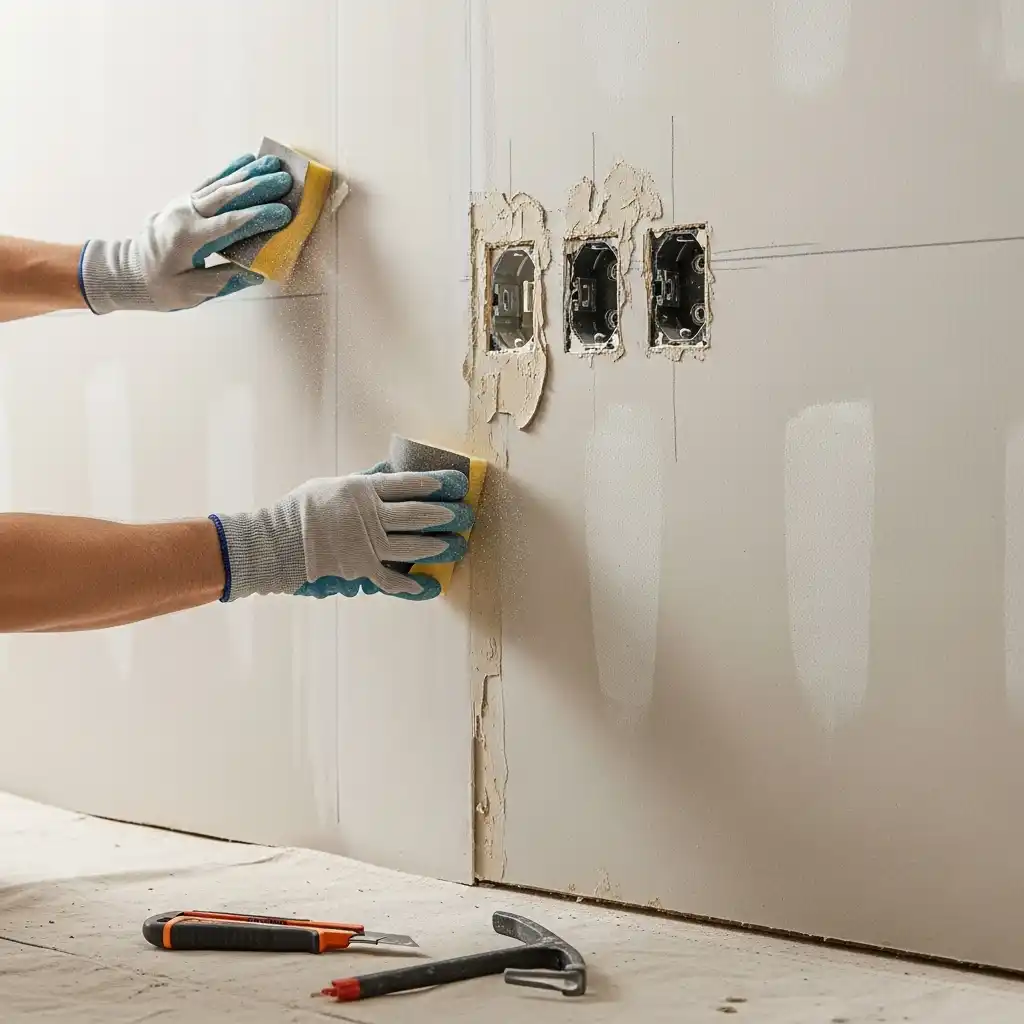
7. Wall Preparation: The Crucial First Step
Ensure the wall is clean, dry, and free of imperfections. Sand down any major bumps or protrusions. Remove all existing trim and electrical outlet covers.
8. Acclimating the Wood
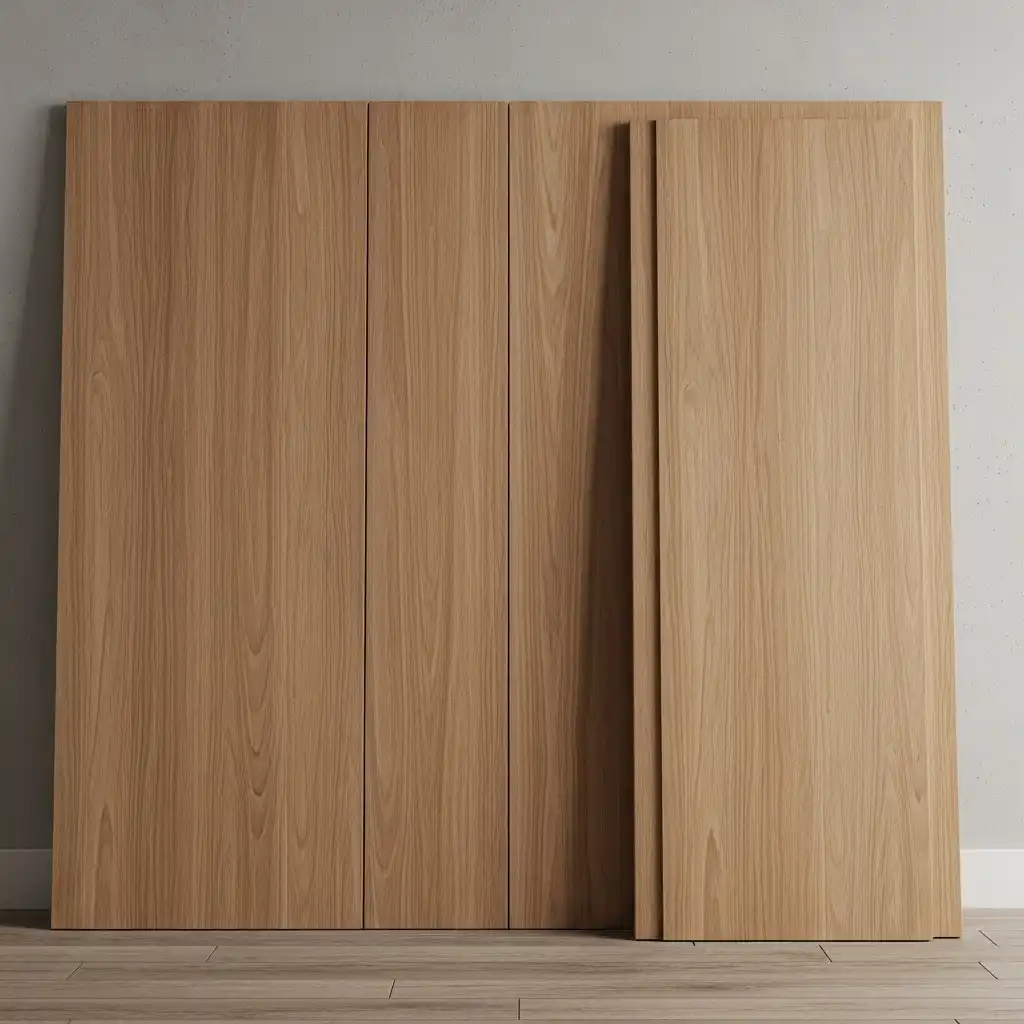
Wood reacts to temperature and humidity. Store your wood panels in the room where they will be installed for a minimum of 48-72 hours. This prevents the wood from warping or shrinking post-installation.
9. Finding and Marking Studs

Use a stud finder to locate the wall studs and lightly mark their positions with a pencil. Nailing into a stud is key for long-term stability and is essential for heavier materials like solid oak.
III. Installation Techniques
10. The Golden Rule: Measure Twice, Cut Once
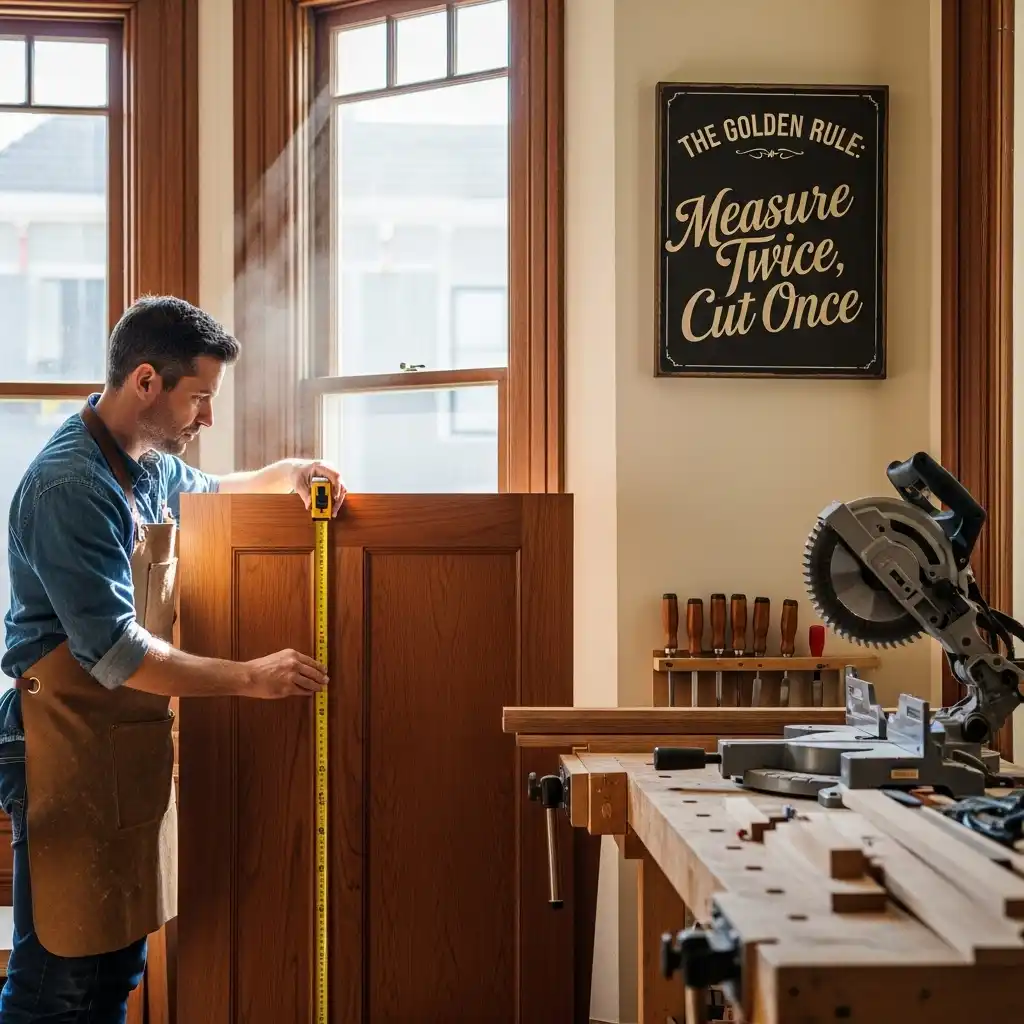
This is especially important when dealing with expensive hardwoods or complex angles. Double-check all measurements before making a cut, particularly around tricky areas like windows in a Victorian home in San Francisco.
11. Cutting Panels to Size

Use a miter saw for clean, straight 90-degree cuts for the panel edges and a miter box for precise 45-degree angles on any trim or corner pieces. A jigsaw is best for cutting holes for electrical outlets and switches.
12. Adhering the First Panel (The Foundation)
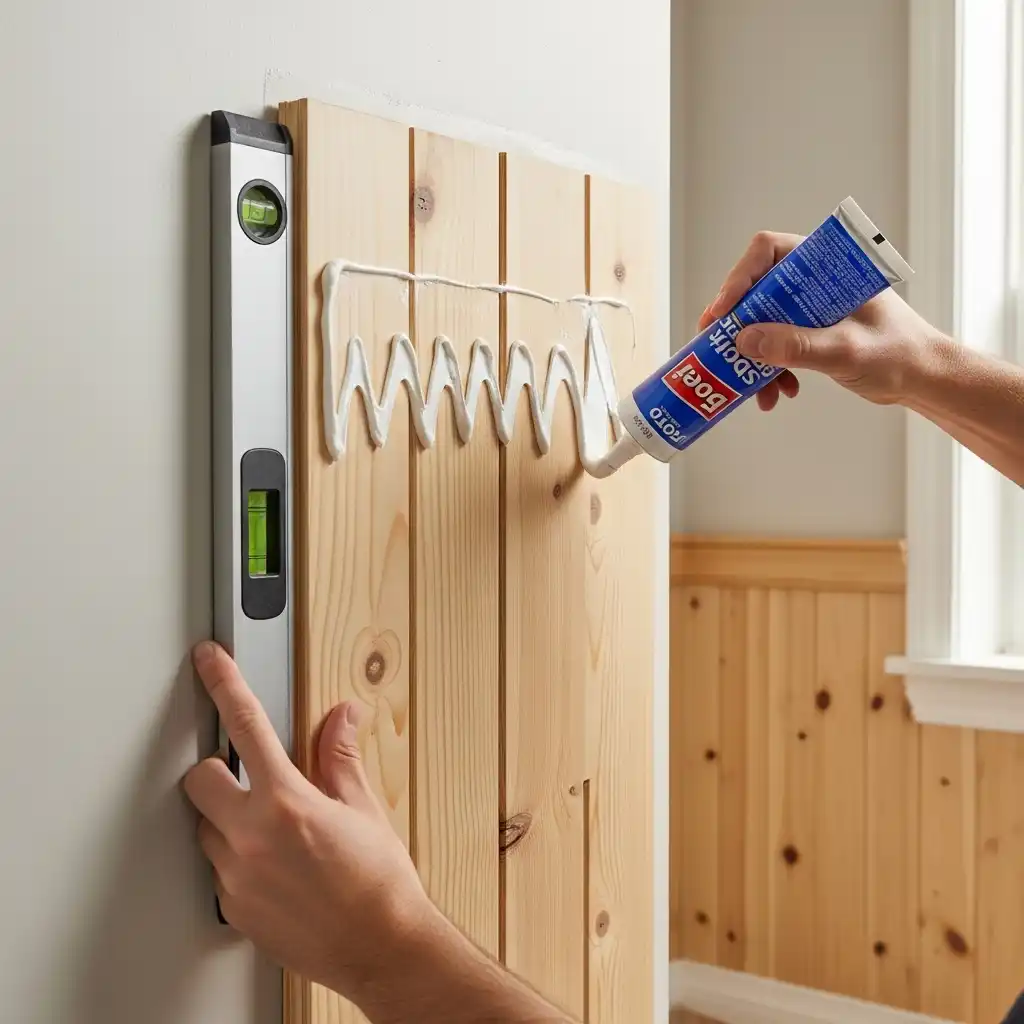
Start from the most prominent corner. Apply a high-quality construction adhesive to the back of the first panel in a zigzag pattern. Press the panel firmly against the wall, ensuring it is perfectly plumb (vertical) using your level.
13. Securing with Fasteners
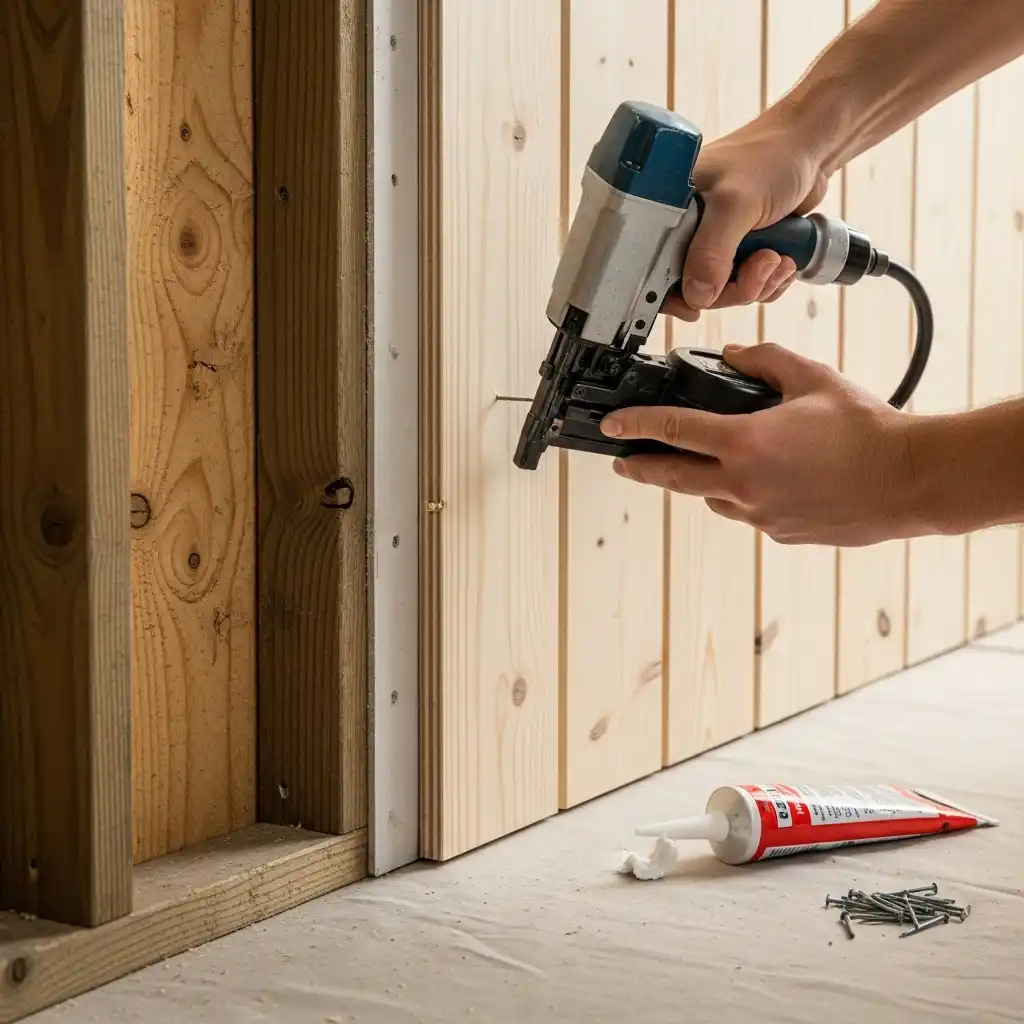
Use a brad nailer or finishing nails to secure the panel, driving nails into the wall studs for maximum hold. For thinner panels like beadboard, nailing into the sheetrock is often sufficient when combined with adhesive.
14. Working Around Obstacles
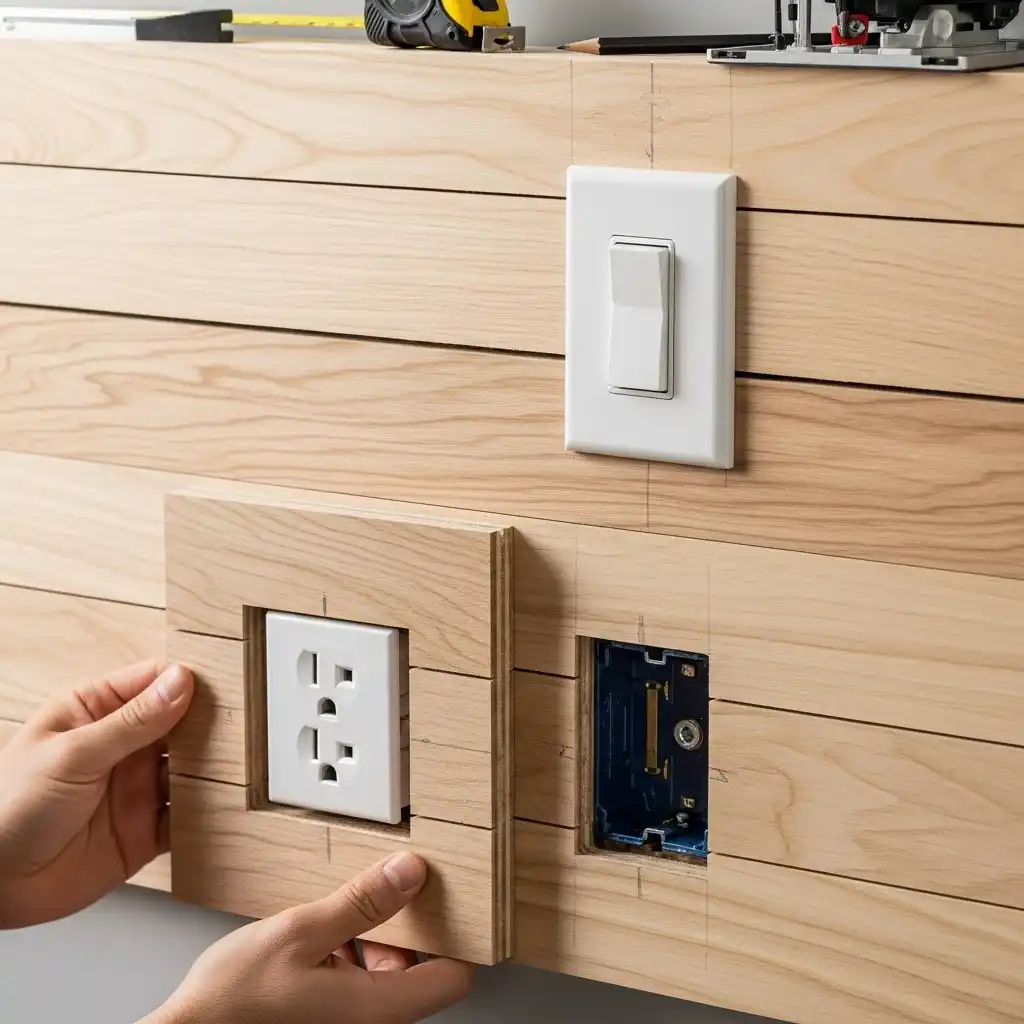
When encountering outlets or switches, carefully measure and cut the panel to fit around the box. Remember, the outlet cover will hide the final edge, so a clean cut is more important than a perfect one.
15. The Tongue-and-Groove System
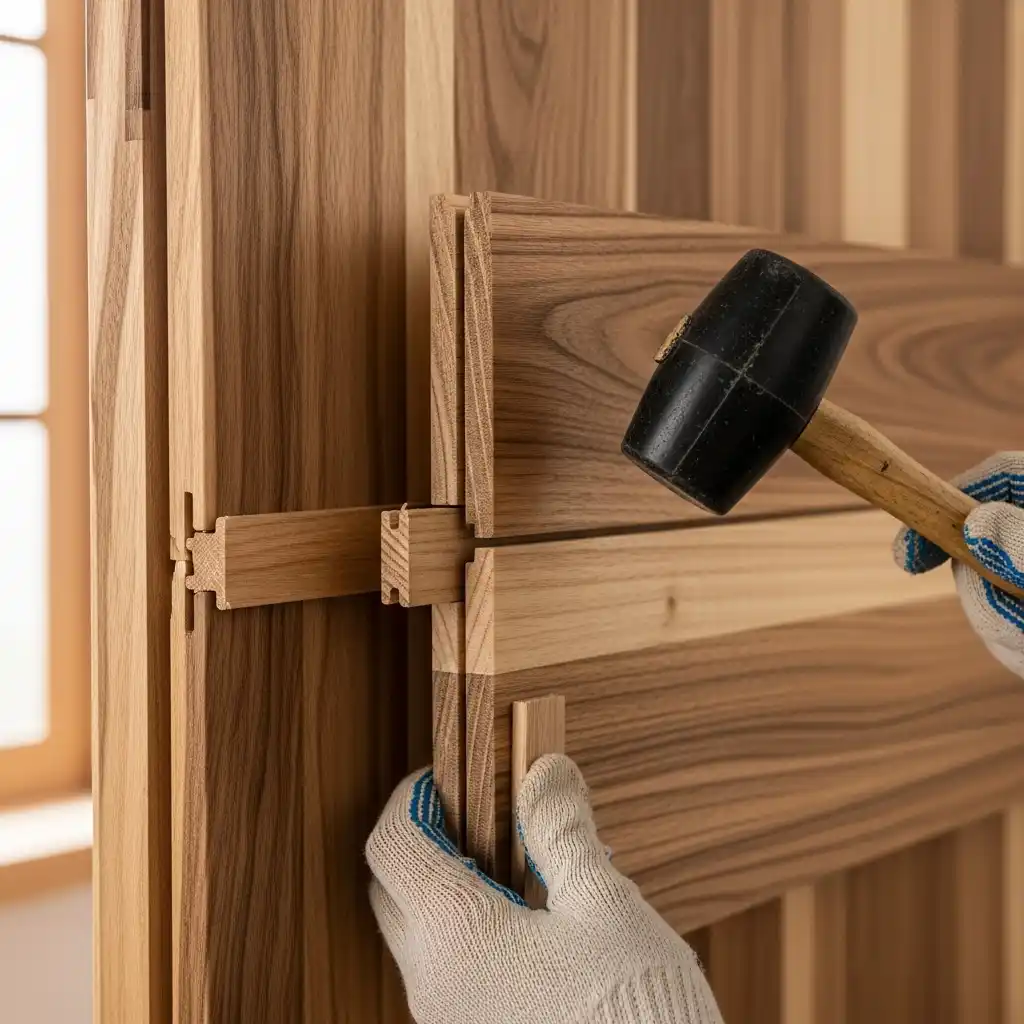
Many panels use a tongue-and-groove design. This allows each subsequent panel to interlock, creating a seamless, tight fit. Lightly tap the new panel into the groove of the previous one using a rubber mallet and a scrap piece of wood to avoid damage.
IV. Finishing and Maintenance
16. Installing Trim and Molding
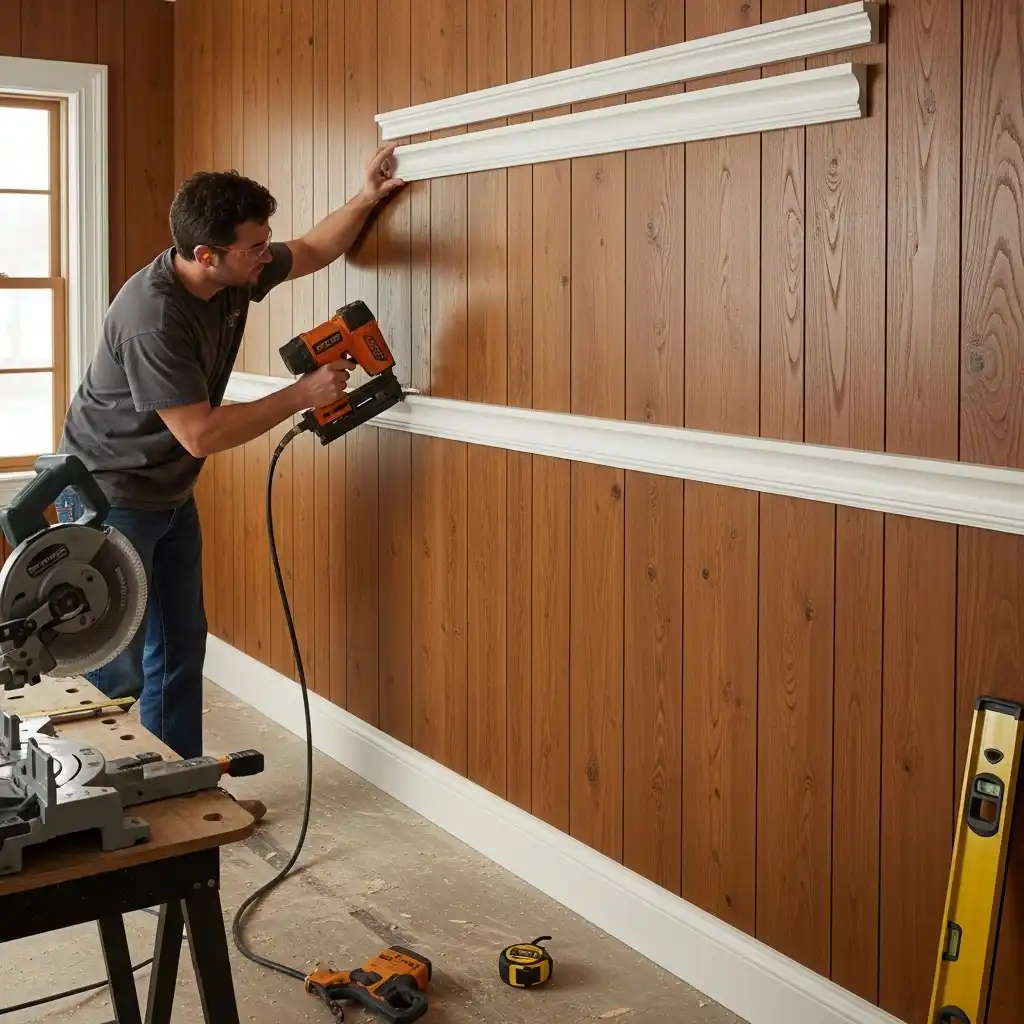
Adding baseboard, chair rail, and top trim pieces provides a polished, finished look. These pieces cover any raw edges and small gaps between the paneling and the wall or ceiling.
17. Filling Gaps and Nail Holes
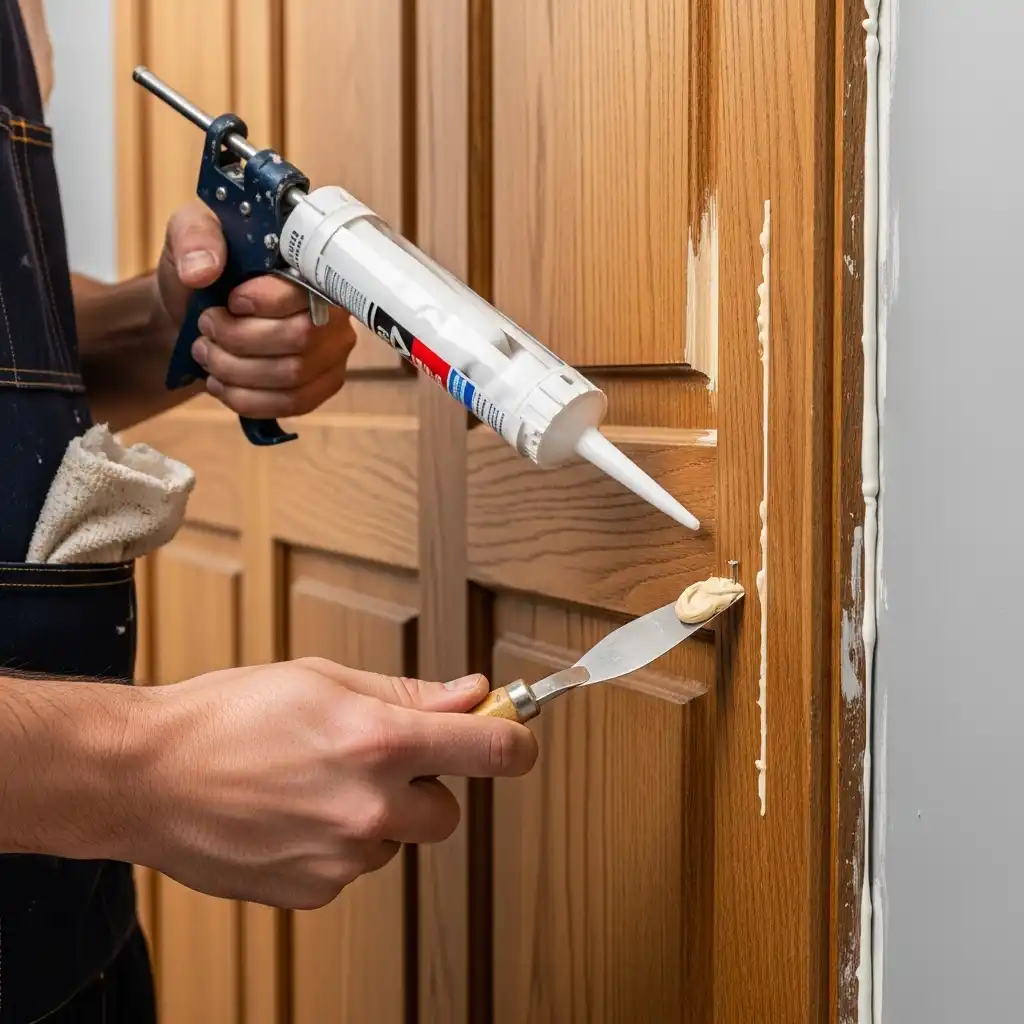
Use wood filler or spackle on all exposed nail holes. For gaps between panels, trim, and the wall, apply a paintable caulk. This step is essential for a professional, seamless result.
18. Sanding and Priming
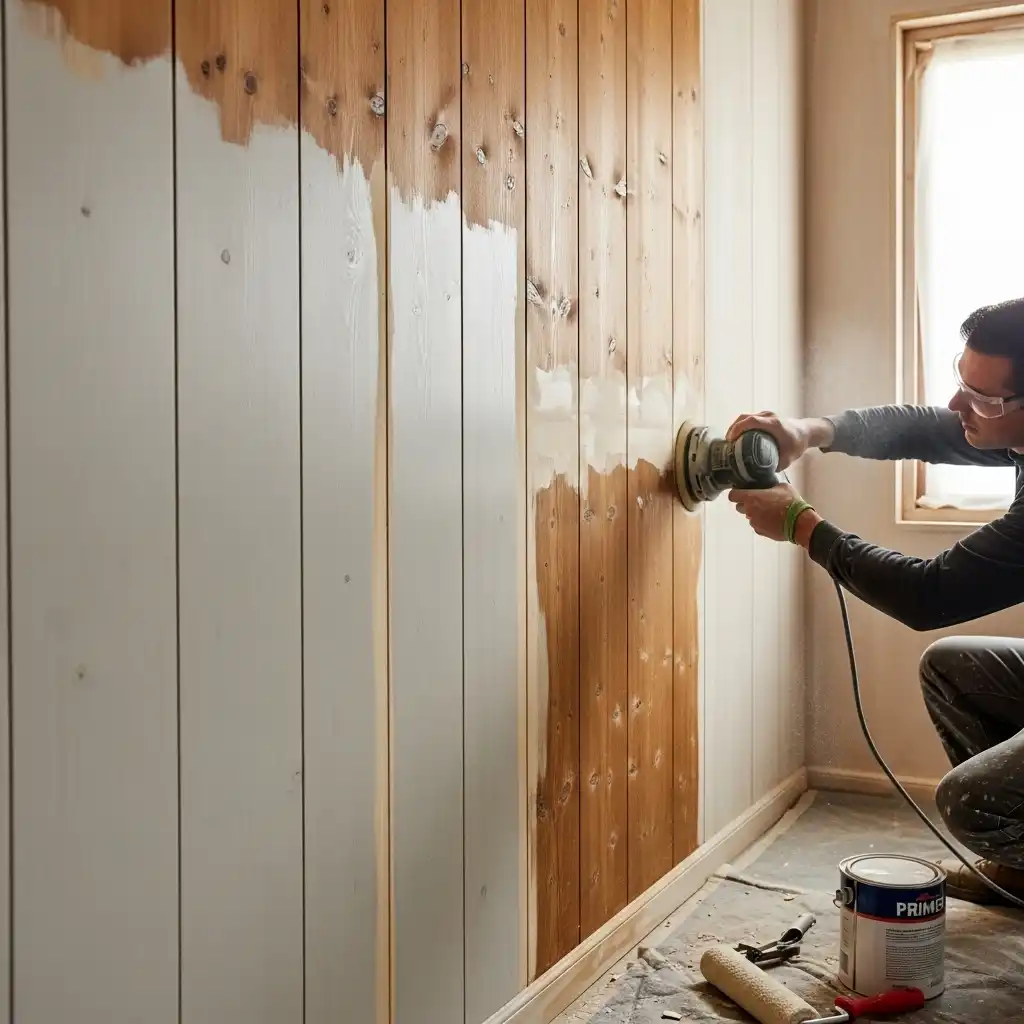
Lightly sand all filled areas and any rough edges. If you plan to paint, apply a quality primer. For wood that will be stained, use a pre-stain conditioner to ensure even color absorption.
19. Applying the Finish (Paint or Stain)
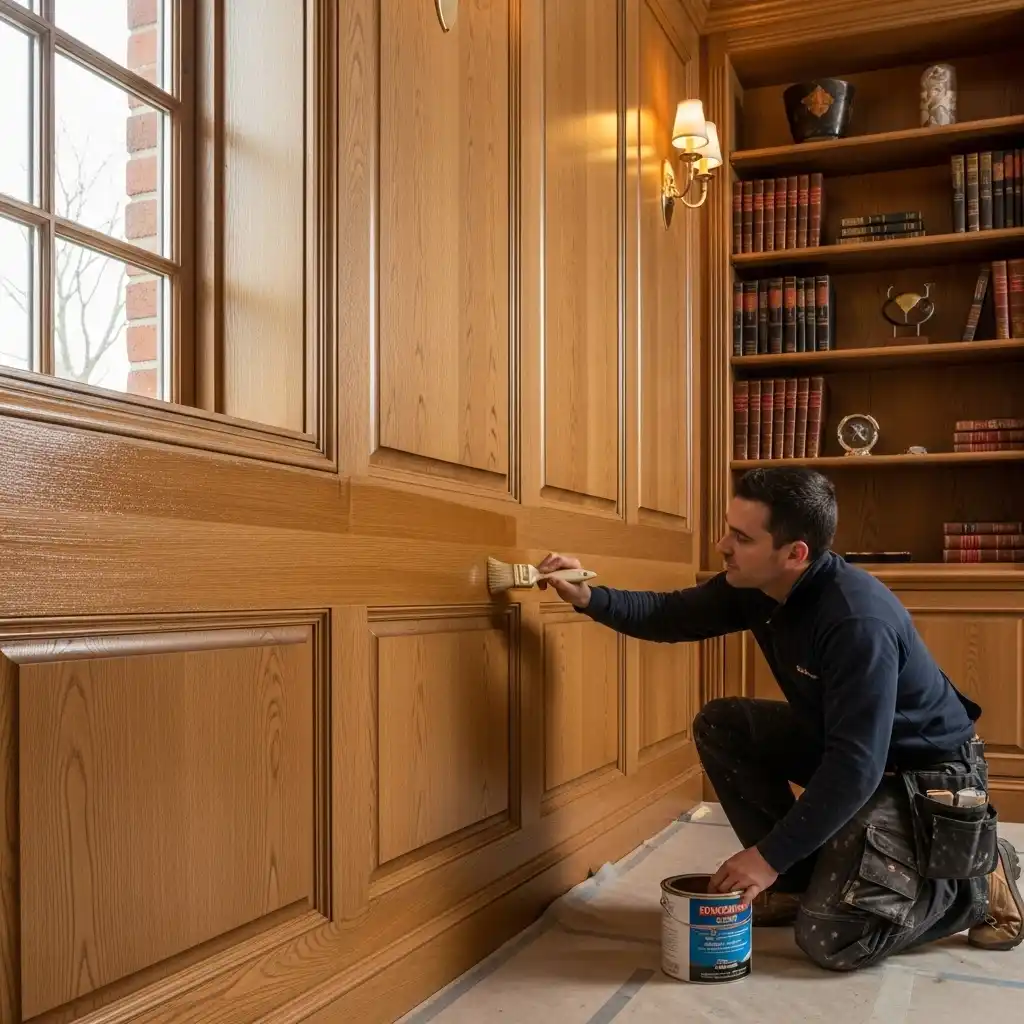
For a bright, modern look, paint is often preferred, especially on MDF or pine shiplap. For a rich, traditional feel in a home library, a deep wood stain on oak or walnut is ideal. Apply multiple thin coats for the best finish.
20. Long-Term Maintenance Tips
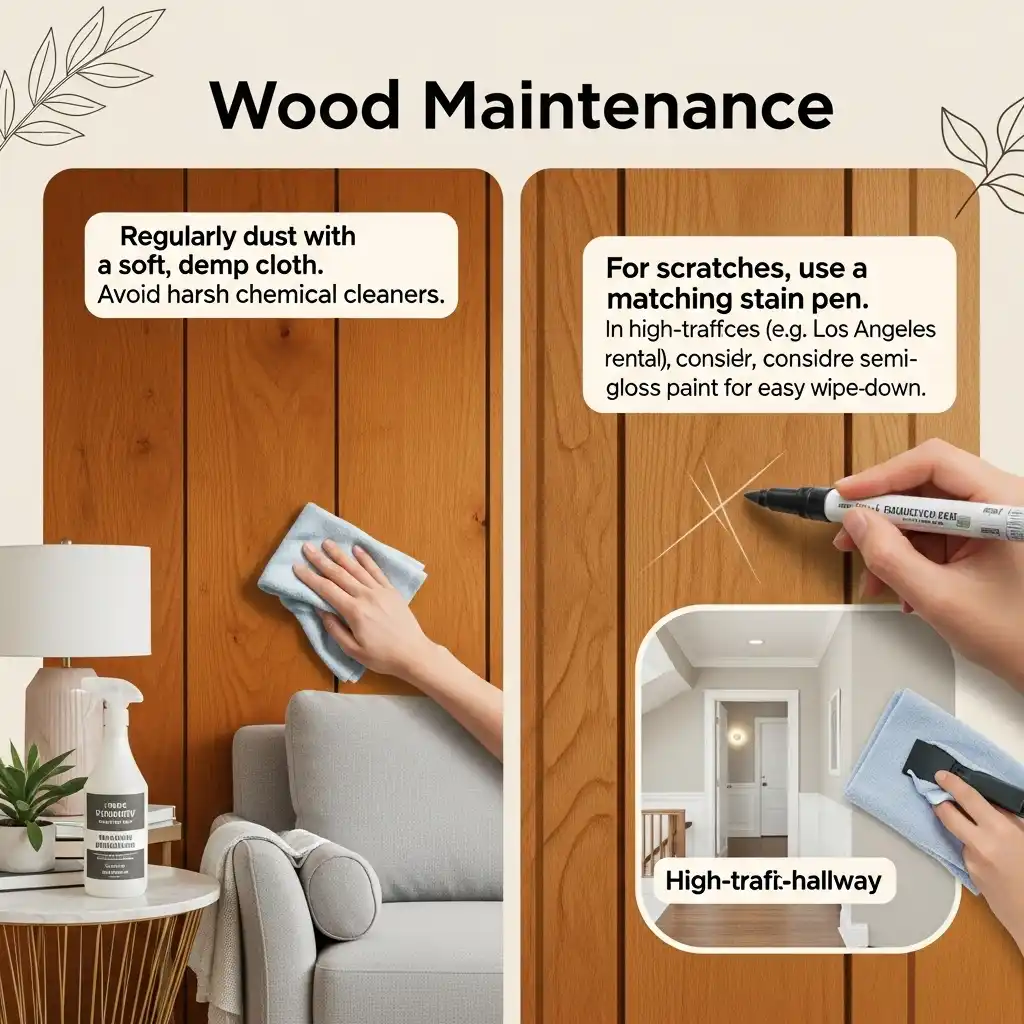
Regularly dust the paneling with a soft, damp cloth. Avoid harsh chemical cleaners. For scratched stained wood, a simple touch-up with a matching stain pen can make it look new. In areas with high traffic, like a Los Angeles rental, consider a semi-gloss paint for easy wipe-down.
Frequently Asked Questions (FAQs)
Can I install wood paneling over textured or uneven walls?
Yes, but extra preparation is needed. For slightly textured walls, a strong construction adhesive combined with nails can work. For severely uneven walls, a better approach is to install thin furring strips or a plywood substrate first to create a flat, consistent surface before attaching the final decorative panels. This ensures the finished product looks professional and not warped.
How much extra material should I buy for cuts and mistakes?
As a rule of thumb, always purchase at least 10-15% more material than your calculated square footage. This extra material accounts for waste from cuts, mistakes, and allows you to match wood grain patterns in visible areas. Having a small amount of extra material on hand is also vital for future repairs.
Is wood paneling good for soundproofing?
Basic wood paneling provides minimal soundproofing (blocking sound transfer). However, modern acoustic wood slat panels (like those with a felt backing) are excellent for sound absorption and greatly reduce echo and reverberation within a room, making them perfect for a quiet home office in Seattle-Tacoma or a dedicated home theater. True soundproofing requires adding mass and decoupling layers behind the paneling.
Conclusion
Wood wall paneling is a rewarding project that significantly elevates a home’s aesthetic value and functionality. By carefully planning your style, selecting the right materials, and meticulously following the installation process, you can achieve a stunning, professional-grade result that will be enjoyed for years to come.